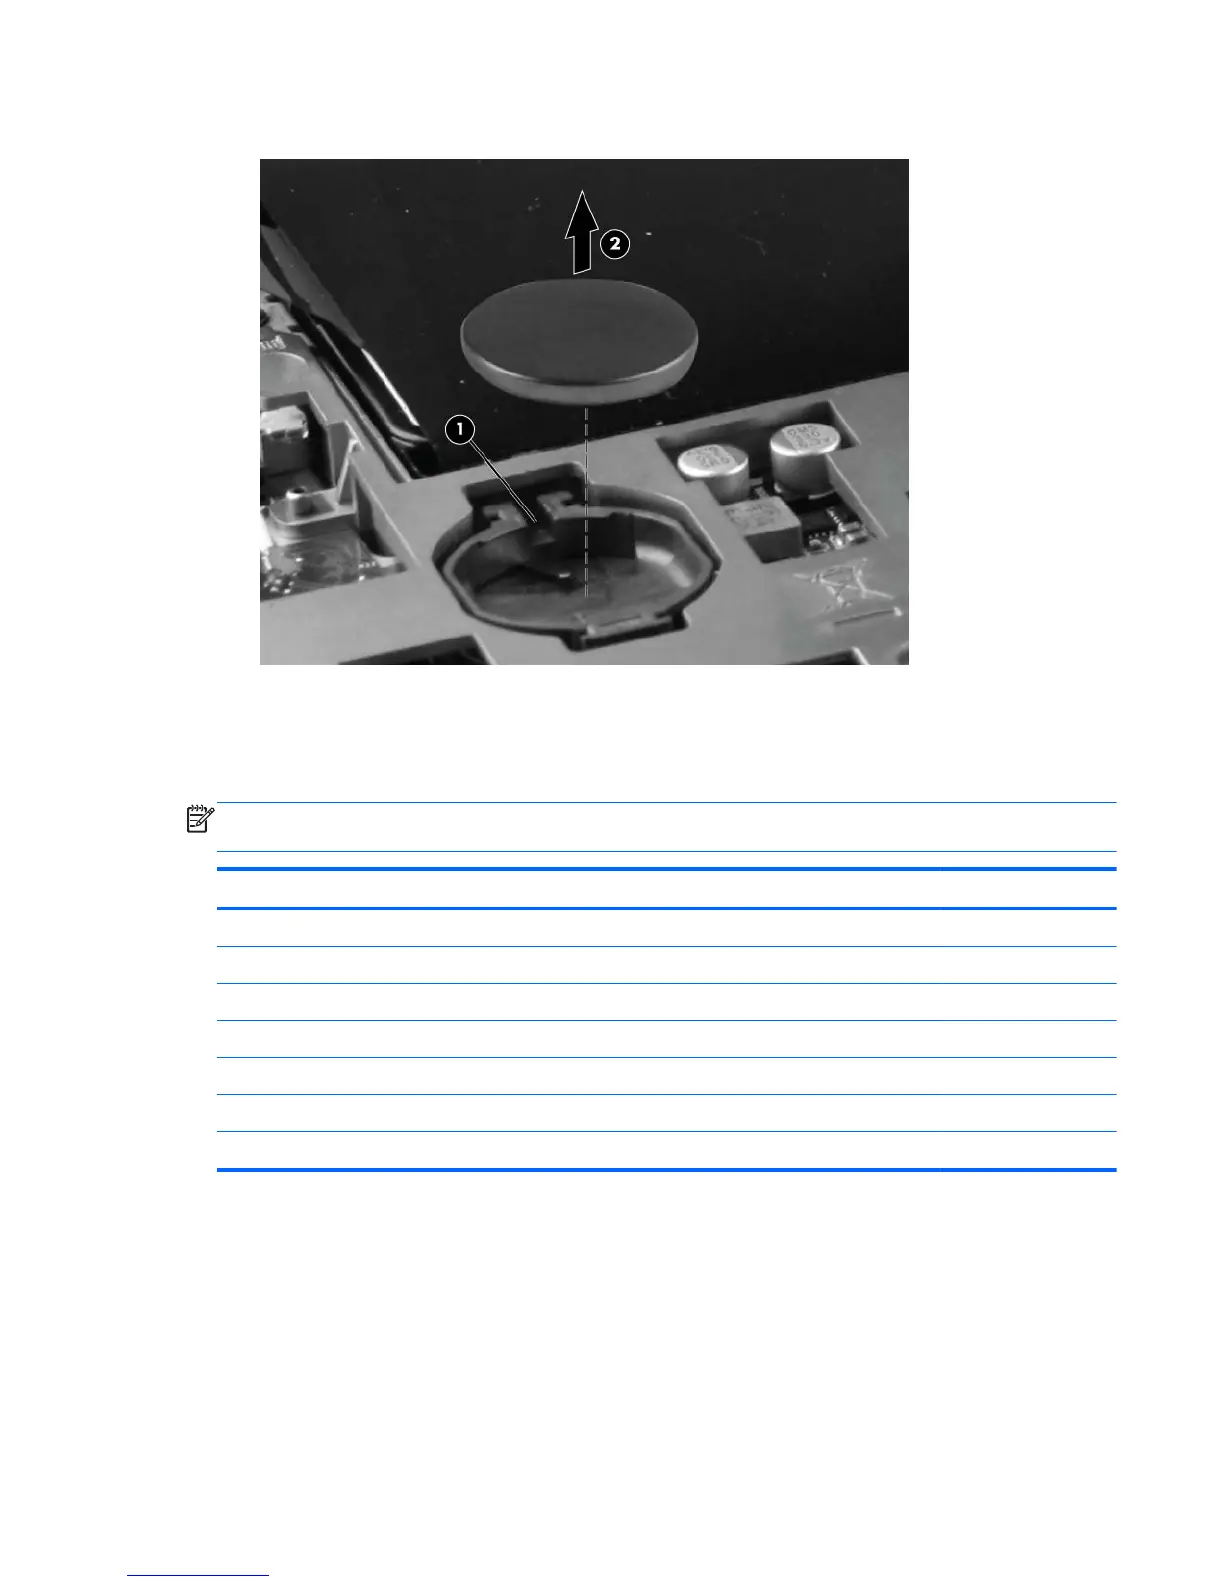
2. Remove the RTC battery (2) from the socket on the system board.
Reverse this procedure to install the RTC battery. When installing the RTC battery, be sure the “+”
sign faces up.
Hard drive
NOTE: The hard drive bracket is included in the Hard Drive Hardware Kit, spare part number
651899-001.
Description Spare part number
Hard drive:
500 GB, 9.5 mm (0.37 in) × 6.35 cm (2.50 in), parallel SATA, 5400-rpm (select models only) 634932-001
320 GB, 9.5 mm (0.37 in) × 6.35 cm (2.50 in), parallel SATA, 5400-rpm (select models only) 622643-001
250 GB, 9.5 mm (0.37 in) × 6.35 cm (2.50 in), parallel SATA, 5400-rpm 622641-001
320 GB, 7.0 mm mm (0.28 in) × 6.35 cm (2.50 in), parallel SATA, 5400 rpm 645193-001
250 GB, 7.0 mm (0.28 in) × 6.35 cm (2.50 in), parallel SATA, 5400 rpm 645191-001
Hard Drive Hardware Kit 651899-001
Before removing the hard drive, follow these steps:
1. Shut down the computer. If you are unsure whether the computer is off or in Hibernation, turn
the computer on, and then shut it down through the operating system.
2. Disconnect all external devices connected to the computer.
3. Disconnect the power from the computer by first unplugging the power cord from the AC outlet
and then unplugging the AC adapter from the computer.
Component replacement procedures 45
 Loading...