2-6
Installing the Switch
Installation Procedures
Installing the Switch
1. Prepare the Installation Site
Cabling Infrastructure - Ensure the cabling infrastructure meets the
necessary network specifications. See the following table for cable types and
lengths, and see appendix B, “Cabling and Technology Information” for more
information:
■ Installation Location - Before installing the switch, plan its location and
orientation relative to other devices and equipment:
• In the front of the switch, leave at least 7.6 cm (3 inches) of space for
the twisted-pair and fiber-optic cabling.
• In the back of the switch, leave at least 3.8 cm (1 1/2 inches) of space
for the power cord.
• On the sides of the switch, leave at least 7.6 cm (3 inches) for cooling.
2. Verify the Switch Passes Self Test
Before mounting the switch in its network location, you should first verify it
is working properly by plugging it into a power source and verifying it passes
its self test.
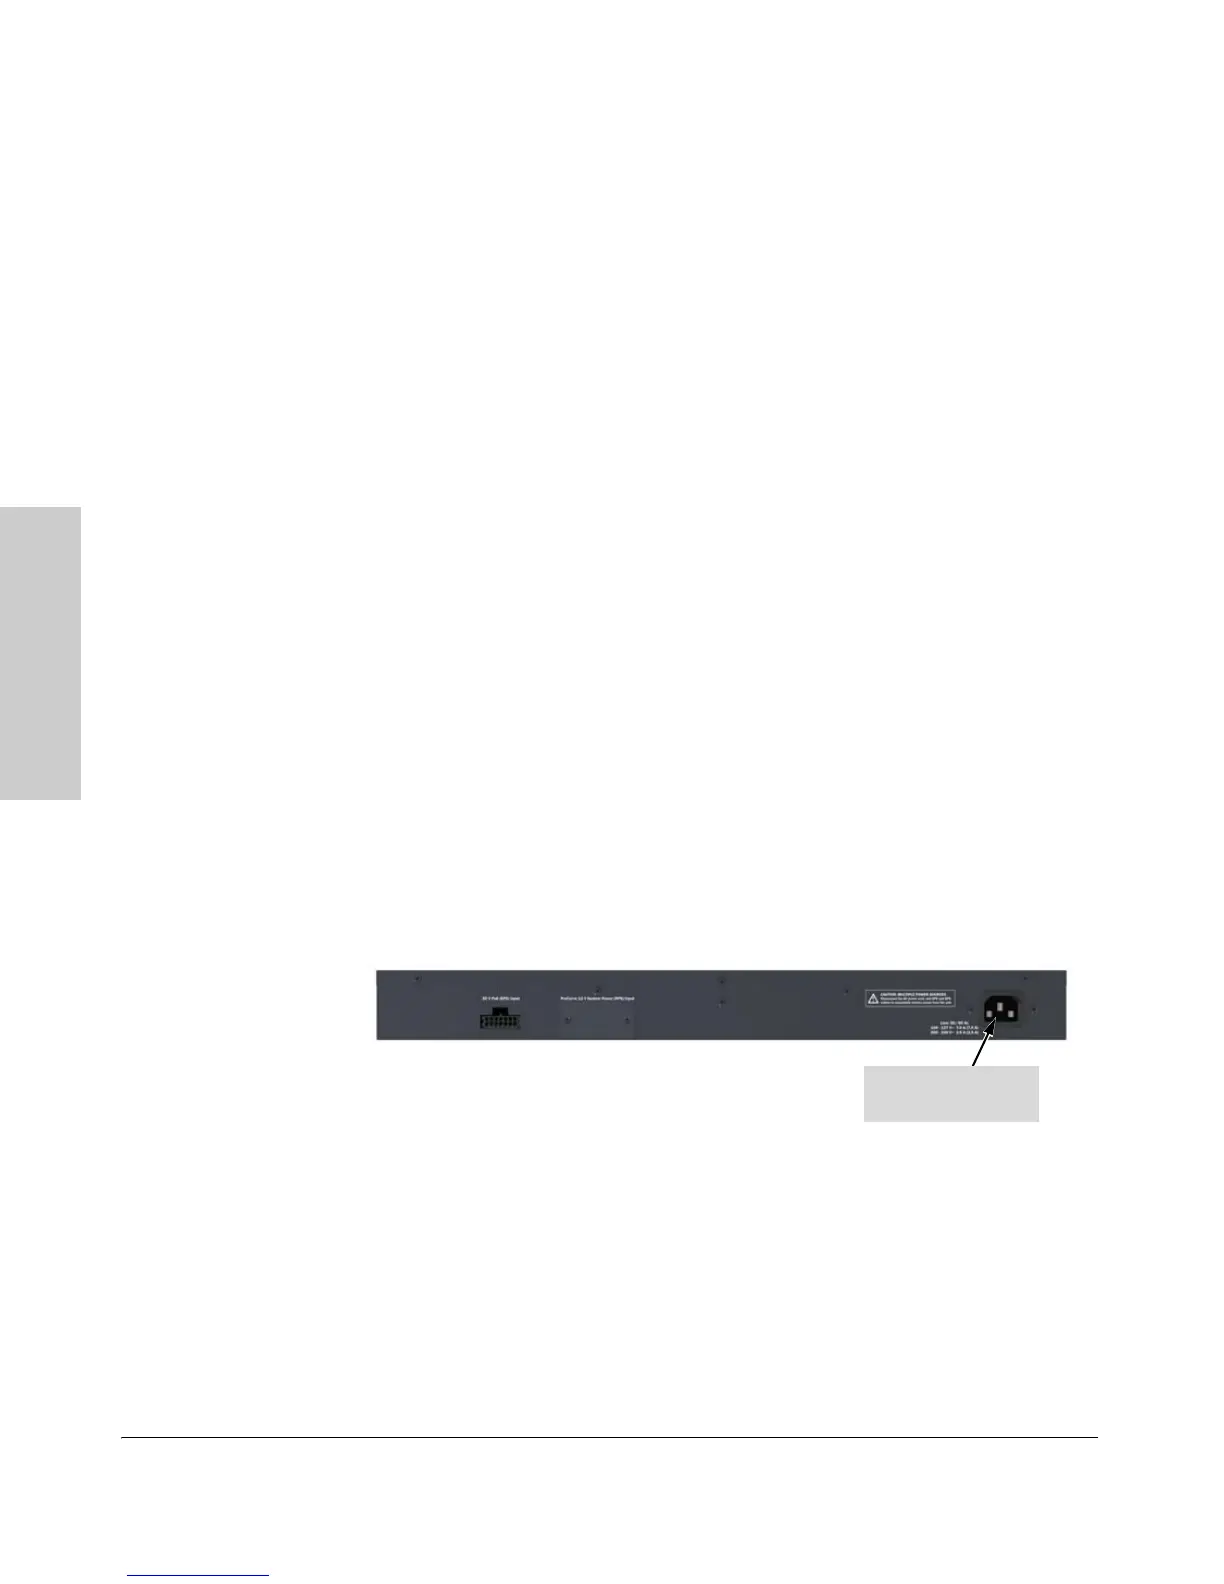
1. Connect the power cord supplied with the switch to the power connector
on the back of the switch, and then into a properly grounded electrical
outlet.
Figure 2-1. Connecting the power cord
Connect power cord to
the power connector
 Loading...