2-8
Installing the Switch
Installation Procedures
Installing the Switch
– If the ports are connected to active network devices, the LEDs
behave according to the LED Mode selected. In the default view
mode (Link), the LEDs should be on.
– If the ports are not connected to active network devices, the LEDs
will stay off.
If the LED display is different than what is described above, especially if
the Fault and Test LEDs stay on for more than 60 seconds or they start
blinking, the self test has not completed correctly. Refer to chapter 4,
“Troubleshooting” for diagnostic help.
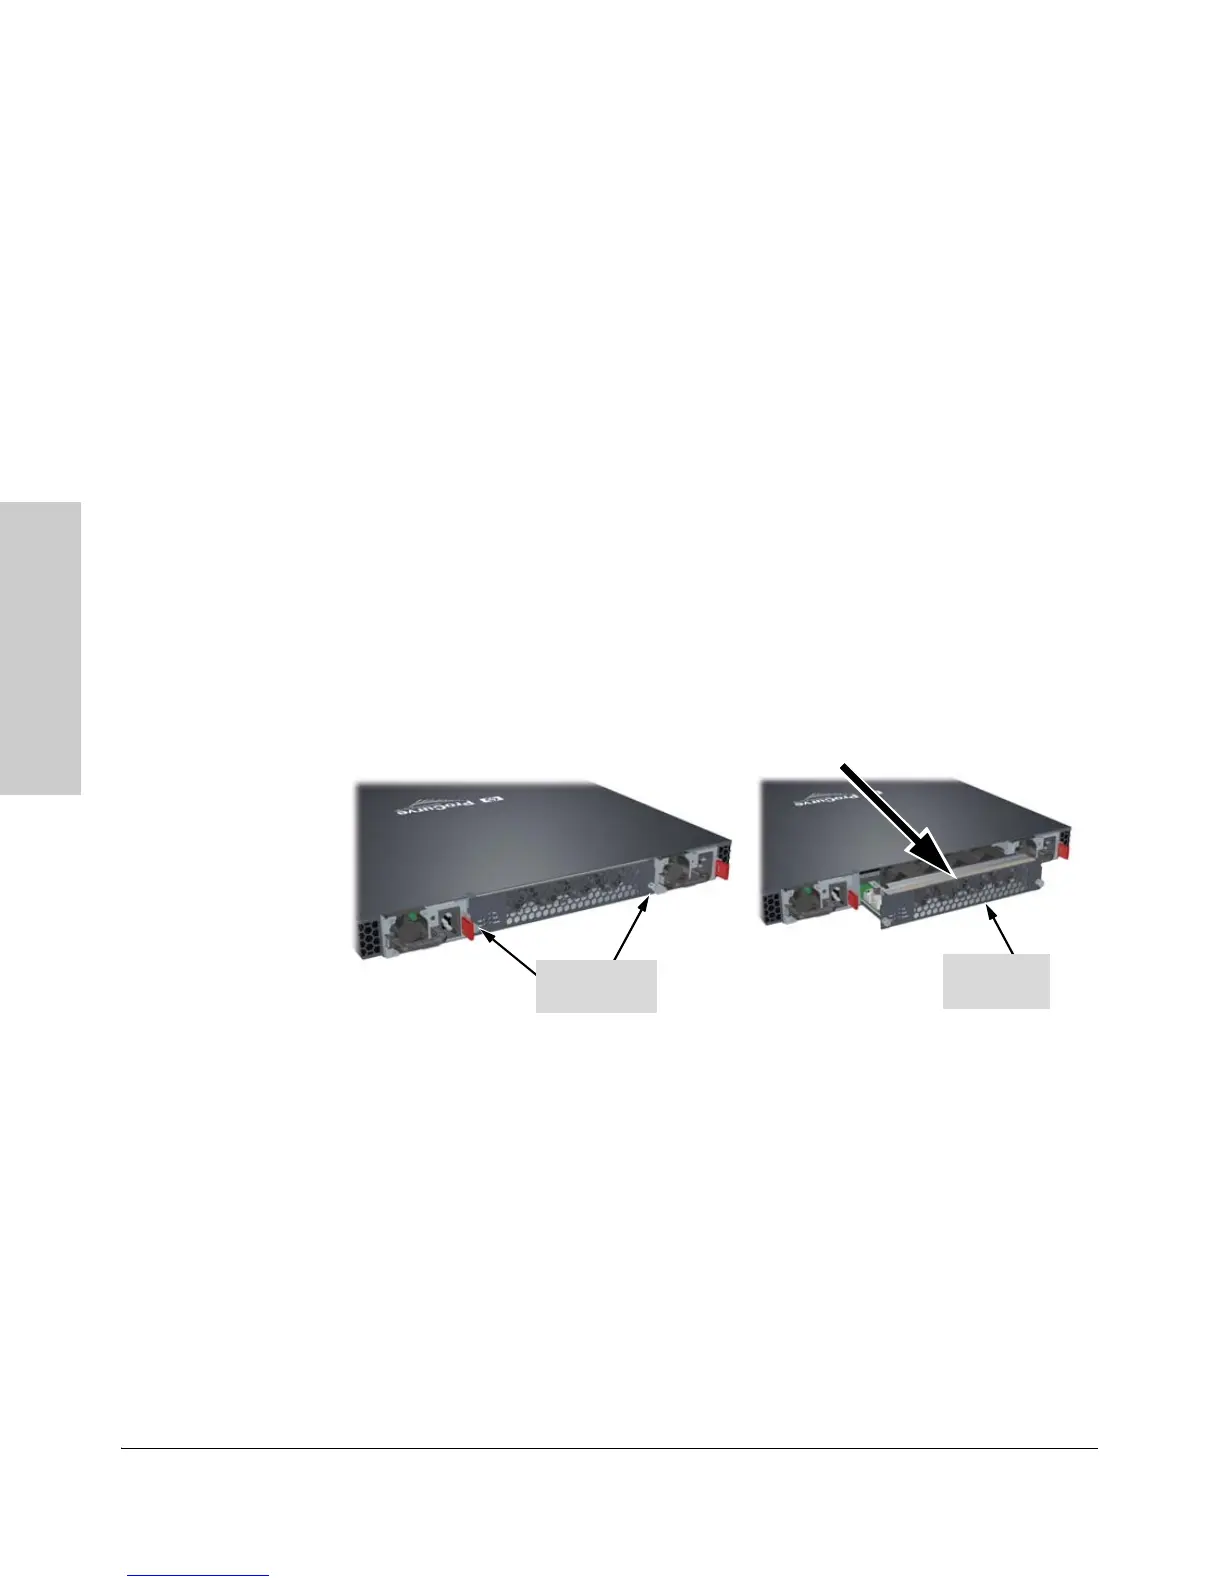
3. (Optional) Reversing the air flow
If desired, the air flow direction can be reversed by following these steps.
This is not a hot swap operation. Make sure this is done during planned
down time.
1. Remove the fan tray assembly
a. Unscrew the retaining screws
b. Holding the two retaining screws, pull the fan tray assembly straight
out.
2. Using a T10 screwdriver, remove the four retaining screws.
Retaining
Screw
Fan tray
assembly
 Loading...