4. Disconnect the AC power cord from the AC outlet, and disconnect any external devices.
CAUTION: Regardless of the power-on state, voltage is always present on the system board as long as
the system is plugged into an active AC outlet. You must disconnect the AC power cord to avoid damage
to the internal components of the thin client.
5. Remove the stand from the thin client.
6. Lay the unit at on a stable surface with the right side up.
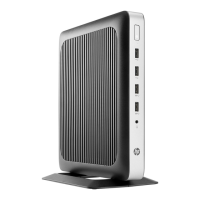
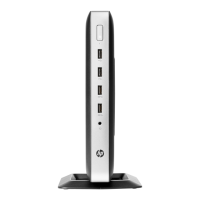
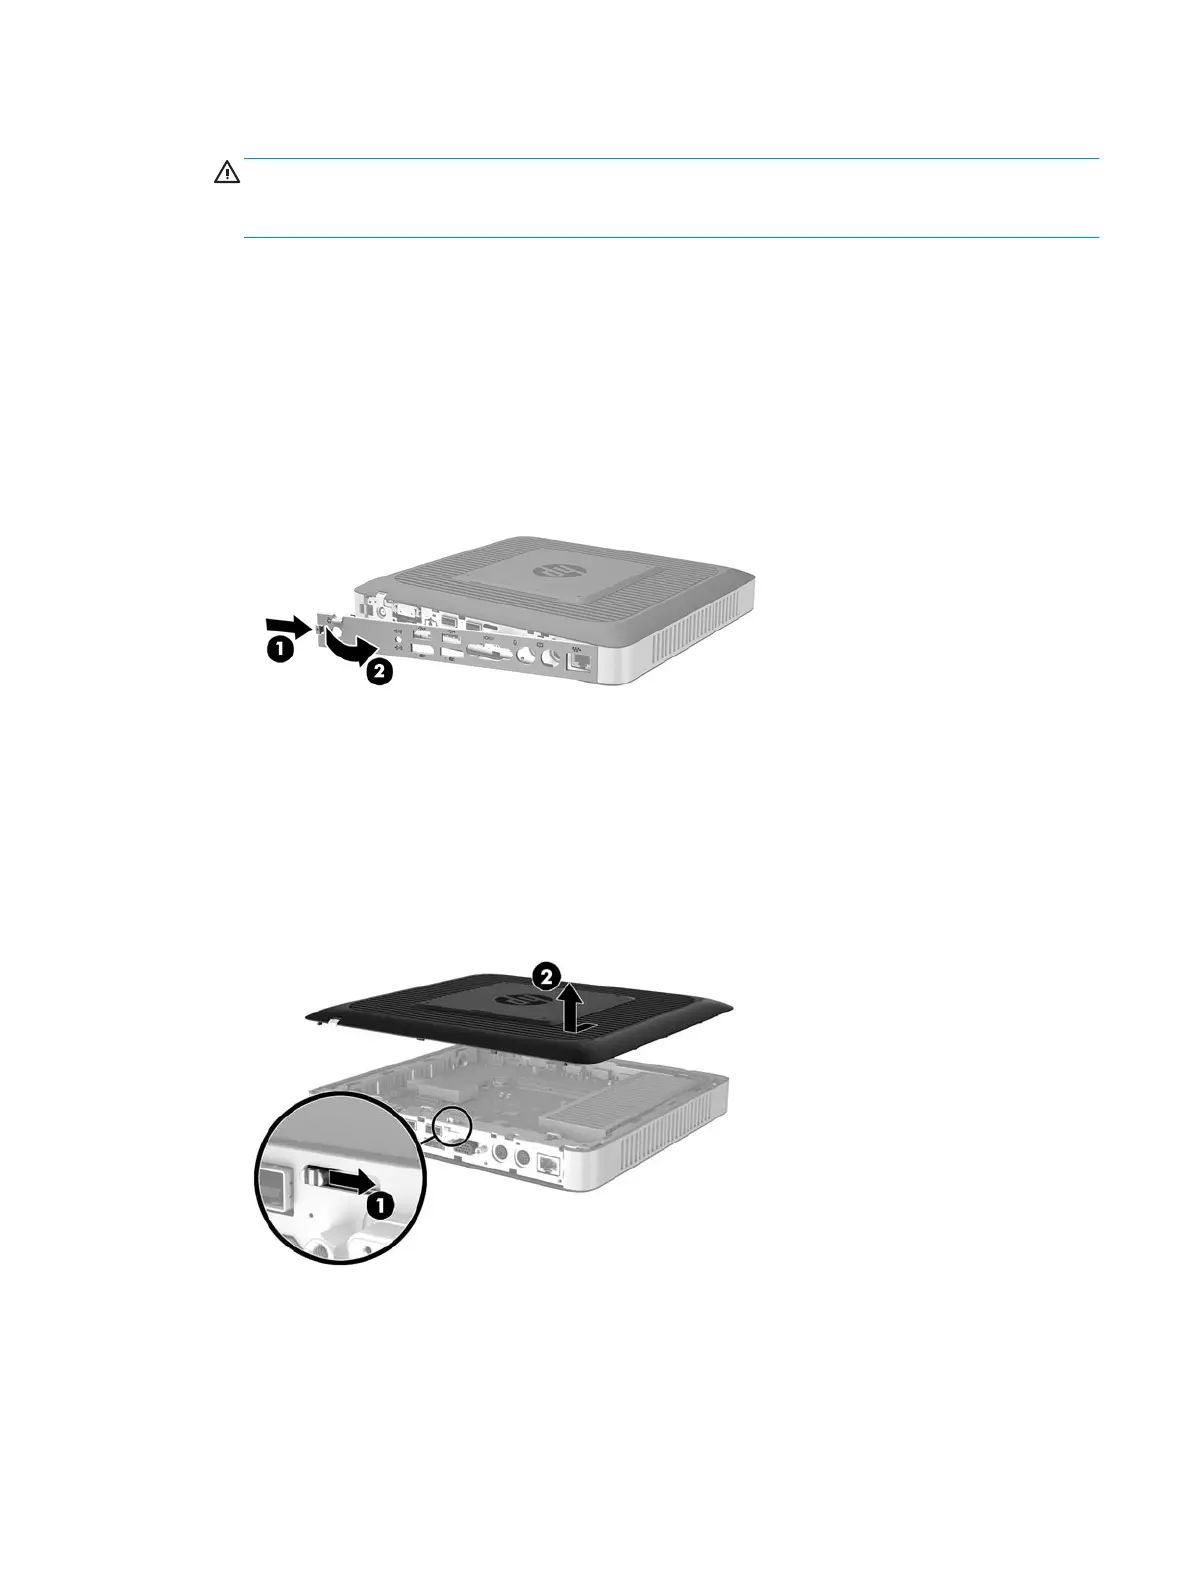
7. Release the latch (1) on the left side of the rear I/O panel, rotate the I/O panel (2) to the right, and then
lift it o the thin client.
8. Move the access panel latch (1) to the right to release the access panel.
9. Slide the access panel approximately 6 mm (.24 in) toward the back of the chassis, and then lift the
panel o of the thin client (2).
Removing and replacing the access panel 17
 Loading...