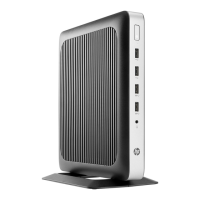
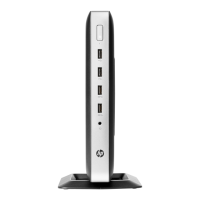
6. Position the unit at on a stable surface with the right side up.
7. Remove the thin client access panel. See Removing and replacing the access panel on page 16.
WARNING! To reduce risk of personal injury from hot surfaces, allow the internal system components
to cool before you touch them.
8. Locate the memory module on the system board. See Locating internal components on page 19.
9. To remove a memory module , press outward on the two latches on each side of the memory module (1),
rotate the memory module up, and then pull the memory module out of the socket (2).
10. Slide the new memory module (1) into the socket at approximately a 30° angle, and then press the
memory module down (2) so that the latches lock it in place.
NOTE: A memory module can be installed in only one way. Match the notch on the module with the tab
on the memory socket.
11. Replace the access panel. See Removing and replacing the access panel on page 16.
12. Replace the thin client stand.
13. Reconnect external devices, reconnect the power cord, and then turn the thin client on.
14. Lock any security devices that were disengaged when the thin client access panel was removed.
The thin client automatically recognizes the new memory when you turn on the thin client.
26 Chapter 3 Hardware changes
 Loading...