System board
Description Spare part
number
System board equipped with an Intel Atom x5-z8350 processor and a graphics subsystem with UMA memory (includes replacement
thermal material)
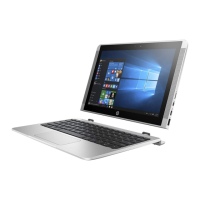
For use in HP x2 210 G2 models:
128-GB eMMC hard drive (SoC), 4 GB of system memory, and the Windows 10 operating system 903879-601
128 eMMC hard drive (SoC), 4 GB of system memory, and Windows 7 or a non-Windows operating system 903879-001
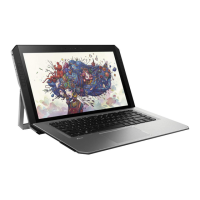
For use in HP x2 and HP x2 210 G2 models:
64-GB eMMC hard drive (SoC), 4 GB of system memory, and the Windows 10 operating system 902254-601
64-GB eMMC hard drive (SoC), 4 GB of system memory, and Windows 7 or a non-Windows operating system 902254-001
32-GB eMMC hard drive (SoC), 2 GB of system memory, and the Windows 10 operating system 902251-601
32-GB eMMC hard drive (SoC), 2 GB of system memory, and Windows 7 or a non-Windows operating system 902251-001
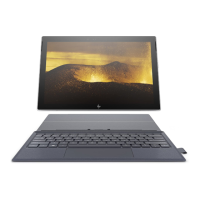
For use in HP x2 models:
64-GB eMMC hard drive (SoC), 2 GB of system memory, and the Windows 10 operating system 902252-601
64-GB eMMC hard drive (SoC), 2 GB of system memory, and Windows 7 or a non-Windows operating system 902252-001
32-GB eMMC hard drive (SoC), 4 GB of system memory, and the Windows 10 operating system 902253-601
32-GB eMMC hard drive (SoC), 4 GB of system memory, and Windows 7 or a non-Windows operating system 902253-001
Before removing the system board, follow these steps:
1. Turn o the tablet. If you are unsure whether the tablet is o or in Hibernation, turn the tablet on, and
then shut it down through the operating system.
2. Disconnect the power from the tablet by unplugging the power cord from the tablet.
3. Disconnect all external devices from the tablet.
4. Remove the back cover (see Back cover on page 22).
5. Remove the LCD shield (see LCD shield on page 28).
6. Remove the battery (see Battery on page 29).
7. Remove the left speaker (see Speakers on page 30).
8. Remove the rear webcam (see Rear webcam module and lens on page 36).
Remove the system board:
1. Disconnect the following cables from the system board:
(1) Docking connector cable (see Docking connector (display) on page 24)
(2) RTC battery (see RTC battery on page 25)
(3) Audio board cable (see Audio board on page 32)
(4) Volume board cable (see Volume board on page 35)
(5) Power button board cable (see Power button board on page 33)
38 Chapter 5 Removal and replacement procedures
 Loading...