NOTE
Only the AP6310SN-GN and AP7110 series require the locking clip during their installation.
2. Remove two ceiling tiles around the T-rail, use screws to fix the adjustable buckle to the
mounting bracket, hook the adjustable buckle to the T-rail, and secure the screw on the
adjustable buckle to fasten the mounting bracket and T-rail.
1. T-rail 2. Adjustable buckle 3. M3x6 screws
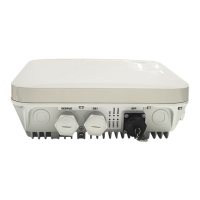
3. Align the mounting holes at the rear of the AP with the mounting screws on the sheet metal
mounting bracket and secure the AP on the bracket.
5G5G5G
5G
5G
5G
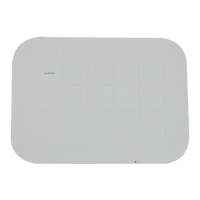
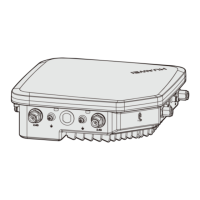
LABEL
SYS
Link
Wireless
2
1
NOTE
l Ensure that the AP is correctly installed on the mounting bracket and there must be 200 mm space
above and around the AP for maintenance.
l The AP5030DN and AP5130DN use a different type of sheet metal mounting bracket than other APs.
When installing an AP5030DN or AP5130DN, align the mounting screws at the rear of the AP with
the mounting holes on the sheet metal mounting bracket and then press the AP downwards to secure
the AP on the bracket.
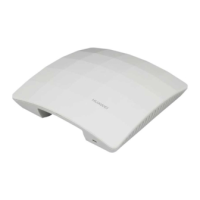
2.5.4 Removing an AP
To remove an AP, push the metal reed upward with a screwdriver and use the other hand to pull
the AP horizontally (See Figure 2-6).
NOTE
Only the AP6310SN-GN and AP7110 series require the locking clip during their installation. Therefore, the
method of removing an AP by pushing the metal reed upward applies only to the AP6310SN-GN and AP7010
series.
Huawei AP3x10xN&5x10xN&5x30xN&6x10xN&7x10xN
Hardware Installation and Maintenance Guide
2 AP Installation
Issue 11 (2015-05-18) Huawei Proprietary and Confidential
Copyright © Huawei Technologies Co., Ltd.
24

 Loading...