Installing the DIMM air baffle
To install the DIMM air baffle, complete the following steps.
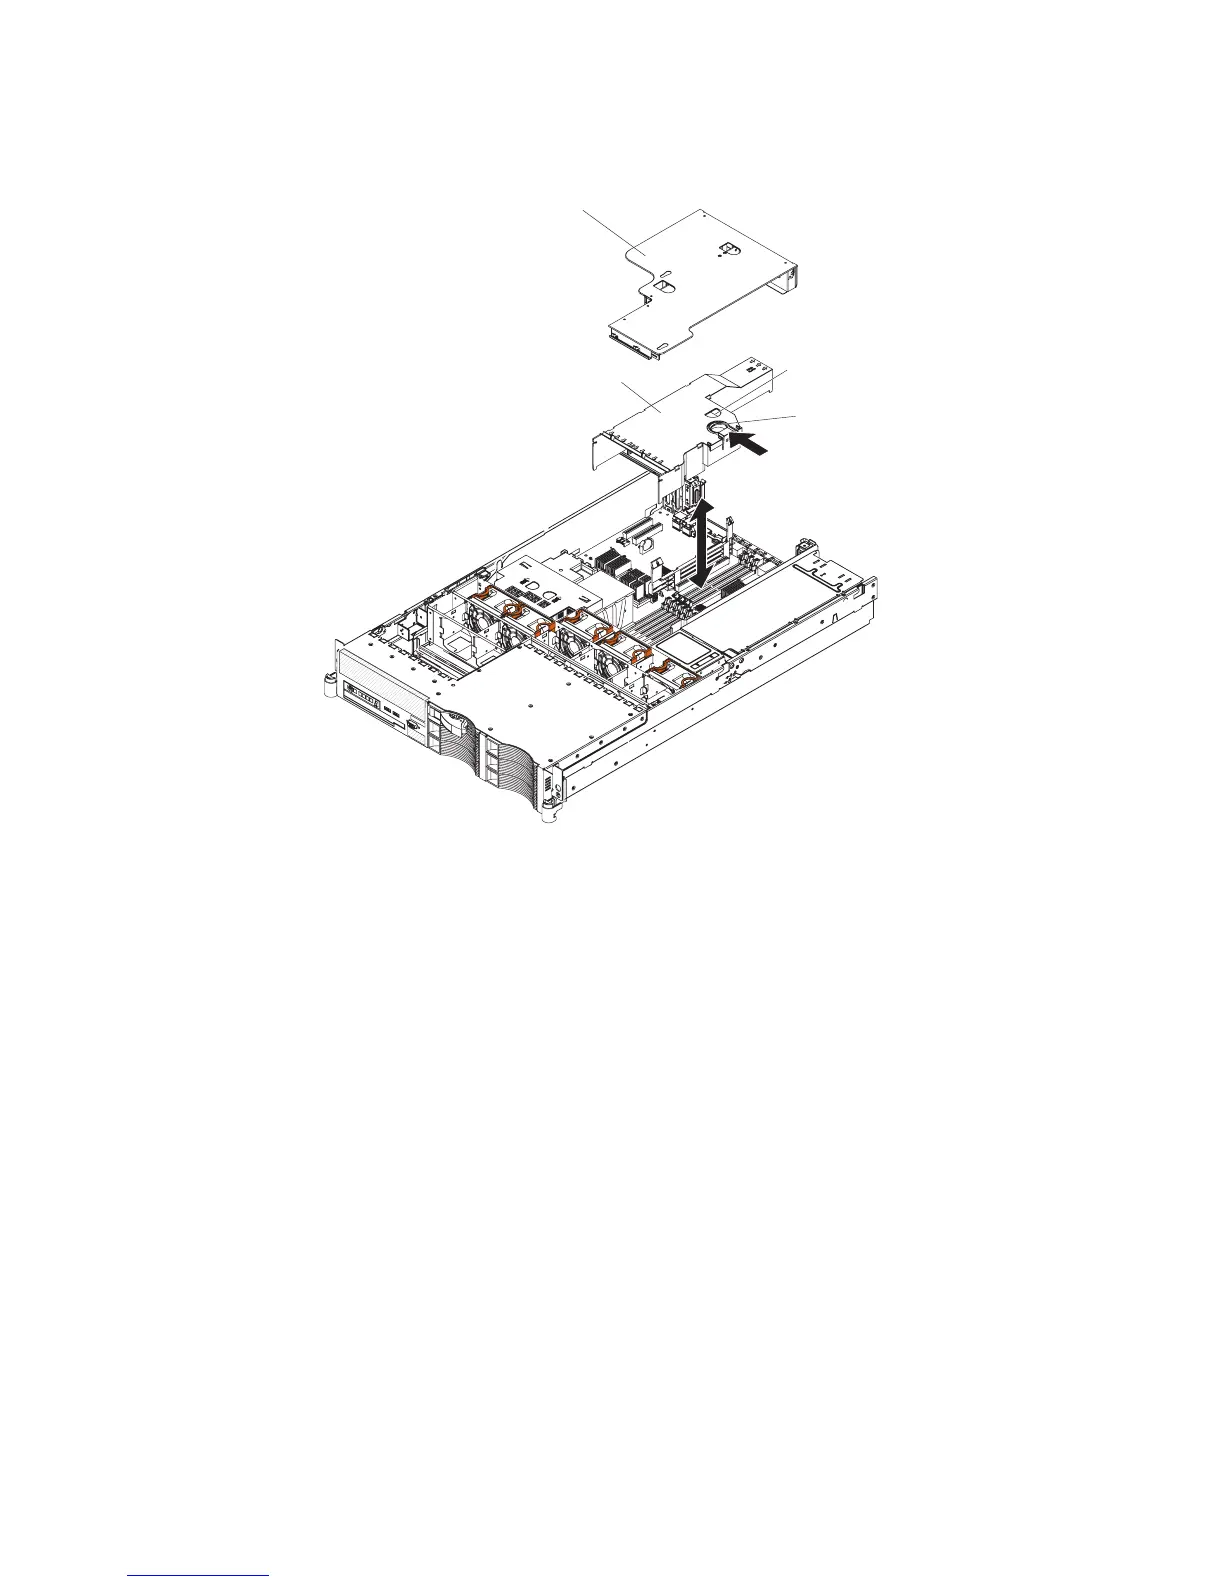
DIMM air baffle
Finger hole
Release ring
Riser card
assembly
1. Align the tabs on the sides of the air baffle with the slots on the power-supply
cage.
2. Place your fingers into the handle and opening on the top of the DIMM air
baffle.
3. Press the handle toward the opening and lower the air baffle so that the lip on
the right side of the baffle covers the lip on the side of the power-supply cage.
4. Press the DIMM air baffle into place.
5. Install the cover (see “Installing the cover” on page 91).
6. Slide the server into the rack.
7. Reconnect the external cables; then, reconnect the power cords and turn on the
peripheral devices and the server.
Attention: For proper cooling and airflow, replace the air baffle before turning on
the server. Operating the server with an air baffle removed might damage server
components.
Removing the riser-card assembly
The server comes with one riser-card assembly that contains two PCI Express x8
connectors. You can replace the riser-card assembly with one that contains two
PCI-X 64-bit 133 MHz connectors that support single-width IXA adapters. See the
ServerProven
®
list at http://www.ibm.com/servers/eserver/serverproven/compat/us/
for a list of riser-card assemblies that you can use with the server.
96 IBM System x3650 Type 7979 and 1914: Problem Determination and Service Guide
 Loading...


