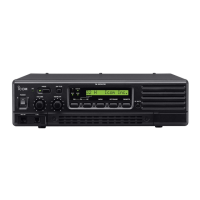
19
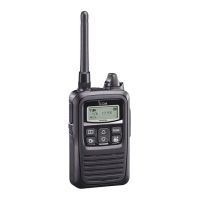
8
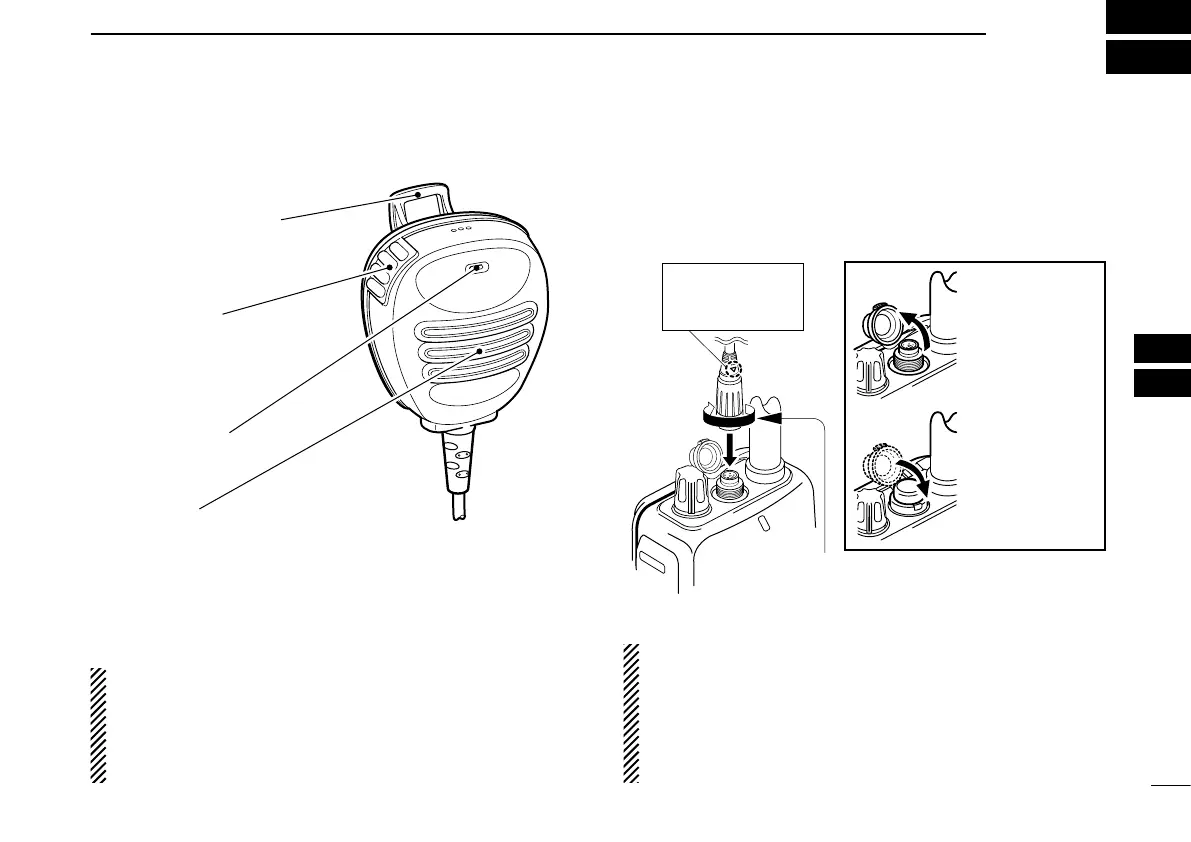
OPTIONAL SPEAKER-MICROPHONE (FOR ON-BOARD USE ONLY)
7
8
■ HM-125 description
NEVER immerse the connector in water without connecting
with the transceiver. If the connector becomes wet, be sure
to dry BEFORE connecting it to the transceiver.
NOTE: The microphone is located at the top of the
speaker-microphone, as shown in the diagram above. To
maximize the readability of your transmitted signal
(voice), hold the microphone approx. 5 to 10 cm from
your mouth, and speak in a normal voice level.
■ Attachment
Insert
the
speaker
-microphone's
connector
on to the [MIC/SP]
connector and
carefully screw it tight
, as shown in the dia-
gram below. Be careful not to cross thread the connection.
IMPORTANT: KEEP the transceiver’s [MIC/SP] connec-
tor cap attached when the speaker-microphone is not in
use. Water will not get into the transceiver even if the
cover is not attached, however, the terminals (pins) will
become rusty, or the transceiver will function abnormally
if the connector has become wet.
PTT switch
Transmits during push.
Receives during release.
Microphone
Speaker
Alligator type clip
To attach the
speaker-microphone
to your shirt or collar, etc.
Set the triangle
mark to the front
side.
CAUTION: Attach the speaker-microphone’s
connector securely to prevent accidental
dropping, or water intrusion in the connector.
Detaching:
Pull up the cap
in the direction
of the arrow to
detach it.
Attaching:
Attach the cap
in the direction
of t h e a r r ow
completely.

 Loading...