10
4
BASIC OPERATION
■ Receiving and transmitting
CAUTION: Transmitting without an antenna may damage
the transceiver.
q Push and hold [
] to turn power ON.
w Set the volume and squelch levels.
You can enter each adjust mode with [VOL/SQL MONI].
➥ Enter the squelch adjustment mode, and push [Z] sev-
eral times to open the squelch.
➥ Enter the volume adjustment mode, then push [Y]/[Z]
to adjust the volume level.
➥ Enter the squelch adjustment mode again, and push
[Y] until the noise disappears.
e Push [Y]/[Z] to select the desired channel.
• When receiving a signal, “ ” appears and audio is heard
from the speaker.
• Further adjustment of the audio may be necessary at this point.
r Push [Hi/Lo ] to select the output power if necessary.
• “LOW” appears when low power is selected; no indication when
high power is selected.
• Choose low power for short range communications, choose
high power for longer distance communications.
• Some channels are for low power only.
t Push and hold [PTT] to transmit, then speak into the
microphone.
• “ ” appears.
• Channel 70 cannot be used for transmission.
y Release [PTT] to receive.
IMPORTANT: To maximize the readability of your trans-
mitted signal, pause a few sec. after pushing [PTT], hold
the microphone 5 to 10 cm from your mouth and speak
into the microphone at a normal voice level.
NOTE: The transceiver has a power save function to con-
serve the battery power. The power save function acti-
vates automatically when no signal is received for 5 sec.
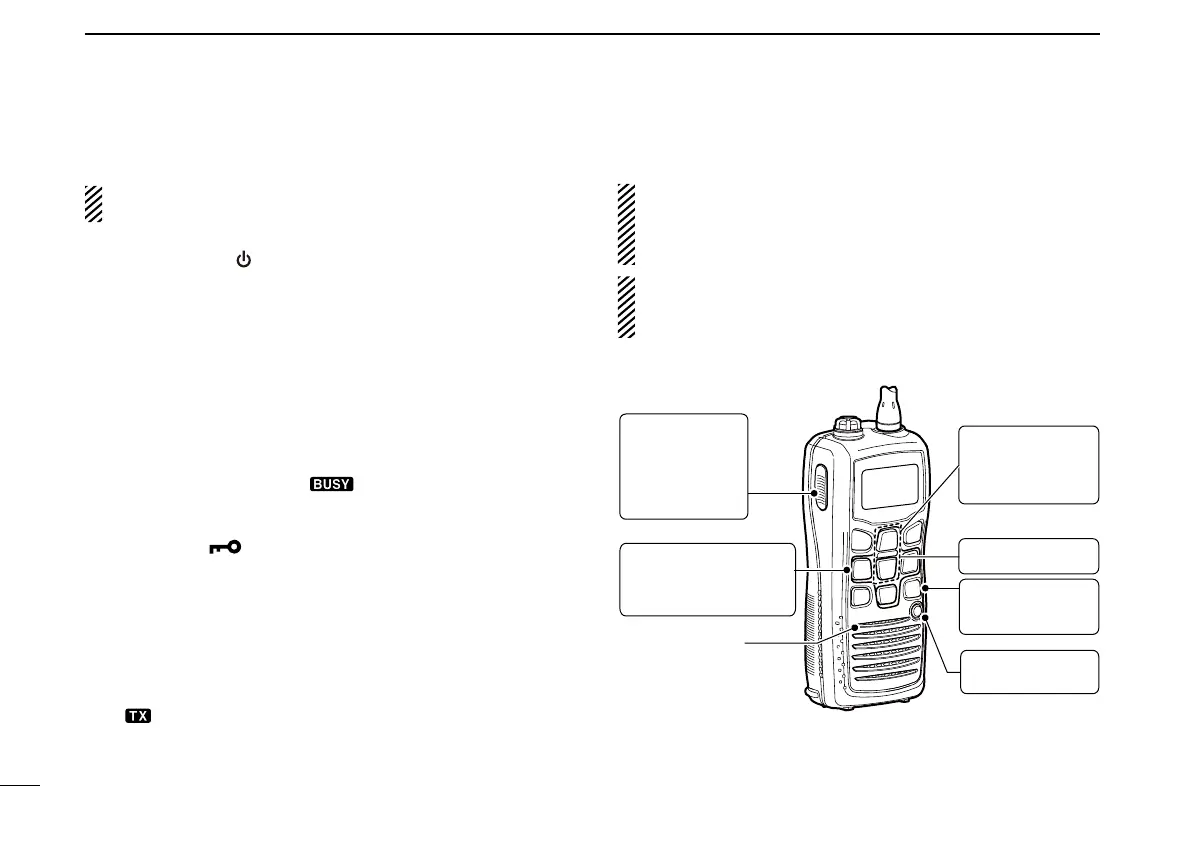
Microphone
r Set output
power.
q Power ON.
t Push to
transmit.
y Release to
receive.
e Set channel.
Enter the volume
and squelch ad-
justment mode.
w
w Adjust the
volume and
squelch
level.

 Loading...