11
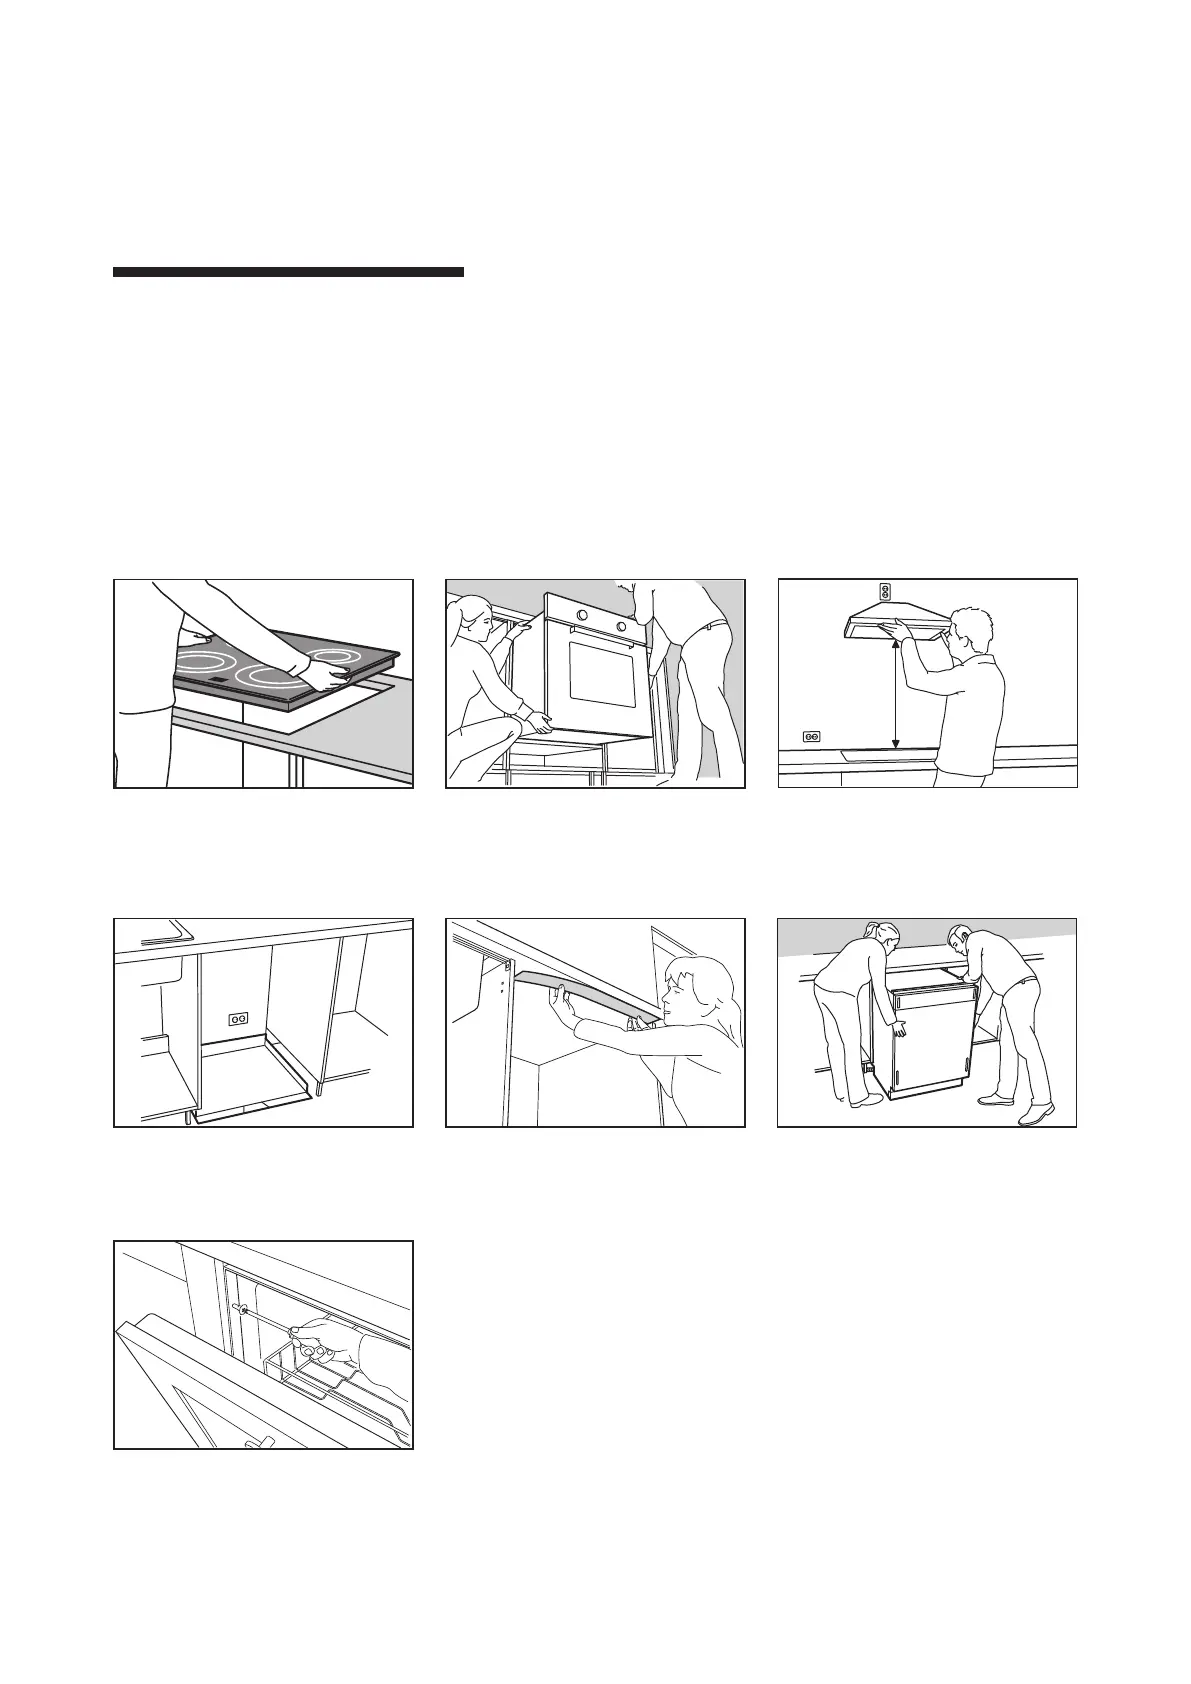
To install the hob, follow the assembly instruction
that comes with the hob. Attach the hob connectors
before you press the hob into the cut-out.
After the dishwasher has been connected to water
and electricity, follow the dishwasher installation
guide to adjust the height of the dishwasher.
In order to protect the bottom side and edges of the
worktop from the steam released when opening the
The oven cabinet has been prepared to hold the
built-in oven on top of the shelf. Keep in mind that
it requires two persons to carry and properly slide
the oven into position. Once in position, remember
to secure the oven, using the screws provided with
the oven.
Installing the appliances
Once the door is mounted, and the dishwasher is
level with the adjacent cabinets, you need to secure
the dishwasher by following the instructions in the
dishwasher installation guide.
Note: If you have a fully integrated dishwasher we
recommend that you wait to assemble the front onto
to the dishwasher until you mount the other kitchen
fronts. This makes it easier to align them.
When all worktop sections are secured and you’ve
given the silicone time to seal all raw edges of the
cut-outs, it’s time to start installing your appliances.
Throughout, be sure to follow the assembly instruc-
Note: All water, gas and electricity connections must
local safety regulations.
The extractor hoods at IKEA can be installed in two
ways: either in extraction mode (i.e. ducted to the
cabinet preparation is described in the assembly in-
struction of your extractor hood.
As you prepare for the dishwasher installation,
keep in mind that some countries require some
protection which holds some amount of water if the
water connections of the dishwasher should break.
Before you install your extractor hood, make sure
hob and extractor hood that is listed in the assembly
hood while you make the required preparations.
 Loading...