Attachments
Working with Attachments
89 9821/6100-4 89
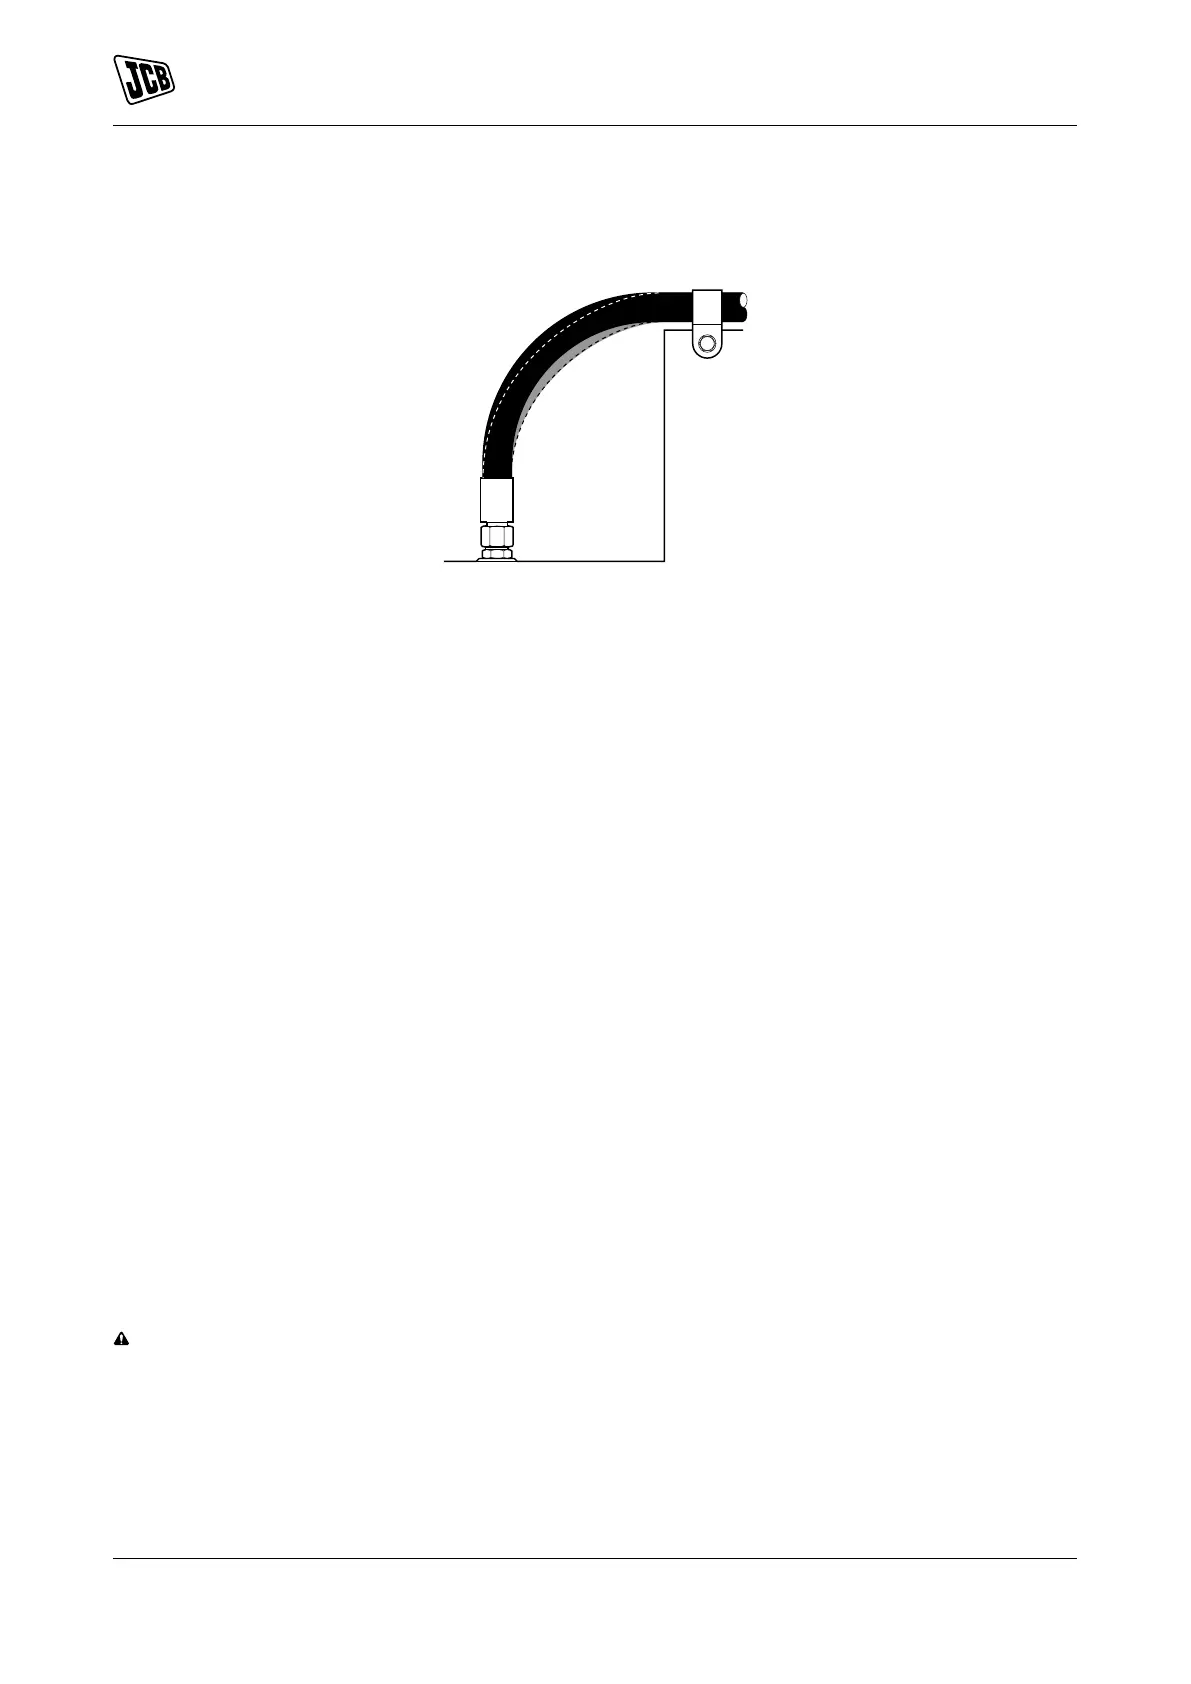
4.5. To allow for length changes when the hose is pressurised, do not clamp at the bend. The curve absorbs
the change.
Figure 75.
5. Check for leaks:
5.1. Start the engine.
5.2. Operate the related controls to increase the pressure in the hydraulic system.
5.3. Stop the engine then remove the ignition key.
5.4. Check for indications of leakage at the hose connections. Correct, as necessary.
Disconnecting the Hydraulic Hoses
1. Make the machine safe.
Refer to: Maintenance Positions (Page 122).
2. Vent the hydraulic system.
Refer to: Discharge (Page 147).
3. Disconnect the hoses.
4. Check the hoses and adaptors for damage.
Refer to: Checking For Damage (Page 107).
5. If necessary, install the blanking caps.
6. Check for leaks:
6.1. Start the engine.
6.2. Operate the related controls to increase the pressure in the hydraulic system.
6.3. Stop the engine then remove the ignition key.
6.4. Check for indications of leakage at the hose connections. Correct, as necessary.
Quick Release Couplings
WARNING The external surfaces of the couplings must be clean before connecting or disconnecting.
Ingress of dirt will cause fluid leaks and difficulty in connecting or disconnecting. You could be killed or
seriously injured by faulty quick release couplings.
The flat face quick release couplings allow the operator to remove and install attachments swiftly and efficiently.
Generally, your machine pipework will be installed with a female coupling and a male coupling. The optional
attachment hoses will also be installed with a female coupling and a male coupling.
 Loading...