– 10 –
3-18. Knot-tying mechanisms
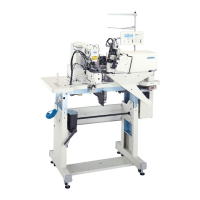
(1) Adjusting the knot-tying connecting plate
Loosen screws
1
and adjust so that a clearance of
1 to 1.5 mm
is provided between the needle
2
and
the knot tying plate
3
when the roller of the knot-
tying arm gets on the outmost periphery of the knot-
tying notch.
After the adjustment, ascertain that the needle
does not come in contact with the knot-tying
plate.
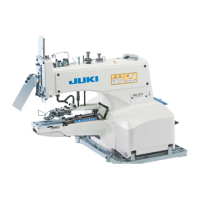
(2) Adjusting the knot-tying arm stopper
When starting the sewing machine and the roller of
knot-tying arm does not come into contact with the
knot-tying notch, loosen screws
3
and adjust w
ith
stopper
4
so that outside periphery
1
of the needle
hole almost aligns with top end
2
of the knot-tying
plate.
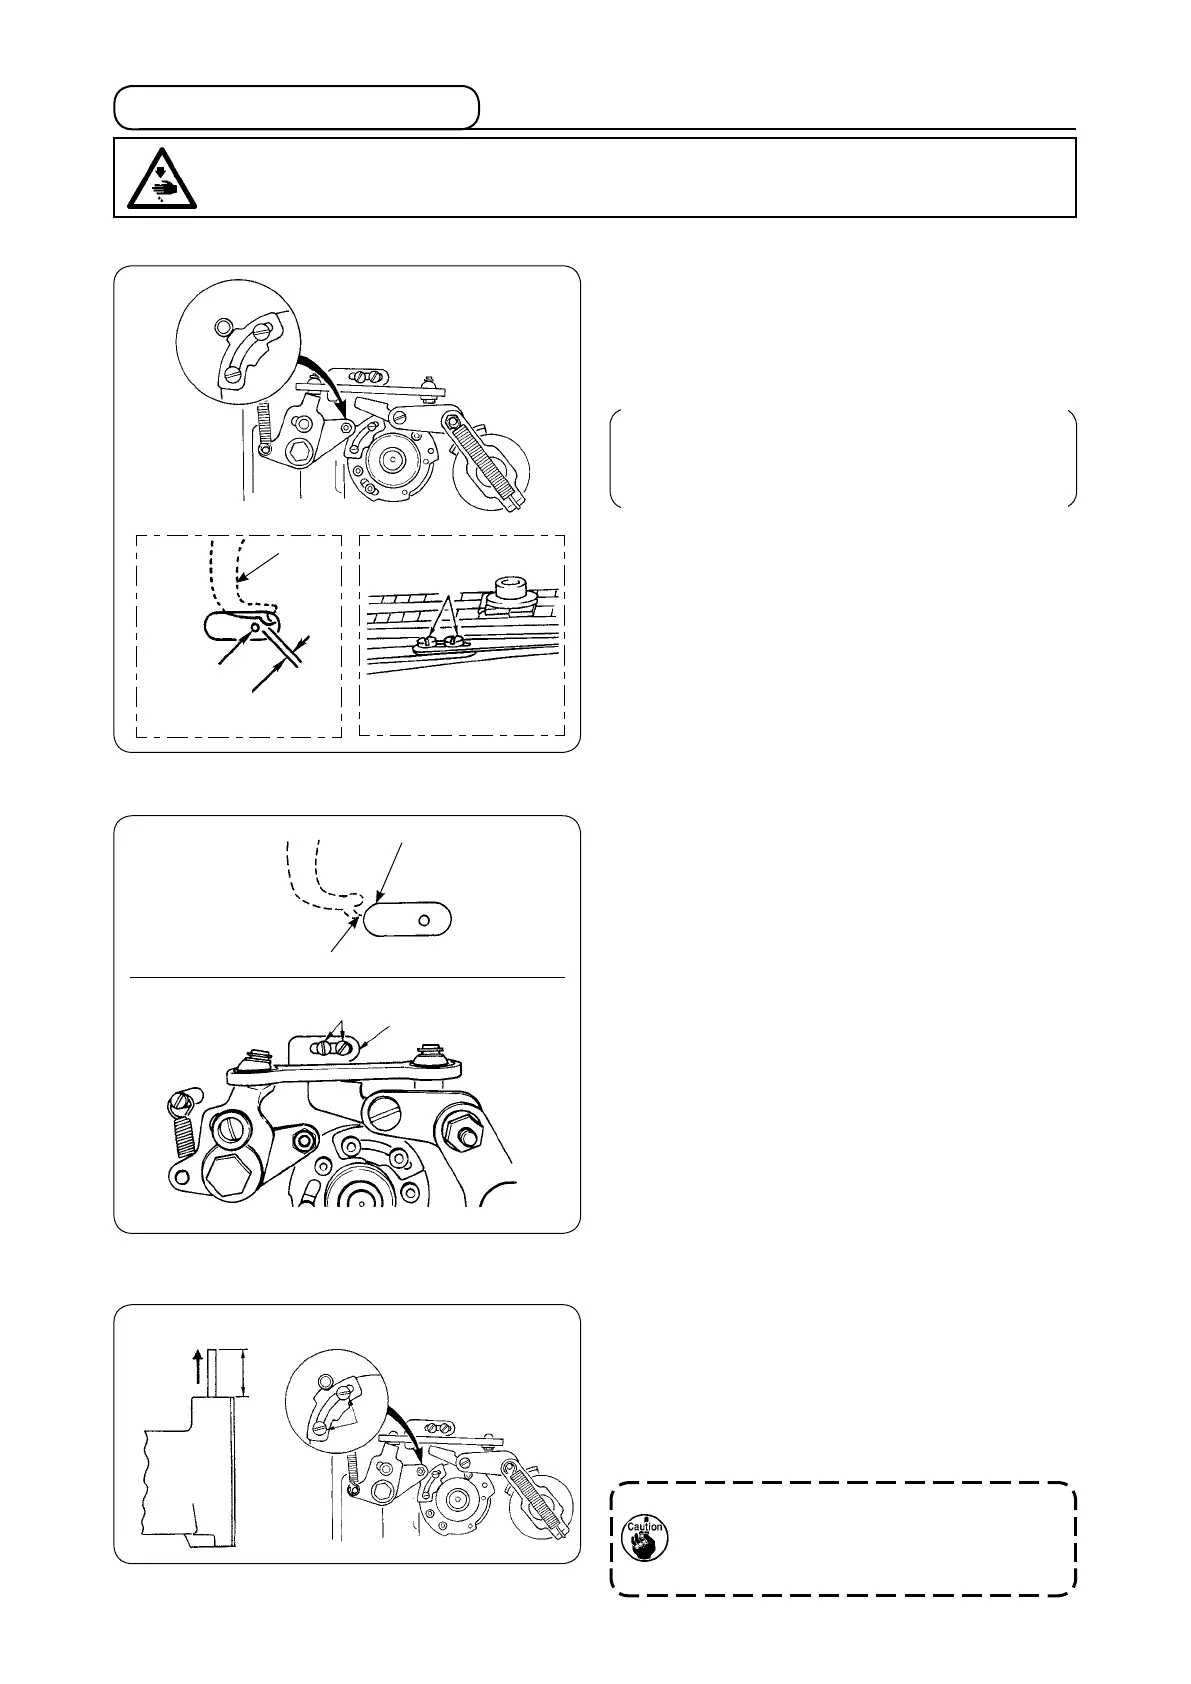
(3) Adjusting the knot-tying notch
Loosen screws
1
and adjust so that the roller of the
knot-ty
ing arm comes in contact with the knot-tying
notch when the needle bar goes up at the fourteenth
stitch as high as 30 to 35 mm (40 to 45 mm when a
TQ x 7 needle is used) above the needle bar upper
bushing.
If two knot-tying notches are to be installed
(w i t ho u t c r o s s o v e r st i t c h ) , m ak e t h e
aforementioned adjustment at the 6th and
14th stitches.
WARNING :
To protect against possible personal injury due to abrupt start of the machine, be sure to start the
following work after turning the power off and ascertaining that the motor is at rest.
1 to 1.5 mm
2
1
3
2
1
3
4
30 to 35 mm
1
 Loading...