NOTE: To connect the DC source to an ACX7024 router, use a 12 AWG and 75°C temperature-rated or 14
AWG and 90°C temperature-rated stranded copper wire. To connect the DC power source to an ACX7024
in a data center or a central oce, use a 14 AWG DC wire.
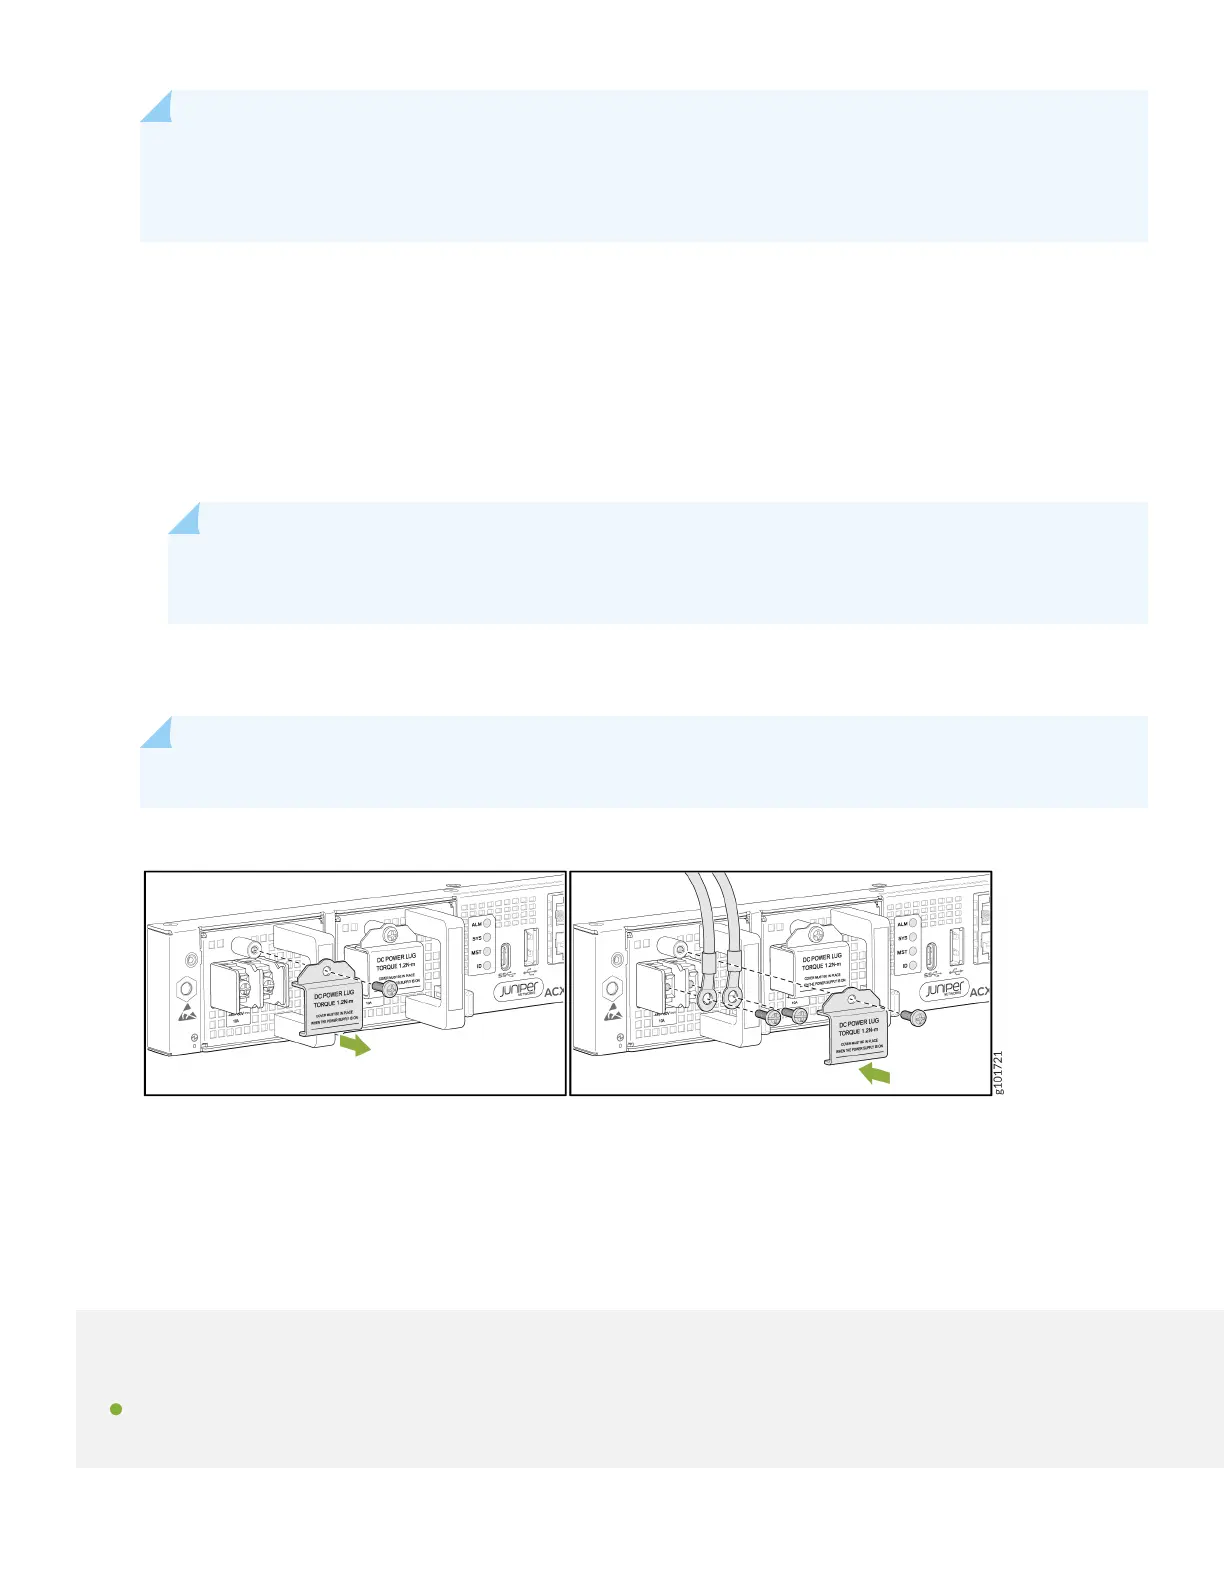
a. Secure the ring lug of the posive (+) DC power source cable to the RTN (return) terminal on the DC power
supply module using one of the terminal screws.
b. Secure the ring lug of the negave (–) DC power source cable to the –48V (input) terminal on the DC power
supply module using the other terminal screw.
c. Tighten the screws on the power supply module terminals unl snug using the Phillips number 2 screwdriver.
Do not overghten—apply 1.2 N-m of torque to the screws.
NOTE: Aer the input DC wires are crimped to the wiring lugs, cover the lugs and crimped area with a
suitable heat shrink sleeve to avoid exposed bare lug or crimped areas.
11. Replace the terminal block cover. Apply 0.5 N-m of torque to the screws.
12. Close the input circuit breaker.
NOTE: The switch powers on as soon as you connect it to power.
Step 2: Up and Running
IN THIS SECTION
Customize the Basic Conguraon | 7
6

 Loading...