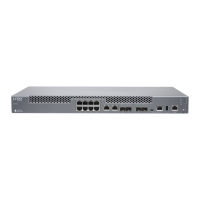
Now that the ACX7024 is powered on, let’s do some inial conguraon to get it up and running on the network. It’s
simple to congure and manage the ACX7024 using the CLI.
Plug and Play
The ACX7024 router ships with factory-default sengs that enable plug-and-play operaon. These sengs load as
soon as you power on the router.
Customize the Basic Conguraon
You can easily customize the factory-default conguraon with just a few commands. Inially, you’ll need to make
changes through the console port. Aer you congure the management port, you can access the ACX7024 using SSH
and make addional conguraon changes. You can always revert to the factory-default conguraon whenever you
want.
Have the following informaon ready before you begin customizing the router:
• Hostname
• Root authencaon password
• Management port IP address
• Default gateway IP address
• IP address and prex length of remote prexes
• (Oponal) SNMP read community, locaon, and contact informaon
1. Verify that the following default serial port sengs are congured on your laptop or desktop PC:
• Baud Rate—9600
• Flow Control—None
• Data—8
• Parity—None
• Stop Bits—1
• DCD State—Disregard
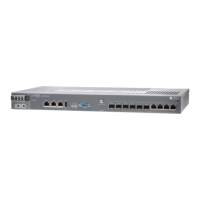
2. Connect the console port on the ACX7024 to a laptop or desktop PC using the RJ-45 cable and RJ-45 to DB-9
adapter. The console (CON) port is the lower RJ-45 port on the le side of the port panel.
7

 Loading...