REVERSE GEAR SIGNAL
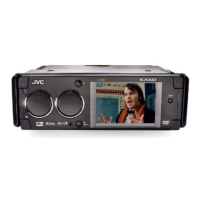
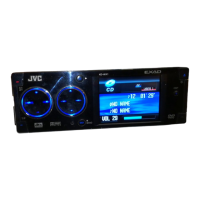
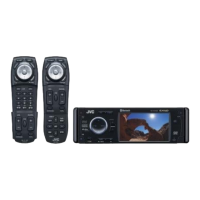
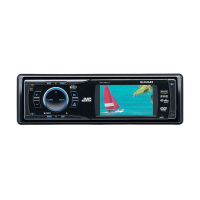
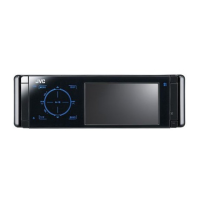
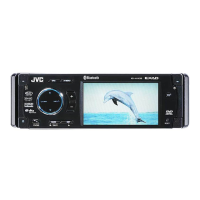
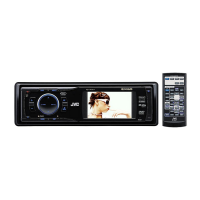
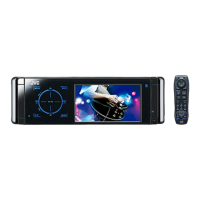
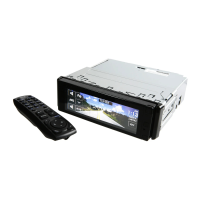
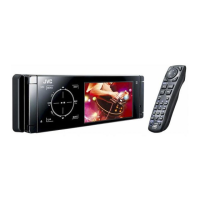
KD-AVX2
B
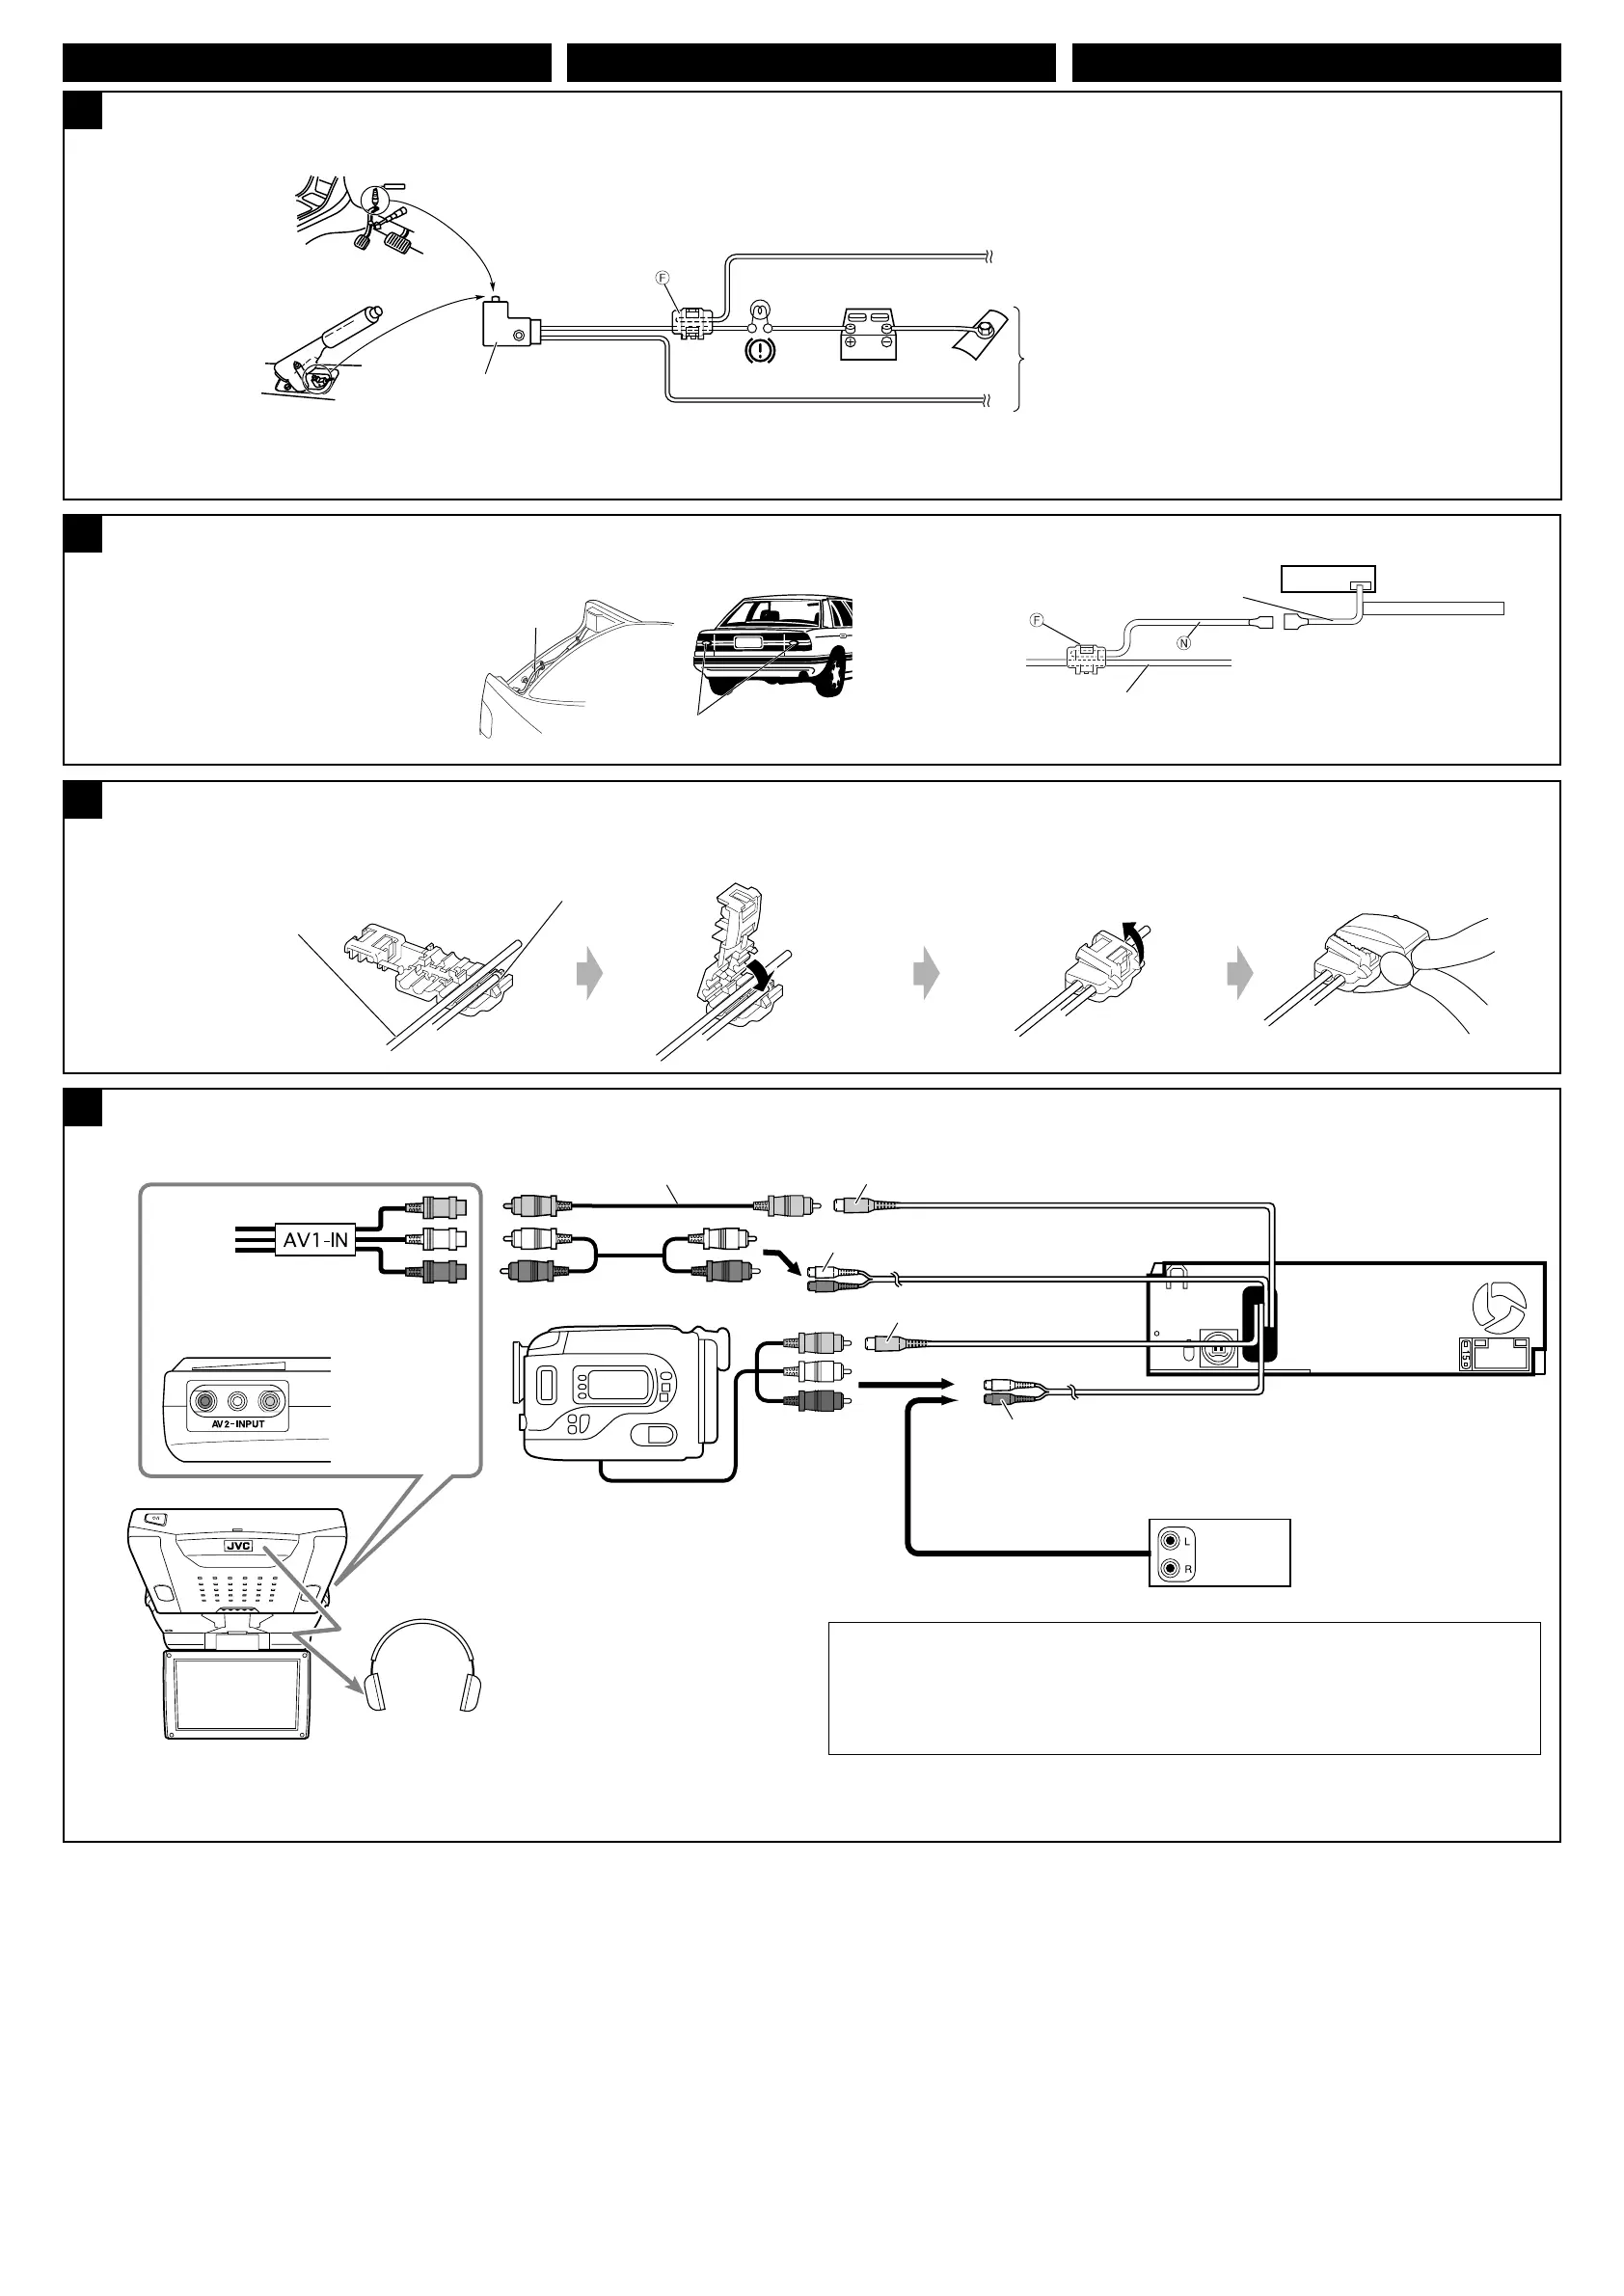
Connecting the parking brake wire / ોг˿۬Կዘሉ / µËÕ“¬‡∫√°¡◊Õ
Connect the parking brake wire to the parking brake system built in the car.
Connecting the crimp connector*
3
/ ોгҜʫોᏄ*
3
/ «‘∏’µËÕ¢—È«µËÕ”À√—∫Àπ’∫*
3
D
Connections for external compornent playback / ௱ஈέᆒ؟ો / °“√µËÕ‡æ◊ËÕ‡≈ËπÕÿª°√≥Ï¿“¬πÕ°
E
અ˾۫ԾለвԾ˖ڄ˾۫ԾԦé
µËÕ“¬‡∫√°¡◊Õ°—∫√–∫∫‡∫√°¡◊Õ¢Õß√∂¬πµ
Parking brake wire (light green)
˾۫Ծለଠႋи
«‘µ™Ï‡∫√°¡◊Õ (’‡¢’¬«ÕËÕπ)
To metallic body or chassis of the car
вہᚙᝂԆԾנᇟ
µËÕ°—∫‚§√ß‚≈À–À√◊Õ‡™´‘¢Õß√∂¬πµú
Parking brake switch (inside the car)
˾۫ԾළᘕтʝԾ˖
«‘µ™Ï‡∫√°¡◊Õ (¿“¬„π√∂)
Parking brake
˾۫Ծ
‡∫√°¡◊Õ
Wire connecting the
battery and the parking
brake switch.
ྐЖ֜˾۫Ծළᘕڄ
ྐለé
“¬∑’˵ËÕ°—∫·∫µ‡µÕ√’Ë·≈–
«‘µ™Ï‡∫√°¡◊Õ
Attach the parking brake wire to this point.
˾۫ԾለвЏளé
Õ“¬‡∫√°¡◊Õ∑’Ë®ÿ¥π’È
Contact the metallic part of the crimp to the wires inside.
՟қʪᏃہᚙ௰˜֜˖௰ྐለ᙮é
„ÀÈË«π∑’ˇªÁπ‚≈À–¢Õßµ—«Àπ’∫—¡º—°—∫“¬¢È“ß„π
Pinch the crimp firmly.
қႌқʪᏃé
Àπ’∫„ÀÈ·πËπ
KS-HP2
Cordless headphones (not supplied) *
4
ለЫጅʿᎲʹጅಏա *
4
ÀŸø—ß·∫∫‰√È“¬ ( ‰¡Ë‰¥È„ÀÈ¡“æ√ÈÕ¡‡§√◊ËÕß) *
4
KV-MR9010
9-INCH WIDESCREEN MONITOR (not supplied)
9 ʭᅛၑܳΕʿᎲʹጅಏա
¡Õ𑇵Õ√Ï’®Õ°«È“ß 9 π‘È« (‰¡Ë‰¥È„ÀÈ¡“æ√ÈÕ¡‡§√◊ËÕß)
Video cord (not supplied)
ඁᏁྐងʿᎲʹጅಏա
“¬«‘¥’‚Õ ( ‰¡Ë‰¥È„ÀÈ¡“æ√ÈÕ¡‡§√◊ËÕß)
VIDEO OUT
2nd AUDIO OUT
*
4
To listen to disc playback sound while in Dual Zone operations (see page 30 of INSTRUCTIONS).
*
4
ࠜ࠱Ϛᕻࡌܗዬѕγၪᆑ؞ڄࡖᛏኌ՟·იاڄ୶30ࡗé
*
4
°“√ø—߇’¬ß®“°·ºËπ¥‘°Ï ¢≥–∑”ß“π„π¥ŸÕ—≈‚´π (Dual Zone) (¥ŸÀπÈ“ 30 ¢Õߧ”·π–π”)
Rear side
݈
¥â“πÀ≈—ß
or / / À√◊Õ
VIDEO IN
LINE IN
External component
௰இά
Õÿª°√≥Ï¿“¬πÕ°
Camcorder, rear view camera, etc.
ྰጅçࠌඁຖߟጅçമമé
°≈ÈÕß«‘¥’‚Õ °≈ÈÕß¡ÕßÀ≈—ß œ≈œ
Connecting the back camera lead / ોҴທߠጆྑሉ / °“√µËÕ“¬‰ø”À√—∫°≈ÈÕߥȓπÀ≈—ß
C
Locate the back lamp lead in the
trunk.
ϚмӨᇶӗҳጜྐለé
À“µ”·ÀπËß“¬‰ø¢Õ߉ø∑È“¬√∂¬πµÏ„πΩ“°√–
‚a√ßÀ≈—ß
To back lamp
вҳጜ
µËÕ°—∫‰ø∑È“¬
Back lamp lead
ҳጜྐለ
“¬‰ø¢Õ߉ø∑È“¬√∂¬πµÏ
Back lamp lead
ҳጜྐለ
“¬‰ø¢Õ߉ø∑È“¬√∂¬πµÏ
To car battery
вԆԾྐЖ
µËÕ°—∫·∫µ‡µÕ√’Ë√∂¬πµÏ
*
3
*
3
Purple with white stripe
ാиପΎиঙ
’¡Ë«ß·∂∫¢“«
Back lamps
ҳጜ
‰ø∑È“¬√∂¬πµÏ
ENGLISH ‰∑¬
4
ˁ
Instal4-6_KD-AVX2[U].indd 4Instal4-6_KD-AVX2[U].indd 4 2/8/06 6:31:50 PM2/8/06 6:31:50 PM
 Loading...