ENGLISH
ESPANOL
FRAN<;:AIS
ELECTRICAL
CONNECTIONS
CONEXIONES
ELECTRICAS
RACCORDEMENTS
ELECTRIQUES
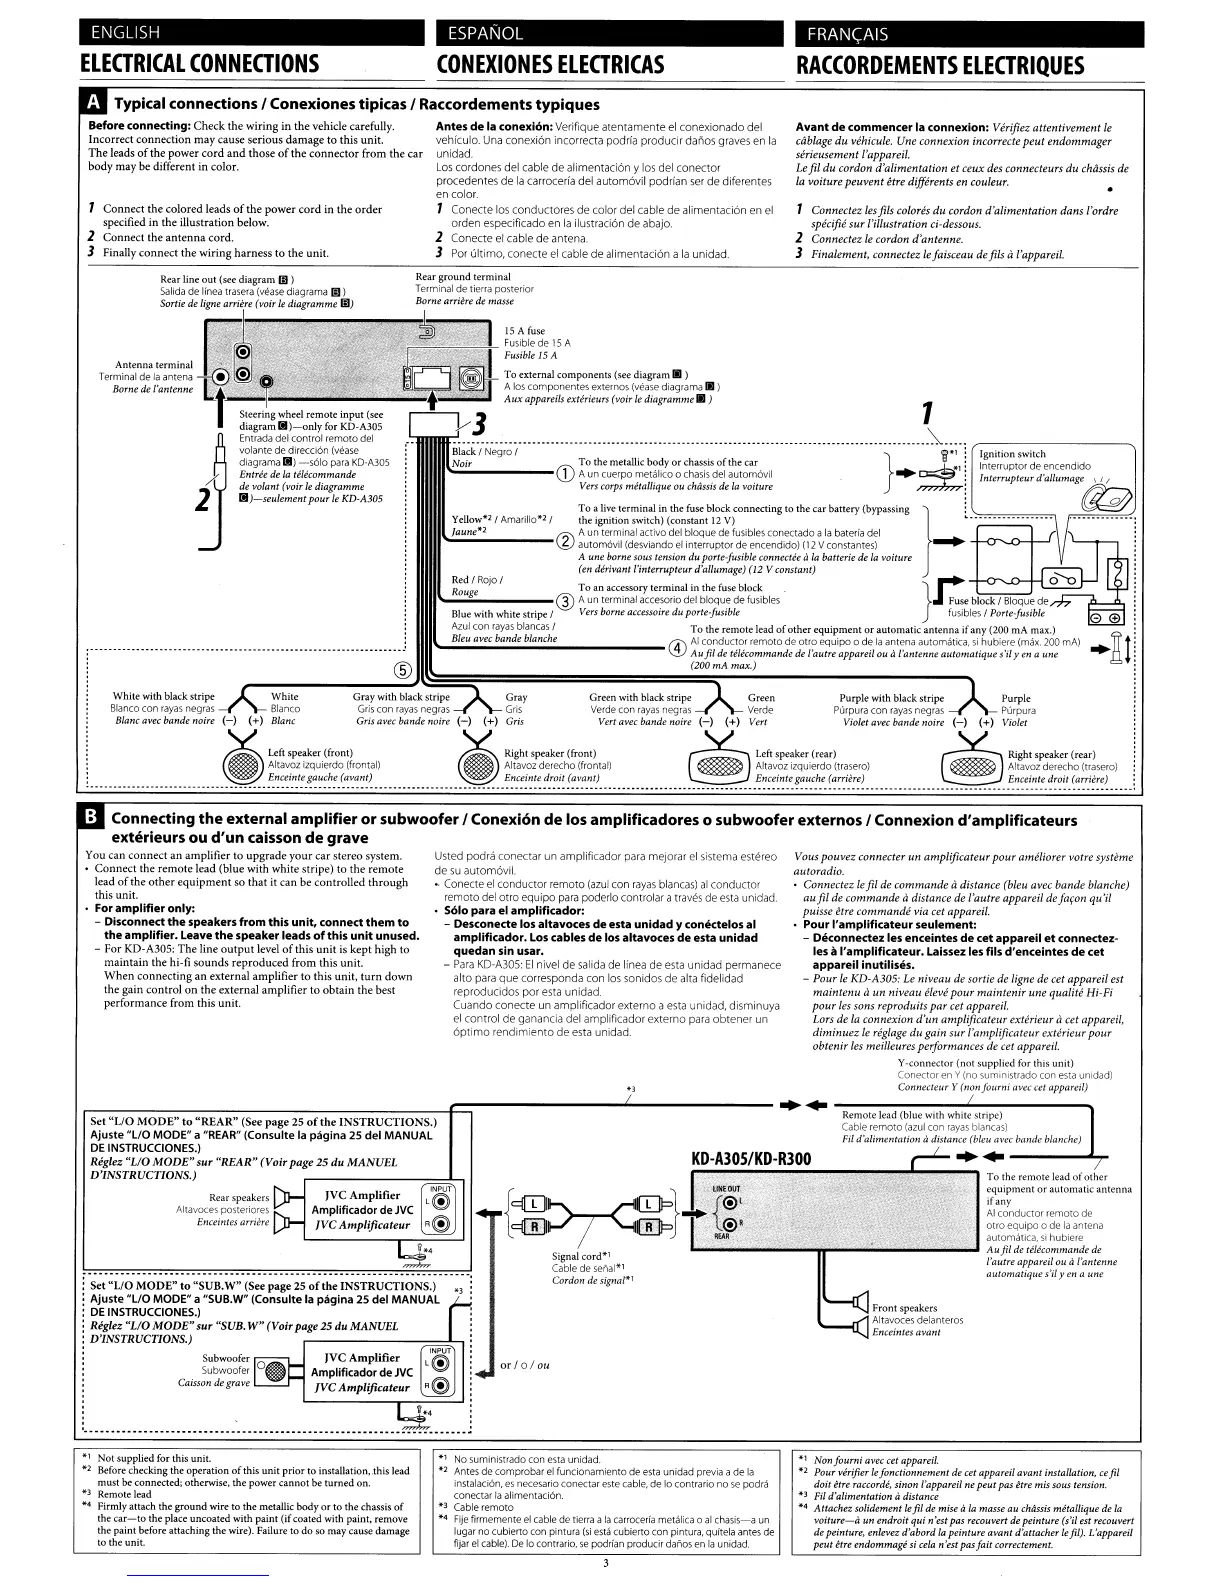
Typical connections I Conexionestipicas I Raccordements
typiques
Before
connecting:
Check
the wiring in the vehicle carefully.
Incorrect connection may cause serious damage to this unit.
The
leads
of
the power
cord
and
those
of
the
connector
from the
car
body may be different in color.
Connect the colored leads
of
the
power
cord in the
order
specified in the illustration below.
1 Connect the
antenna
cord.
J Finally connect the wiring harness
to
the unit.
Antes
de
la
conexi6n:
Verifique atentamente el conexionado del
vehiculo. Una conexi6n incorrecta podria producir danos grave:; en
la
unidad.
Los
cordones
del
cable
de alimentacion y
los
del
(onector
procedentes
de
la
carroceria del autom6vil podrian ser
de
diferentes
en
color.
1
(onecte
los
conductores
de
color
del
cable
de
alimentaci6n
en
el
orden
especificado
en
la
ilusuaci6n
de
abajo.
2
(oneete
el
cable
de
antena.
3 Por ultimo,
conecte
el
cable
de
alimentaci6n
a
la
unidad.
Avant
de
commencer la connexion: Verifiez
attentivement
Ie
cablage
du
vehicule. Une
connexion
incorrecte
peut
endommager
serieusement
l'appareil.
Le
fil
du
cordon
d'alimentation
et
ceux
des connecteurs
du
chassis
de
la voiture
peuvent
fire differents en couleur.
Connectez
les fils colores
du
cordon
d'alimentation
dans
l'ordre
specifie
sur
l'illustration ci-dessous.
2
Connectez
Ie
cordon
d'antenne.
3 Finalement,
conneetez
Ie
faisceau
de
fils al'appareil.
Rear ground terminal
Terminal
de
tierra posterior
Borne arriere
de
masse
Rear line out (see diagram
III)
Salida
de
linea trasera (vease diagrama
(;J)
Sorti,
d,
In~~'
(voi,
I,
diag<amm,
Ill)
Antenna terminal I
~J~
Ter;~~~;
~~
:~a~~;:~:
t®
~
~
.
t
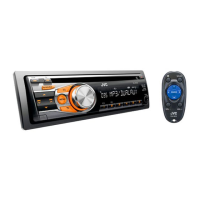
Steering wheel remote
input
(see
diagram
11)-only
for
KD·A30S
1
Entrada del control remote del
volante
de
direcci6n (vease
dlagrama
iii)
-5610
para
KD·A30S
A'
~;~:1~~~
~:1:~:Od7;;;an;~e
2
rI)-seufement
pour
Ie
KD·A30S
~
I tS A Ius,
~
~~::~~~~;~SA
~
To external components (see
dIagram.
)
. d
~1
A
los
componentes externos (vease
dlagrama.
)
-.;....J
Aux appam& exltn,urs (VOl<
l<dlag,amm,.)
1
)/3
.....................................................................................................
\.
.....
,---------.,
Bla~k
/ Negro / }
~*1
~
Ignition switch
NOlr
f1'\
To the metallic body or chassis
of
the car
..
~,
::::
Interruptor de encendido
'.1J
A un cuerpo metalico a chasis
.del
autom6vil 1
d'
ff
Vers
corps
metallique
ou
chaSSIS
de
fa
voiture nterrupteur a
umage~
To a
live
terminal
in
the
fuse
block connecting to the car battery
(bypaSSing}
:
~
Yellow*2/ Amarillo*2/ the ignition switch) (constant
12
V)
.....
~..................
.
••••••••••••••
-.:.;;;;;;,;-----@
:u~~~~~/~~~:~i~~~~~11
~~~~~~p~~rf~~~~~~~~i~~)a~~
~1~ob:s\~~~:s~1
+-cr--..c>-4---'
A une borne
sous
tension
du
portejusibfe connectee a
la
batterie
de
la
voiture
(en
derivant l'interrupteur d'allumage) (12 V constant)
To an accessory termlOallO the
fuse
block }
,..
-+-<Y'-':>-H
0'0
....
....:;...
@ Aun terminal accesOrIo del bloque
de
fuslbles J Fuse block / Bloque
de
Blue
WIth
white stripe /
Vers
borne
accessOlre
du
porte-fusible fusibles I Porte-fusible
Azul
con
rayas
blancas I To the remote lead
of
other equipment
or
automatic antenna ifany (200 rnA max.) ,
....................................................................
Bleu
av<c
band,
blanch, ®
~lufi71:~;~~~:':~~::d~t;~~~j~p~~~,':::t~~~I:~~~~::~~:;i~~
~~~:r):;::~
mAl
..
K!
::
®
~~m~
White with black stripe White Gray with black stripe Gray Green with black stripe Green Purple with black stripe Purple
Blanco
con
rayas
negras Blanco
Gris
con rayas negras
Gris
Verde con rayas negras Verde Purpura con
rayas
negras Purpura
Blanc avec bande noire
(-)
(+)
Blanc
Gris
avec
ba1lde
noire
(-)
(+)
Gris
Vert
avec bande noire
(-)
(+)
Vert
Violet avec bande noire
(-)
(+) Violet
~
Left
speak"
(fmnt)
~
Right
speaker
(fmnt)
~
Left
speak"
(,m)
~
Right
sp,ak"
(,m)
:
~
Altavoz
izquierdo (frontal)
~
Altavoz derecho (frontal)
~
Altavoz Izquierdo (trasero)
~
Altavoz
derecho (trasero) :
........•..•.
_.
•...
_
......•..
~~~~~.t~.~~~~~~.
~~~~~~~
..•.......•...•..••..•.....
_
~~~~~~~~
~:~!~
!~~~_~t!
_
..
_
.~~~~~~~~
~~~_c~_e_
~~~j~~~~
•••••••••
•••••••••••••••
__
~~~~i_n_r~_
~~~~t_
~~~~~~~~
•••••
1
Vous
pouvez
connecter
un
amplificateur
pour
ameliorer
votre systeme
autoradio.
•
Connectez
Ie
fil
de
commande
adistance (bleu avec
bande
blanche)
au
fil
de
commande
adistance
de
l'autre appareil de
fafon
qu'il
puisse eire
commande
via cet appareil.
• Pour I'amplificateur seulement:
-
Deconnedez
les enceintes
de
cet
apparell
et
connectez-
les
11
I'amplificateur. Laissez les fils
d'enceintes
de
cet
appareil inutilises.
-
Pour
Ie
KD-A305:
ie
niveau de
sortie de ligne de eet appareil est
mai"te'IU
a
un
niveau
eleve
pour
maifltenir
une
qualiM Hi-Fi
pour
les sons reproduils
par
eet appareil.
Lars
de
la
eonnexion
d'un
amplifieateur
exterieur
aeet appareil,
diminuez
Ie
reglage
du
gain
sur
{'amplifieateur
exterieur
pour
ablenir
ies meilleures
performances
de cet appareil.
Y-connector (nol supplied
for
this unit)
(onector
en
Y
{no
suministrado con esta unidadl
COllnecteur Y
(tlO', fourni ave,
cet
appareil)
.,
Usted
podra
conectar
un
amplificador
para
mejorar
elsistema
estereo
de
su
autom6vil.
•.
(onecte
el
conductor
remoto
(azul
con
rayas blancas)
al
conductor
remota
del
otro
equipo
para poderlo comrolar a traves
de
esta
unidad
.
•
5610
para el
amplificador:
- Desconecte los altavoces
de
esta
unidad y coneetelos al
amplificador.
Los
cables
de
los altavoces
de
esta
unidad
quedan
sin usar.
- Para
KD-A305:
EI
nivel
de
salida
de
linea
de
esta
unidad
permanece
alto
para
que
corresponda
con
los
sonidos
de
alta fidelidad
reproducidos
par
esta
unidad.
(vando
conecte
un
amplificador
externo
a
esta
unidad,
disminuya
el
control
de
ganancia
del amplificador
externo
para
obtener
un
optimo
rendimiento
de
esta
unidad.
Connecting
the
external amplifier
or
subwoofer
I Conexi6n
de
los amplificadores 0
subwoofer
externos
I Connexion d'amplificateurs
exterieurs
ou
d'un
caisson
de
grave
You
can
connect
an
amplifier
to
upgrade
your
car
stereo
system.
•
Connect
the
remote
lead
(blue
with
white
stripe)
to
the
remote
lead
of
the
other
eqUipment
so
that
it
can
be
controlled
through
this unit.
• For amplifier only:
- Disconnect
the
speakersfrom this unit,
conned
them
to
the
amplifier. Leave
the
speaker
leads of this unit unused.
-
For
KD·A305:
The
line
output
level
of
this
unit
is
kept
high
to
maintain
the
hi-fi
sounds
reproduced
from
this
unit.
When
connecting
an
external
amplifier
to
this
unit,
turn
down
the
gain
control
on
the
external
amplifier
to
obtain
the
best
performance
from
this
unit.
...
---~
Front speakers
Altavoces delanteros
Enceintes avant
*1
Non fourni avec
cet
appareil.
*2
Pour verifier Jefo1lctiofmement
de
cet
appareil avant installation,
ce
ftl
doit ltre
raccorde,
sinon l'appareil
ne
peut pas etre mis sous tension.
*3
Fit
d'afimefltation a distance
*4
Atta,hez solidement
ie
fil
de
mise Ii
fa
masse au ,htlssis metaflique
de
la
voiture-a
un endroit qui n'est pas recouvert de peinture (s'i/
est
recouvert
de
peinture, enlevez d'abord
ia
peinture avant d'atta,her leftl). L'appareil
peut etre endommage
si
cela
n'est pas fait correctement.
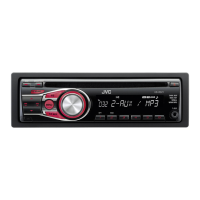
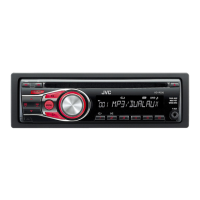
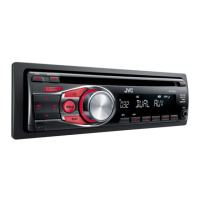
KD-A30S/KD-R300
,...
__
....
.L
..,
To the remote lead
of
other
t~
l
J""""""-
{lJt*:@l
~?:~~mentoraulomaticantenna
~
AI
conductor remoto
de
R R
(!)R
otroeqUipo 0
de
la
antena
llEAll
autol1"'l3tica,
si
hublere
1-
..,.,.
__
....
....
Aufil
de
tilicommande
de
~~~:l
~;~~~~I*'
l'autre appareil ou dl'antenne
automatique s'il y
en
a une
Cordon
de
5igllal*1
*1
No
suministrado con esta unidad
*2
Antes de comprobar
el
funcionamiento
de
esta unidad previa a de
la
instalaci6n. es necesario conectar este cable,
de
10
contra
ria
no se podra
conectar
la
alimentaci6n.
*3
Cable remoto
*4
Fije
firmemente
el
cable de tierra a
la
carroceria metalica 0
al
chasis-a
un
lugar no cubierto
con
pintura
(si
esta cubierto can pintura, quitela antes de
fijar
el
cable).
De
10
contrario, se podrian producir danos
en
la
unidad.
*1
Not
supplied
for
this unit.
*2
Before checking the operation
of
this unit prior to installation,.this lead
must
be
connected; otherwise, the power cannot
be
turned on.
*3 Remote lead
*4
Firmly attach the ground wire to the metallic body or to the chassis
of
the
car-to
the place uncoated with paint (ifcoated with paint, remove
the paint before attaching the wire). Failure to do
so
may cause damage
to the unit.
.--------------------f.:::;------
.......
------
....
-R-em-olC-le-ad-(bl-ue-w;t-hw-h;~lCS-";pc-)---
.....
Set
"LID
MODE"
to
"REAR"
(See
page
25
of
the
INSTRUCTIONS.)
Cable remoto (azul con raya, blanca,)
Ajuste
"LID
MODEn a "REAR"
(Consulte
la
pagina
2S
del
MANUAL
Fil
d'atimenrariofl a distance (bleu avec bande blanche)
DE
lNSTRUCCIONES.)
Regie.
"VO
MODE"
sur
"REAR" (Voir
page
25
du
MANUEL
D'INSTRUCTlONS.j

 Loading...