1-7
KS-F150
KS-FX12
16
ENGLISH
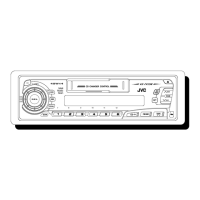
To fast forward or reverse the track
Press and hold ¢, while playing a CD, to fast forward the track.
Press and hold 4
, while playing a CD, to reverse the track.
To go to the next track or the previous track
Press ¢ briefly, while playing a CD, to go ahead to the beginning
of the next track. Each time you press the button consecutively, the
beginning of the next tracks is located and played back.
Press 4
briefly, while playing a CD, to go back to the beginning
of the current track. Each time you press the button consecutively, the
beginning of the previous tracks is located and played back.
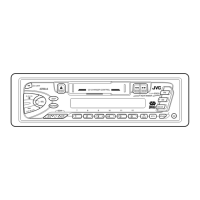
To go to a particular disc directly
Press the number button corresponding to the disc number to start its
playback.
• To select a disc number from 1 – 6:
Press 1 (7) – 6 (12) briefly.
• To select a disc number from 7 – 12:
Press and hold 1 (7) – 6 (12) for more than 1 second.
Ex. When disc number 3 is selected
Track number
Disc number
7 8 9 10 11 12
17
ENGLISH
Selecting CD playback modes
To play back tracks at random (Random Play)
Each time you press MO/RND (Mono/Random) while playing a CD, CD
random play mode changes as follows:
Mode RND Indicator Plays at random
RND1 Lights All tracks of the current disc, then the tracks of the
next disc, and so on.
RND2 Flashes All tracks of all discs inserted in the magazine.
To play back tracks repeatedly (Repeat Play)
Each time you press RPT/SCAN (Repeat/Scan) while playing a CD, CD
repeat play mode changes as follows:
Mode RPT Indicator Plays repeatedly
RPT1 Lights The current track (or specified track).
RPT2 Flashes All tracks of the current disc (or specified disc).
RND1 RND2 Canceled
(Random1) (Random2)
RPT1 RPT2 Canceled
(Repeat1) (Repeat2)
MO/RND
RPT/SCAN
MO/RND
RPT
SCAN
18
ENGLISH
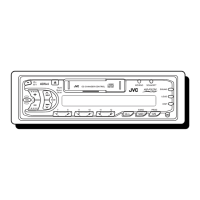
MAINTENANCE
To extend the lifetime of the unit
This unit requires very little attention, but you will be able to extend the life of the unit if you
follow the instructions below.
To clean the heads
• Clean the heads after every 10 hours of use
using a wet-type head cleaning tape (available
at an audio store).
When the head becomes dirty, you may realize
the following symptoms:
– Sound quality is reduced.
– Sound level decreases.
– Sound drops out.
• Do not play dirty or dusty tapes.
• Do not touch the highly-polished head with any
metallic or magnetic tools.
To keep the tape clean
• Always store the tapes to their storage cases
after use.
• Do not store tapes in the following places:
– Subject to direct sunlight
– With high humidity
– At extremely hot temperatures
CAUTIONS:
• Do not play the tapes with peeling labels; otherwise, they can damage the unit.
• Tighten tapes to remove slack since loose tape may become entangled with the mechanism.
• Do not leave a cassette in the cassette compartment after use, as the tape may become slack.
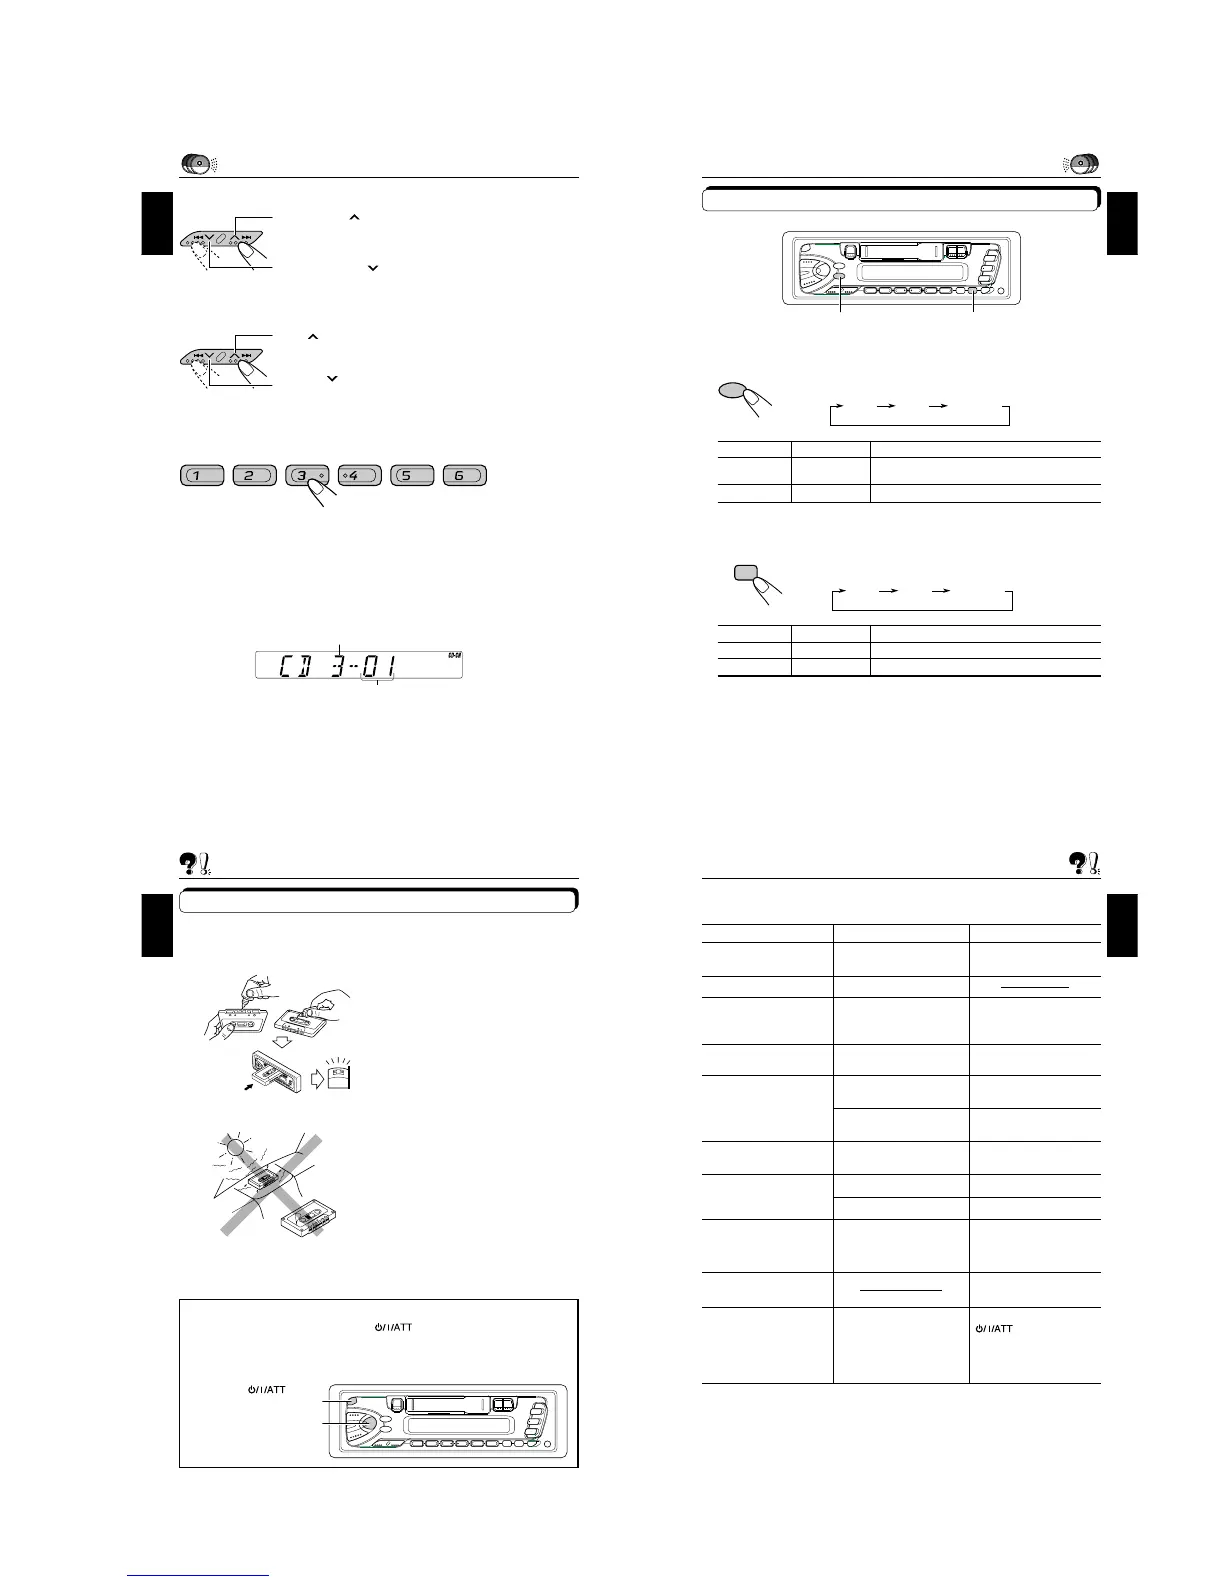
How to reset your unit
Press and hold both the SEL (Select) and (Standby/On/ATT) buttons at the
same time for several seconds.
This will reset the built-in microcomputer.
NOTE: Your preset adjustments — such as preset channels or sound adjustments
— will also be erased.
SEL (Select)
(Standby/On/ATT)
19
ENGLISH
TROUBLESHOOTING
What appears to be trouble is not always serious. Check the following points before calling a
service center.
Symptoms
• A cassette tape cannot be
inserted.
• Cassette tapes become hot.
• Tape sound is at very low
level and sound quality is
degraded.
• Sound is sometimes
interrupted.
• Sound cannot be heard from
the speakers.
• Static noise while listening
to the radio.
•“NO CD” or “NO DISC”
appears on the display.
•“RESET 8” appears on the
display.
•“RESET 1-RESET 7”
appears on the display.
• The unit does not work at
all.
Causes
You have tried to insert a
cassette in the wrong way.
This is not a malfunction.
The tape head is dirty.
Connections are not good.
The volume control is turned
to the minimum level.
Connections are incorrect.
The antenna is not connected
firmly.
No CD is in the magazine.
CDs are inserted incorrectly.
This unit is not connected to a
CD changer correctly.
The built-in microcomputer
may function incorrectly due
to noise, etc.
Remedies
I
nsert the cassette with the
exposed tape facing right.
Clean it with a head cleaning
tape.
Check the cords and
connections.
Adjust it to the optimum level.
Check the cords and
connections.
Connect the antenna firmly.
Insert CDs into the magazine.
Insert them correctly.
Connect this unit and the CD
changer correctly and press
the reset button of the CD
changer.
Press the reset button of the
CD changer.
While holding SEL, press
for more than 2
seconds to reset the unit.
(The clock setting and preset
stations stored in memory are
erased.) (See page 18).

 Loading...