EN 12
On-screen Language Selection
1
Press MENU. Then press ◀ or ▶ to select
“Setup”, then press ▼ or ENTER.
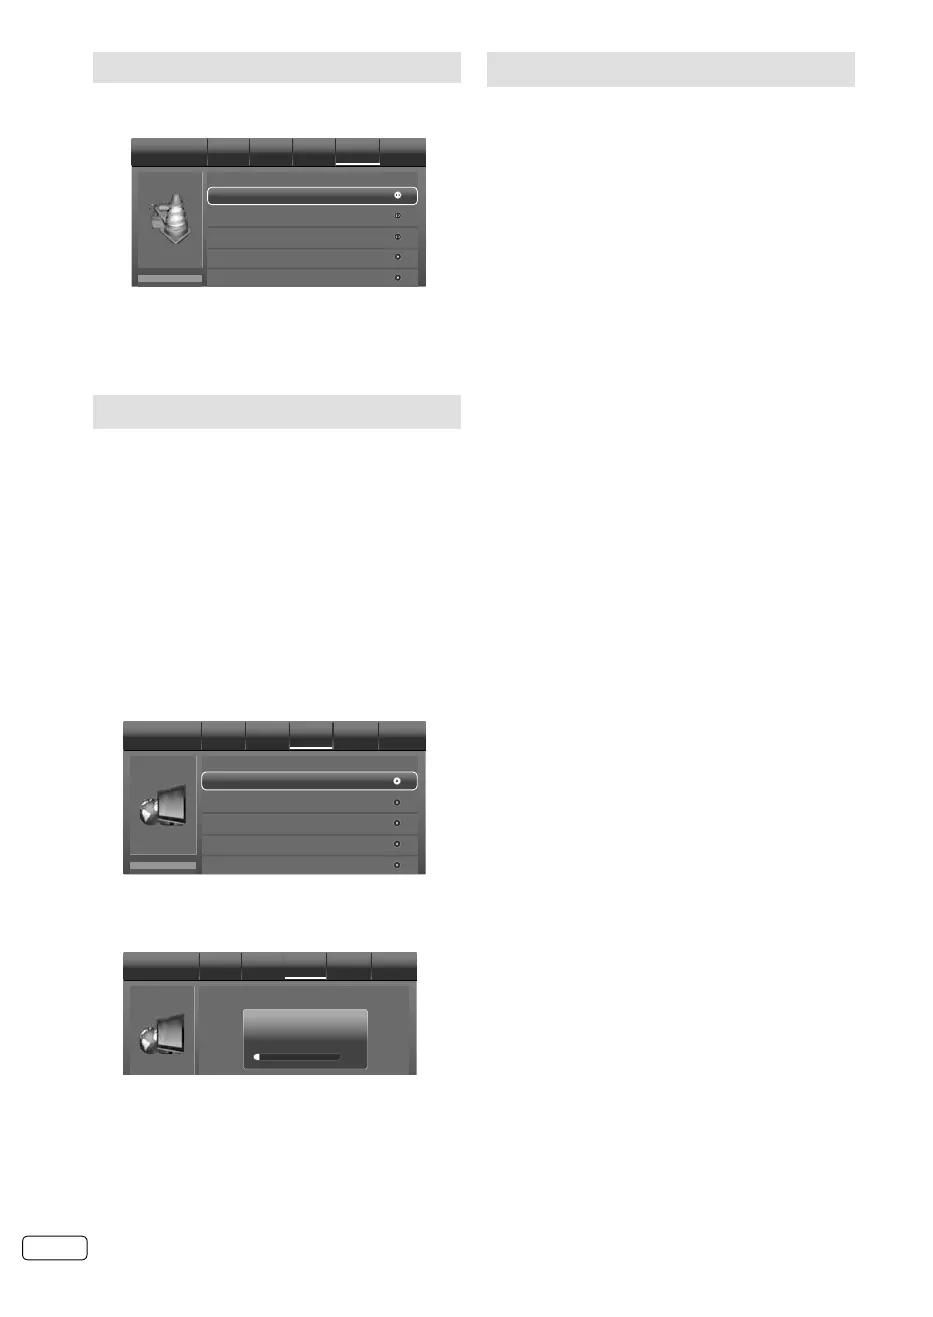
OSD Language
Setup
Picture Audio TV Setup Lock
English
Blue Screen
Time Setup
Subtitle
Off
Aspect Ratio
Auto
2
Press ▲ or ▼ to select “OSD Language”, then
press ◀ or ▶ to select the desired language.
3
Press RETURN to exit the menu.
Station search
Warning! All previously saved DVB-T channels
are deleted in Step 3. A new channel search
then starts automatically.
Preparation:
Make sure your antenna is connected to the
antenna input (see P.10). Then press MENU.
1
Press ◀ or ▶ to select “TV”,
then press
▼ or
ENTER.
2
Press ▲ or ▼ select “Channels”, then press
▶
or ENTER.
3
Press ▲ or ▼ select “Channel Scan”, then
press
▶
or ENTER.
Press ◀ or ▶ to select desired country,
then
press ENTER.
Channel Scan
Channels Picture Audio TV Setup Lock
Analogue Manual Scan
Digital Manual Scan
Channel Skip
Channel Sort
4
The Channel Scan will search for available TV-
channels and store the channels in the correct
order.
Channel Scan Picture Audio TV Setup Lock
6%
Status: Scanning...
Digital Channels: 7
Analogue Channels: 0
5
When TV programme have been stored 100%,
return to normal TV screen automatically.
Manual Channel Scan
Preparation:
Select “Analogue Manual Scan” or “Digital Manual
Scan” in Step 3 of Station search.
Analogue Manual Scan
Press ▲ or ▼ to select “Scan Up” or “Scan Down” to
start searching. Then press ▶ or ENTER.
Digital Manual Scan
Select RF Channel that you want to setup, then
press ENTER to start searching.
You can verify the signal strength and quality of
the selected service here. If necessary, adjust
the direction of the DVB-T antenna to obtain the
maximum signal strength.
J3NW2151A_EN.indd 12J3NW2151A_EN.indd 12 3/4/13 2:51:35 PM3/4/13 2:51:35 PM
 Loading...