EN 22
Information for recording function
Preparation:
Plug-in an external storage device into the USB port.
Note:
The Power indicator of the unit will blink green
and red while the recording is in progress.
Time shift will not work for ATV or external inputs.
You cannot play the recorded programme back
on a PC or other device.
We cannot guarantee compatibility with all USB
memory types/brands.
We do not accept responsibility for loss of files on
your USB devices caused by connection to this unit.
This TV will only work with FAT16/32 formatted
USB devices. This unit is not compatible with
NTFS formatted devices for recording function.
Recorded video is saved in the following
location on your device: [root]/pvr/. You can
play back by entering the “Media” menu (See
page 24.)
Do not use a USB extension cable.
When using the PVR/Media functions the
subtitles are set to “Off”. (in order to activate
subtitles you will need to change the subtitles
setting to On.)
If you want to display the subtitle of recorded
programmes, press
.
Please be advised that if your TV fails to complete
your programmed recording due to loss of signal
or power there will not be any error message
displayed.
Only use USB Memory or HDD for PVR. A
correspondence format is FAT16/32.
Recommend the high speed USB device (more
than 2MB/s). Connected using a USB Hub is not
detected, devices should be connected directly to
the TV’s USB port.
For connect the USB device, please refer the
Owner’s Manual provided with your USB device.
Use of a USB device capable of operating below
500mA/5V is recommended. This unit is capable
of supplying power of up to approximately 0.8A/5V
(LT-24HA48E: 1.5A/5V).
Should the electricity
supply exceed the said amount, power to the
connected device may be automatically cut off as
a protective measure. For USB devices with large
power requirements, use devices that have their
own power supply sources.
Do not connect this product to a non-specified
device. It may cause damage to the device and
TV.
When recording or setting up a timed recording,
please check to see if your USB memory or HDD
has sufficient available memory.
If the available memory is insufficient, your
recording or timed recording may not be executed
or may be cut off while recording.
•
•
•
•
•
•
•
•
•
•
•
•
•
•
•
•
Recording the TV programme
You can record a digital programme (Freeview)
onto a compatible USB stick or external hard
drive.
1
Press REC to start recording. The information
screen will appear.
2
To stop recording, press ■ (STOP). Press ◀ or ▶
to select “YES” in the confirmation screen, then
press ENTER.
Watch the recorded programme
Press REC LIST. Recorded file list will appear.
Press ▲/▼/◀/▶ to select desired file, then start
playback with ENTER.
You can use special function for playback. See
page 25.
•
Preparing your USB device for
playing Time Shift recordings
1
Press MENU. Press ◀ or ▶ to select “Setup”,
then press ENTER. Press ▲ or ▼ to select
“Disk Setup”, press ▶ or ENTER.
2
Select “Auto” or “Manual”, then setup your
device following the on-screen guide.
Auto setup
Press ▲ or ▼ to select “Auto”, then press
ENTER.
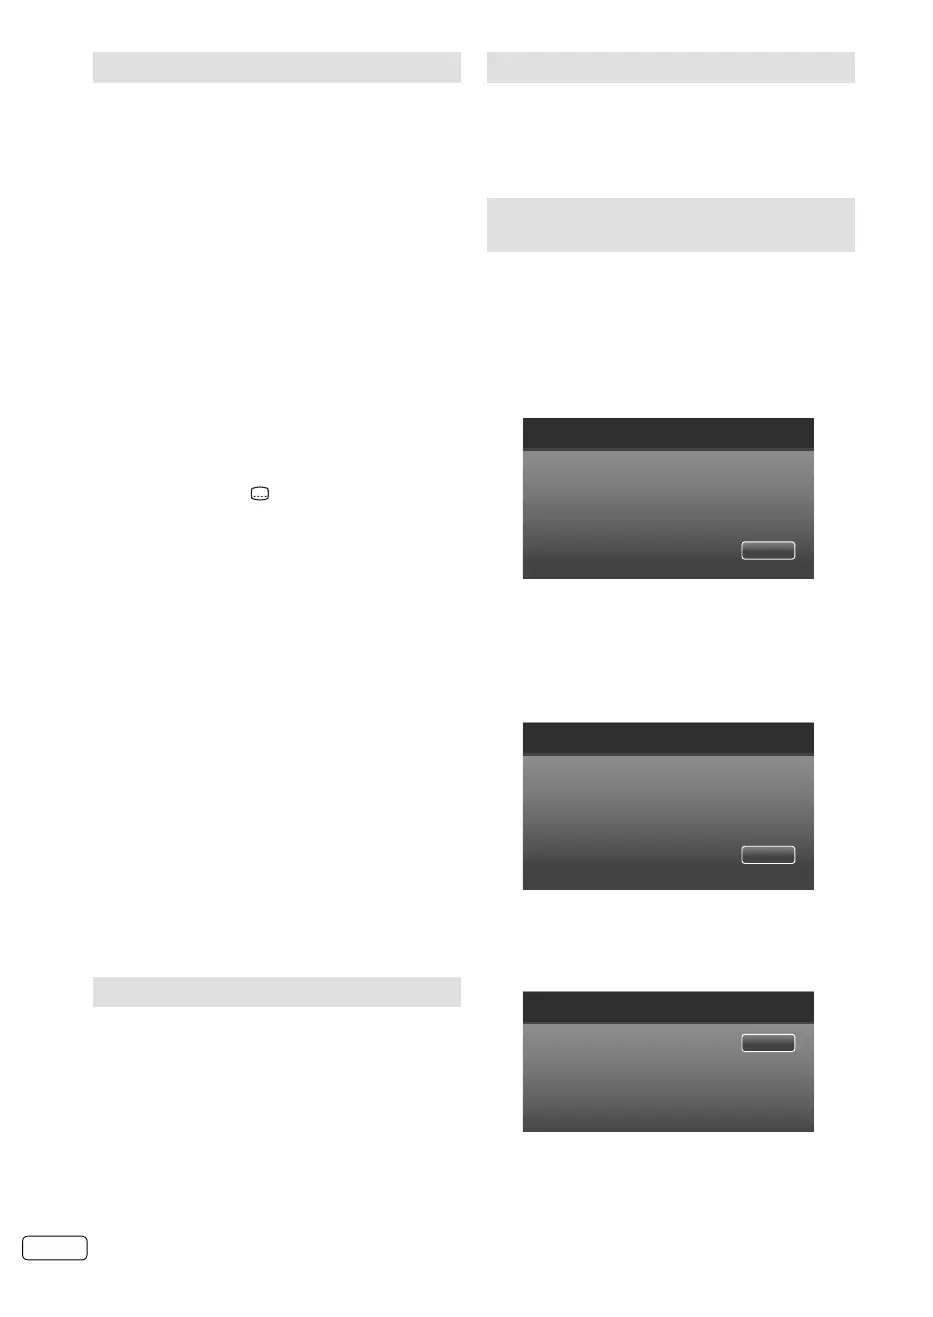
Disk Setup
This wizard is used to setup the USB disk for timeshift. Please select
the setup mode.
Manual
Auto
The system will execute automatically
“Analyzing”
⇒
“Creating timeshift file”
⇒
“Speed testing”
⇒
Conclusion.
Manual setup
Press ▲ or ▼ to select “Manual”, then press
ENTER. Press ▲ or ▼ to select “Format” or
“Skip”, then press ENTER.
Disk Setup
To have better performance, we recommend to format the USB disk.
It will erase all the data.
Skip
Format
If you select “Format”, The confirmation screen
will appear. Select your desired option, then
press ▲/▼ and press ENTER.
After formatting, you will be prompted to select
the size of the recording.
Disk Setup
Please select the file size for timeshift.
512 MB
1.0 GB
1.5 GB
2.0 GB
2.5 GB
Select desired file size and press ENTER
to enter the next prompt menu (“Creating
timeshift file” ⇒ “Speed testing” ⇒ Conclusion).
J3NW2151A_EN.indd 22J3NW2151A_EN.indd 22 3/4/13 2:51:43 PM3/4/13 2:51:43 PM
 Loading...