9
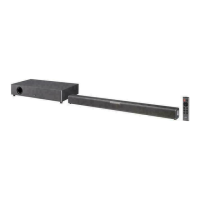
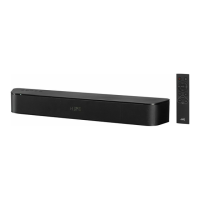
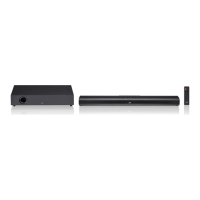
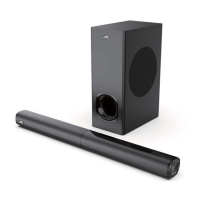
Wall Mounting
• Installation must be carried out by qualied personnel only. Incorrect assembly can result in severe
personal injury and property damage (if you intend to install this product yourself, you must check
for installations such as electrical wiring and plumbing that may be buried inside the wall). It is the
installer’s responsibility to verify that the wall will safely support the total load of the soundbar.
• Additional tools (not included) are required for the installation.
• Do not overtighten screws.
• Keep this instruction manual for future reference.
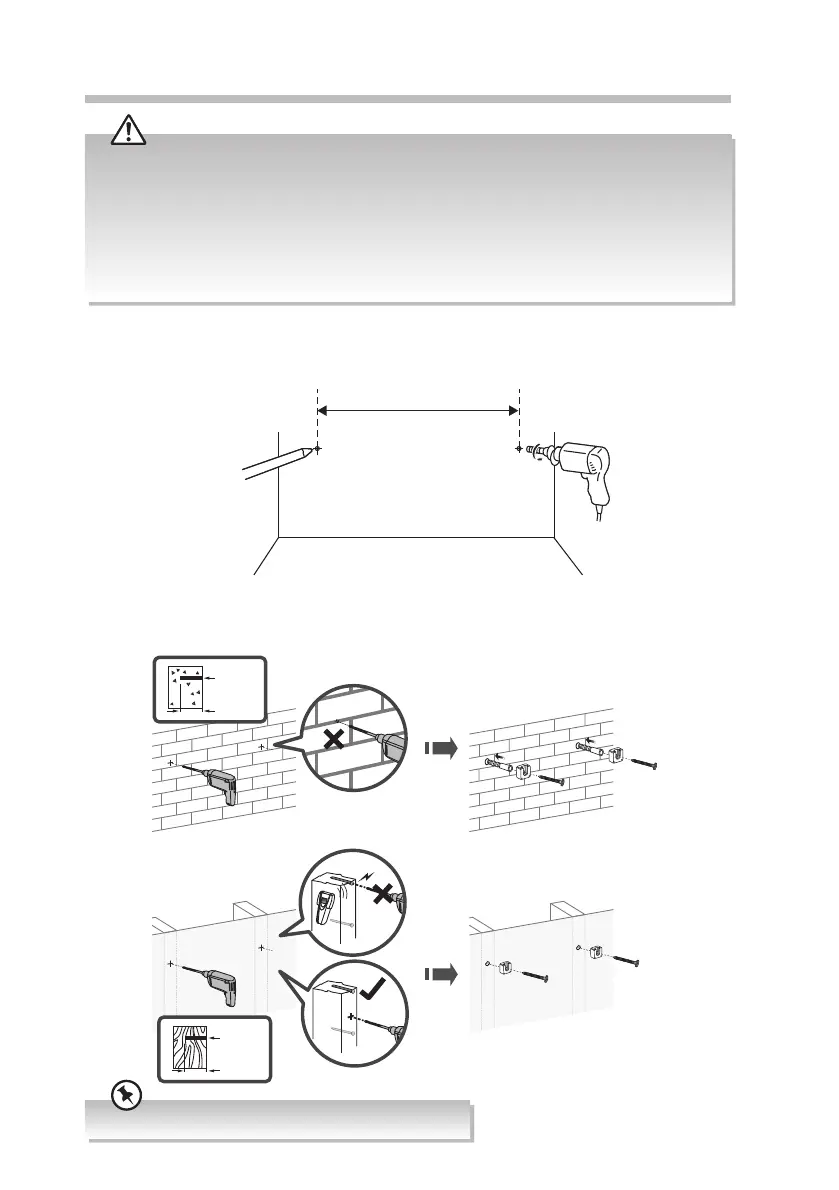
• Use an electronic stud nder to check the wall type before drilling and mounting.
1. Drill 2 parallel holes (Ø 3-8 mm each according to wall type) in the wall. The distance
between the holes should be 634 mm.
2. Firmly x 1 dowel (included) into each hole in the wall if necessary. Tighten the wall
mount brackets on the wall with screws (included) and screwdriver (not included).
Make sure that they are securely installed.
634 mm
Ensure mounting screws are in the centre of the timber stud.
ø2.5~3 mm
32 mm
ø5.5~6 mm
32 mm
TH-D131B_IB_Final211213V2.indd 9TH-D131B_IB_Final211213V2.indd 9 14/12/2021 16:3514/12/2021 16:35
 Loading...