31
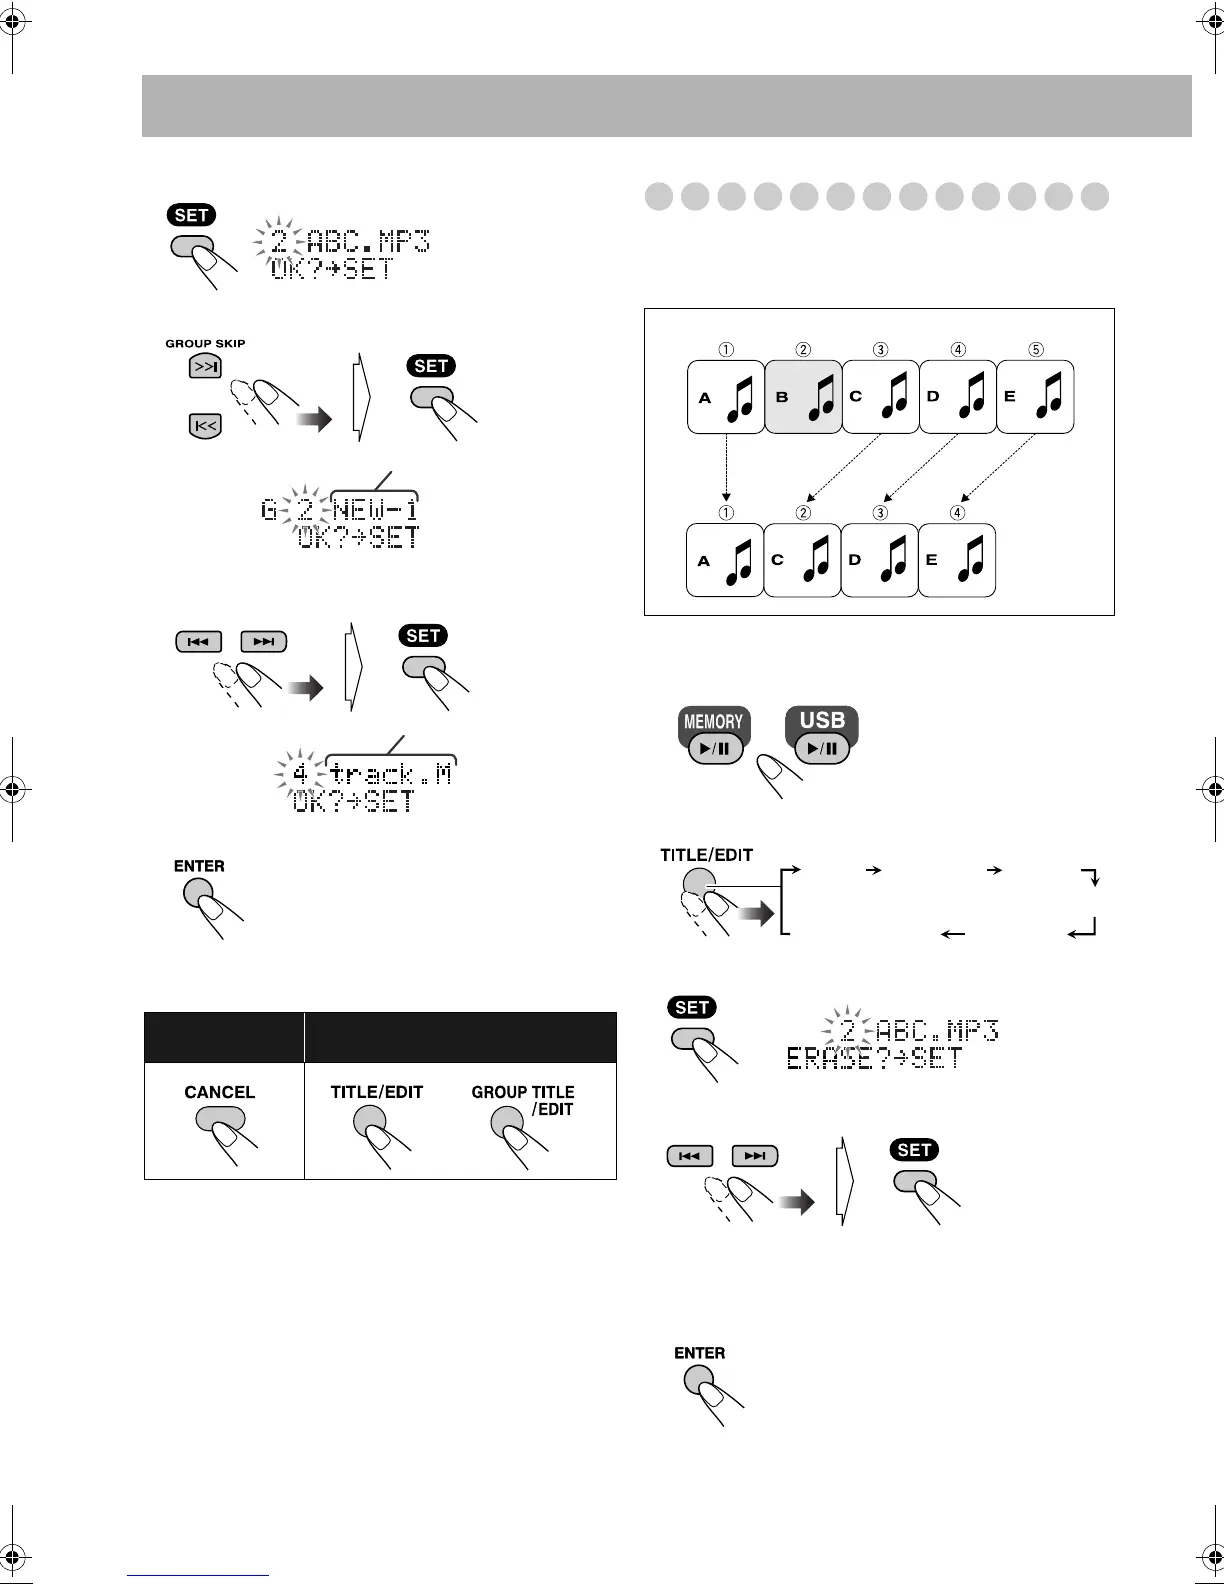
3 Select track.
4 Select a destination group.
5 Select the new track number in the destination group
for the target track.
6 Start moving.
“EDITING” appears on the display. The message goes off as
the editing result is stored.
Erasing the Tracks (ERASE)
You can erase tracks on the built-in memory or USB device.
• Once the tracks are erased, you cannot resume them.
Example: Erasing the track “B.”
1 Select a desired source.
2 Select “ERASE.”
3 Confirm your selection.
4 Select the numbers of tracks you want to erase.
• You can select up to 15 tracks by repeating this step.
When you select a 16th track, “MEMORY FULL”
appears on the display.
5 Confirm your selection.
To go back to
previous step:
To quit editing:
Group title
Track title
or
USB
device
Built-in
memory
TITLE FORM GR
ERASE
MOVE
FORMAT
Canceled
UX-DM8[U].book Page 31 Monday, June 4, 2007 8:20 PM
 Loading...