35
4 Set the start time and end time of the selected timer.
• Adjust the start hour, the start minute, the end hour,
then the end minute.
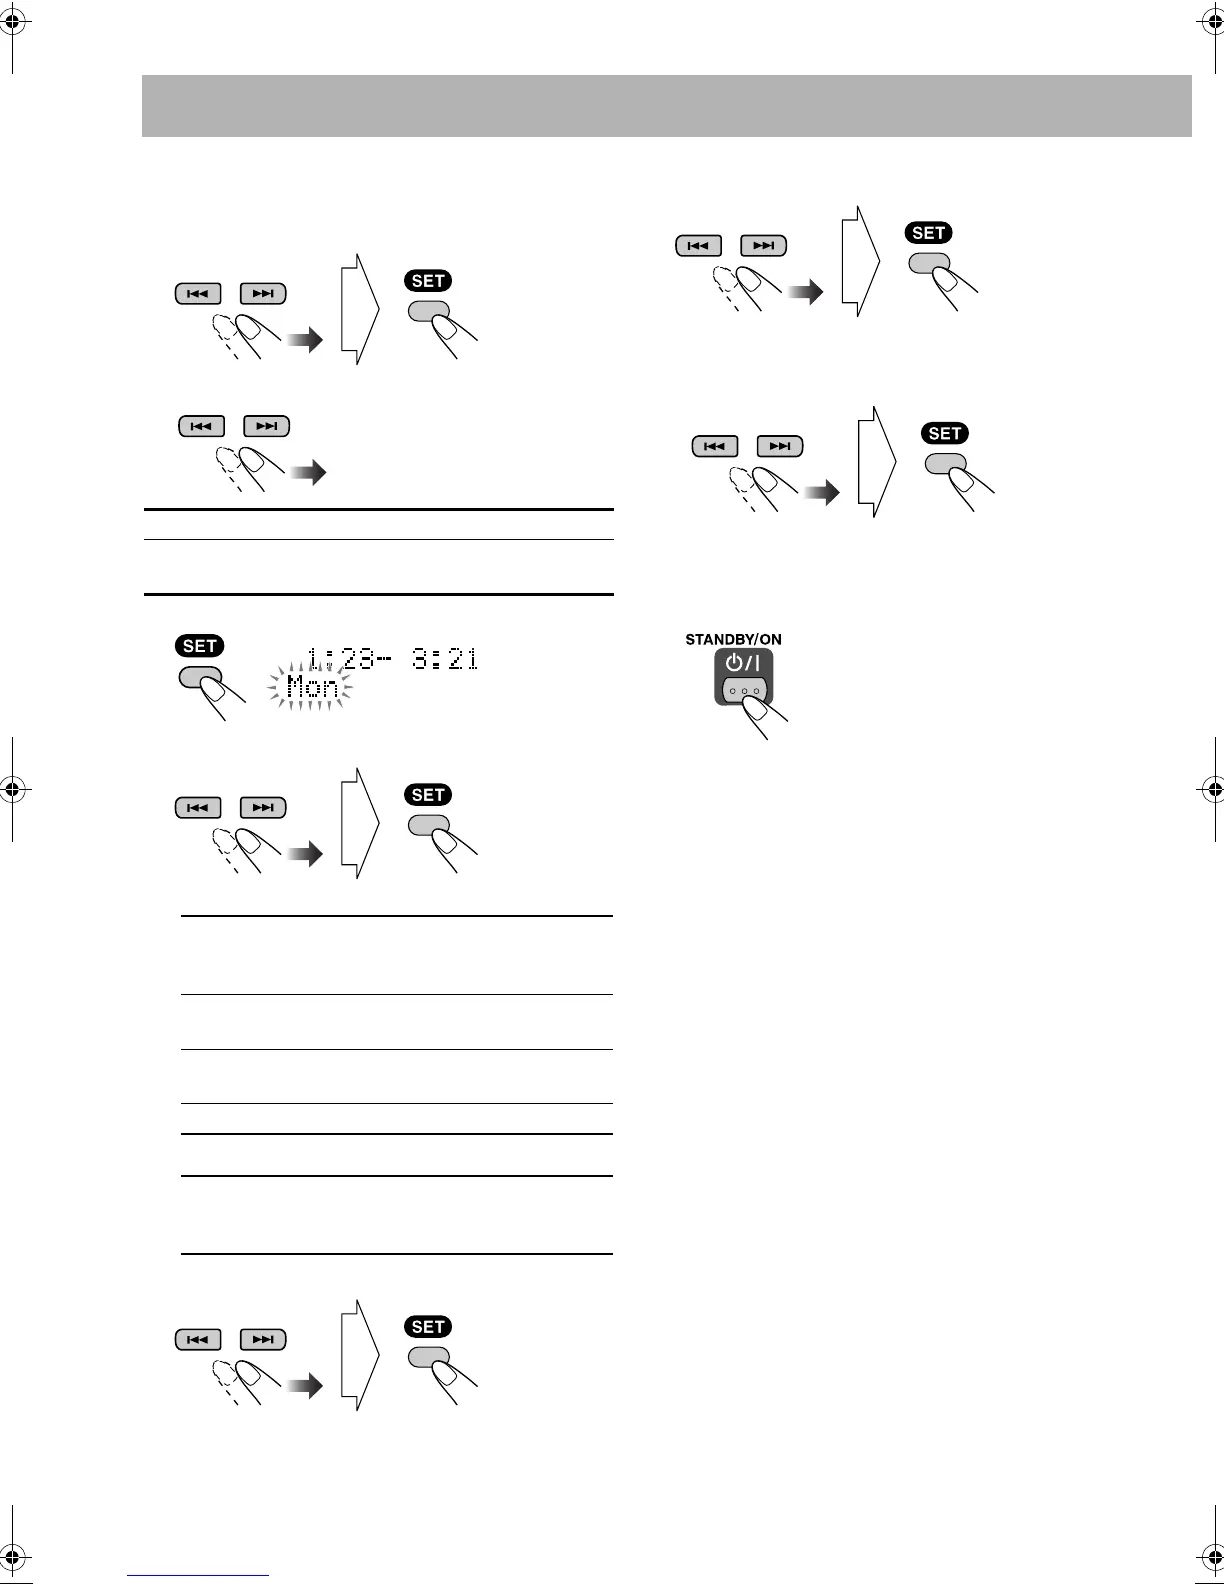
5 Select “ONCE” or “WEEKLY.”
6 Display the week setting screen.
7 Set the desired day of the week.
• When “WEEKLY” is selected:
• When “ONCE” is selected:
8 Select “REC TIMER.”
9 Select a source to record.
• When you want to record the radio broadcast (FM or
AM):
Select the preset number of the desired station.
• You can also use the number buttons to select the
preset number.
10 If the setting is done during system is on, turn off the
System.
To set Recording Mode
Set the Recording Mode before or after setting Recording
Timer.
• To set Recording Mode, see step 2 of “Recording from a
Disc” on page 21.
About group of the built-in memory
When Recording Timer works, the group named “TIMER”
is made automatically and the recordings are stored as the
tracks into that group.
• You cannot select other groups for storage.
To cancel Recording Timer
In step 2 on page 34, select the timer number you want to
cancel, then press CANCEL.
• Even when you cancel Recording Timer, the setting
remains stored.
To activate Recording Timer again
In step 2 on page 34, select the timer number you want to
activate, then press ENTER. The settings appear on the
display. After you confirm it, turn off the unit.
ONCE Recording Timer works once.
WEEKLY Recording Timer works weekly or every
day.
Sun, Mon,
Tue, Wed,
Thu, Fri, Sat
Recording Timer works on the
selected day every week.
Mon-Fri Recording Timer works from Monday
to Friday.
Mon-Sat Recording Timer works from Monday
to Saturday.
Everyday Recording Timer works every day.
Sun, Mon,
Tue, Wed,
Thu, Fri, Sat
The recording timer works on the
selected day.
UX-DM8[U].book Page 35 Monday, June 4, 2007 8:20 PM
 Loading...