33
To move the tracks in the programmed order
• Even if a track is programmed twice or more, the track is
transferred only once.
• After moving the tracks onto the target device, the original
tracks are deleted from the original device, and the
following tracks in the original device are re-numbered
automatically.
1 Program desired tracks.
• See “To program the playing order of tracks on the
built-in memory and USB device” on page 22.
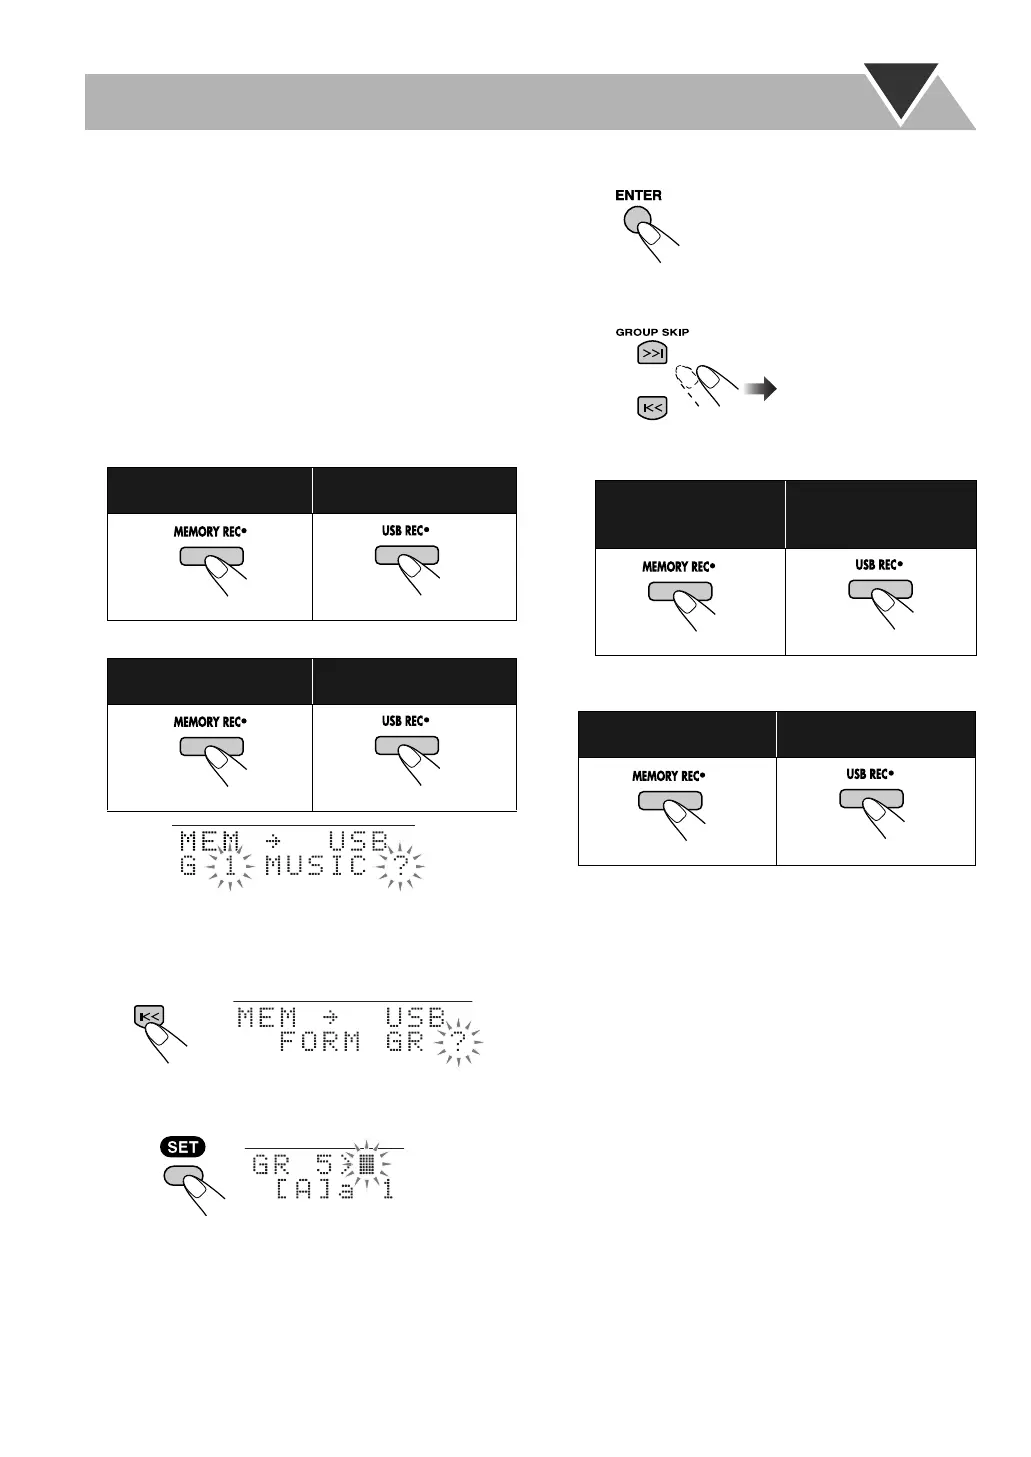
2 Start Program Play.
3 Select a target device to move tracks onto.
4 Confirm the selection.
5 Select the group to move the tracks into.
• When you make a new group:
1 Select “FORM GR ?” mode.
2 Make a new group.
• The first new group you make is displayed as the
2nd group because the root of the target device is
recognized as the 1st group.
• You can enter the title of new group in this step. See
“Entering Titles” on page 35.
3 Start moving the tracks.
• When you select an existing group:
1 Select a desired group.
• See also page 10.
2 Start moving the programmed tracks.
• When you want to move the tracks into the root
group (G1 MUSIC) of the target device:
When the transfer starts, “MOVE START” appears and the
progress is shown by “%” on the display.
After the progress indication become 100%, “WRITING”
flashes on the display.
When “WRITING” goes off, the transfer is completed, and
Program Play is canceled.
When moving the tracks
onto built-in memory:
When moving the tracks
onto USB device:
When moving the tracks
onto built-in memory:
When moving the tracks
onto USB device:
(on the main unit)
(on the main unit)
(on the main unit)
(on the main unit)
Ex. When moving tracks to USB device
Ex. When moving tracks to USB device
Ex. When a 5th group is made
When moving the
tracks onto built-in
memory:
When moving the
tracks onto USB
device:
When moving the tracks
onto built-in memory:
When moving the tracks
onto USB device:
(on the main unit) (on the main unit)
(on the main unit) (on the main unit)
UX-DM9[B].book Page 33 Friday, July 20, 2007 2:18 PM
 Loading...