Basic Operations
5English
Number Name Motion
1
Remote
Sensor
• Receives the remote control signal.
2
S, R
(Volume)
• Adjusts the volume.
The volume will go up to 15 when you keep pressing R. (P.8)
3
CAM • Switches view camera display on/off.
The camera whose view is displayed first changes according to the "Camera Setup"
setting and the shift lever position in the shift gate.
• Pressing and holding turns the screen off. (DDX9906XR / DDX8906S / DDX8706S)
• Pressing for 1 second switches attenuation of the volume on/off. (DDX819WBTL)
4
HOME • Displays the HOME screen (P.10).
• Pressing for 1 second turns the power off.
• When the power is off, turns the power on.
5
MENU • Displays the popup menu screen.
• Pressing for 1 second switches attenuation of the volume on/off.
(DDX9906XR / DDX8906S / DDX8706S)
• Pressing for 1 second turns the screen off. (DDX819WBTL / DMX906S / DMX9706S)
6
• Displays the APP (Apple CarPlay/Android Auto/Wireless Mirroring) screen.
• Pressing and holding displays the Voice Recognition screen.
• When neither Apple CarPlay, Android Auto, nor a Bluetooth Hands-Free phone is
connected, pressing and holding displays Bluetooth pairing waiting dialog.
7
G
• Displays the Angle Adjust screen.
– [DISC EJECT]: Ejects the disc.
• When the panel is opened, closes the panel.
• To forcibly eject the disc, press it for 2 seconds and then touch [DISC EJECT] after the
message is displayed.
8
ATT • Switches attenuation of the volume on/off.
9
Disc insert
slot
• A slot to insert a disc media.
(DDX9906XR / DDX8906S / DDX8706S / DDX819WBTL only)
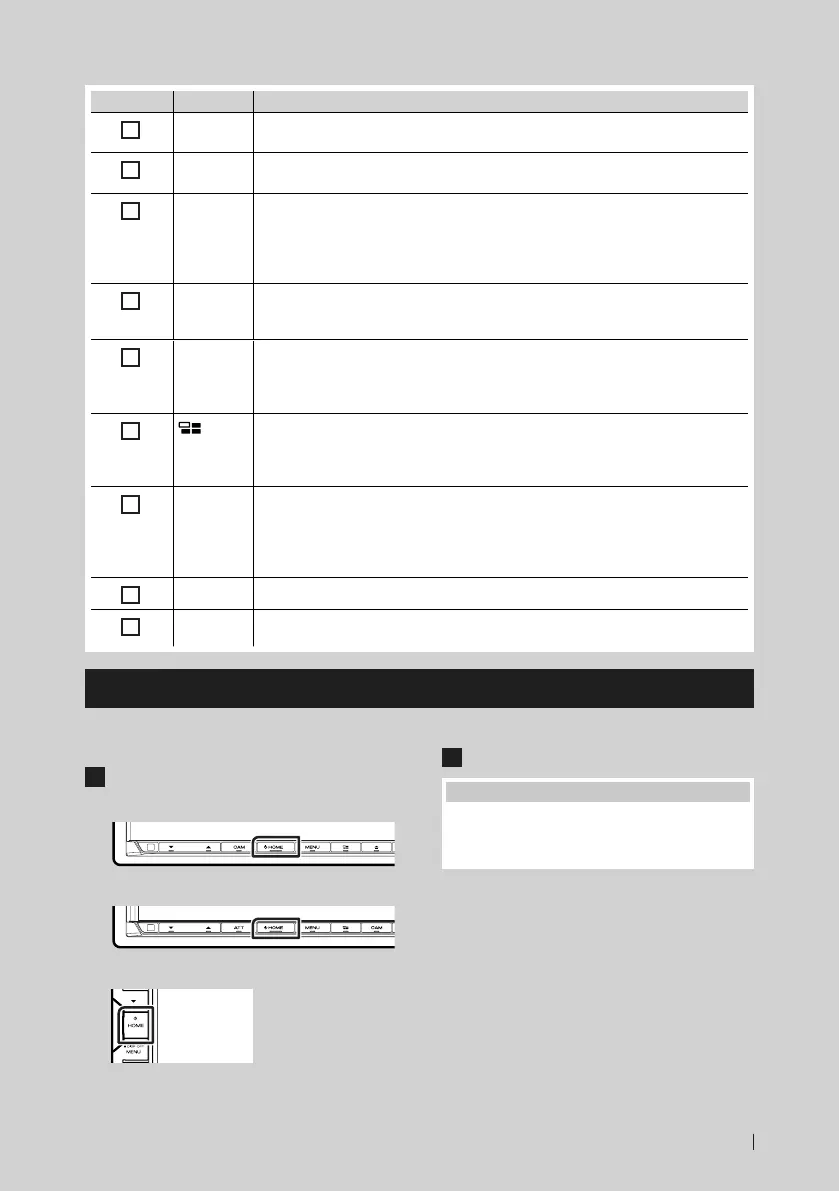
Turning on the Unit
The method of turning on is different
depending on the model.
1
Press the [HOME] button.
DDX9906XR / DDX8906S / DDX8706S
DMX906S / DMX9706S
DDX819WBTL
The unit is turned on.
● To turn off the unit:
1
Press the [HOME] button for 1 second.
NOTE
• If it is your first time to turn the unit on after
installation, it will be necessary to perform Initial
setup (P.6).
B5K-0609-00_DDX_K.indb 5 2019/02/06 13:35
 Loading...