Loading...
Do you have a question about the KERN MLB50-3 and is the answer not in the manual?
| Model | MLB 50-3 |
|---|---|
| Category | Measuring Instruments |
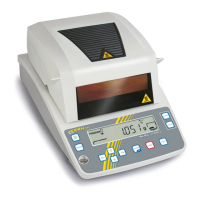
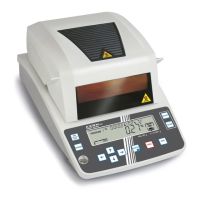
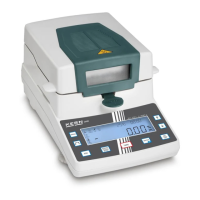
| Type | Precision Balance |
| Readability [d] | 0.001 g |
| Weighing range [Max] | 50 g |
| Minimum part weight at piece counting [g/piece] | 0.01 g |
| Stabilisation time under laboratory conditions | 2 s |
| Weighing plate material | Stainless steel |
| Weighing plate dimensions | ø 80 mm |
| Pan Size | 80 mm |
| Power supply | 220 V - 240 V AC 50 Hz |
| Calibration | External |
| Interface | RS-232 |
Details safety precautions for electrical connection.
Alerts about hot surfaces and hazardous materials.
Emphasizes reading instructions before use.
States only trained staff should operate the device.
Details voltage checks for power connection.
Discusses gravity adjustment for accuracy.
Step-by-step guide for calibrating the balance.
Guide for calibrating the temperature sensor.
How to correct for temperature differences.
Steps to input a determined correction factor.
Describes the 7 different operating modes available.
Steps to start humidity determination.