Do you have a question about the Kodak STEP Touch and is the answer not in the manual?
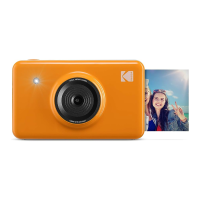
| Megapixel | 13 MP |
|---|---|
| Sensor type | - |
| Picture size | 50 x 76 mm |
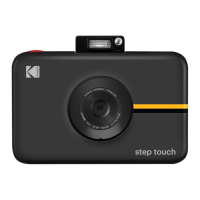
| Product color | Black |
| Self-timer delay | 10 s |
| Image sensor size | - \ |
| Built-in microphone | Yes |
| Compatible memory cards | MicroSD (TransFlash) |
| Maximum image resolution | - pixels |
| Maximum memory card size | 256 GB |
| Maximum video resolution | 1920 x 1080 pixels |
| Photo paper sizes (imperial) | 2x3 \ |
| Digital zoom | 2 x |
| Display type | LCD |
| Display diagonal | 3.5 \ |
| USB connector type | Micro-USB |
Learn how to power the camera on and off, and wake it from sleep mode.
Connect via USB to charge the built-in battery and monitor charging progress.
Understand internal memory limits and how to expand storage with a microSD card.
Configure the camera's automatic power-off feature to conserve battery life.
Adjust the LCD screen's auto-off timer to manage power consumption.
Master the shutter button for taking photos, videos, and burst shots.
Navigate the live viewfinder, access settings, and view the gallery.
Access general camera settings like screen timeout, brightness, and auto power off.
Learn to use the zoom function for framing your shots.
Understand the icons for microSD card, battery, and Bluetooth status.
Explore still photo, photobooth, and video recording modes.
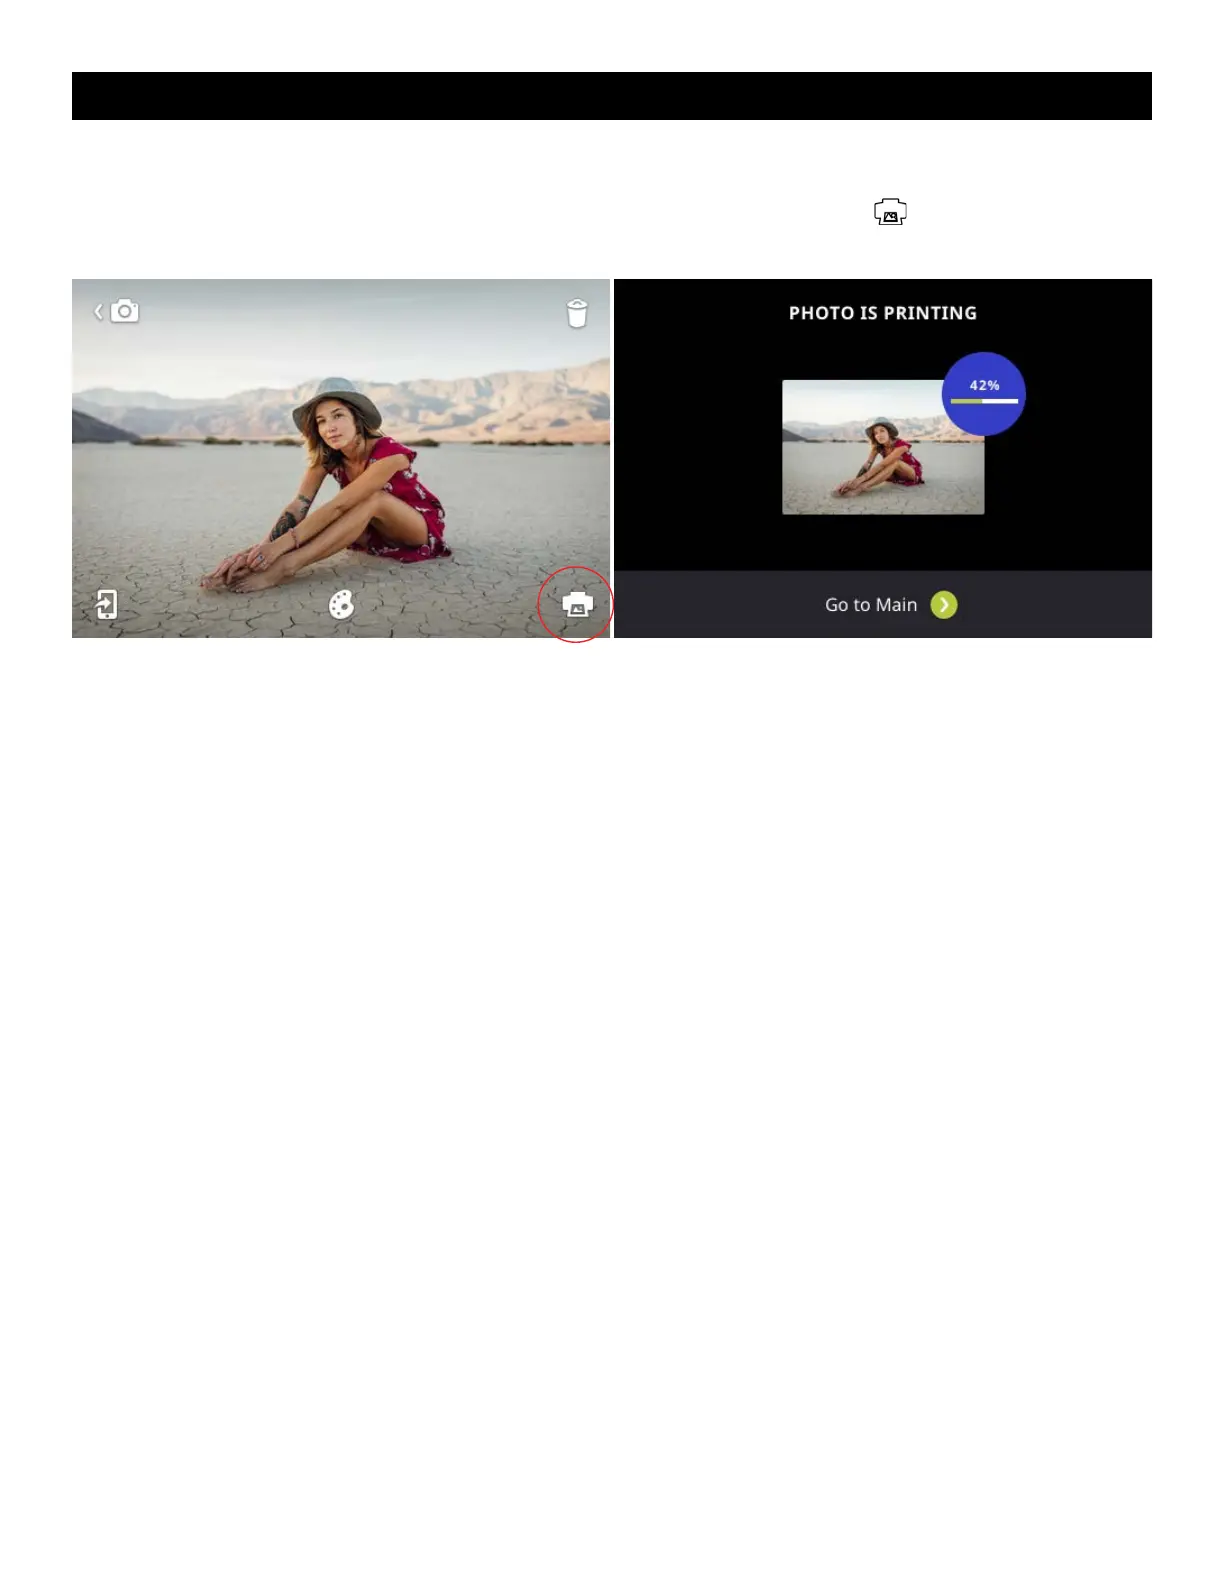
View, edit, and print captured photos and videos.
Add borders, stickers, and filters to your photos.
Learn how to focus and capture still photographs using the camera.
Understand how photos are printed automatically after capture.
Learn how to delete individual photos or burst series.
Capture a rapid succession of still shots with burst mode.
Shoot photos in layouts of 2, 3, or 4 images with creative options.
Apply borders and filters to photos for enhanced visual appeal.
Add and manipulate stickers on photos for personalization.
Learn to rotate and resize photos for various editing needs.
Record videos and adjust quality settings.
Navigate and view photos, videos, and burst series in the gallery.
Print multiple copies of photos directly from the gallery.
Print captured photos immediately using the printer icon.
Configure the camera for automatic photo printing after capture.
Manage and cancel print jobs in the queue.
Learn how to delete files from the camera or gallery.
Understand how to delete entire burst series or individual photos within them.
Configure timer, HDR, white balance, and light frequency for photos.
Manage Bluetooth, storage, screen timeout, and auto power off.
Adjust camera language and sound volume settings.
Set or adjust the camera's date and time.
Adjust color correction for photo prints.
Enable or disable automatic photo printing upon capture.
Learn about the KODAK STEP Prints app and its features.
Understand common error messages and how to resolve them.
Learn how to download and install firmware updates for the camera.
Information regarding FCC interference statements and radiation exposure.
Details the limited warranty coverage, exclusions, and duration.
Instructions on how to contact support and obtain warranty service.