21
LAUNCH
Professional 909X User Manual
4. Initial Use
4.1 Charging the Tool
There are two charging methods available:
Via Charging Cable: Plug one end of the included charging cable into the DC-IN
port of the tool, and the other end to the external DC power.
Via Diagnostic Cable: Insert one end of the diagnostic cable into the DB-15
connector of the tool, and the other end to the vehicle’s DLC.
Once the charging LED illuminates solid green, it indicates that the battery is
fully charged.
4.2 Getting Started
If it is the first time you have used this tool, you need to make some system
settings.
1. Press the [Power] button to power it on.
2. The screen displays a welcome page. Tap “Start” to go to next step.
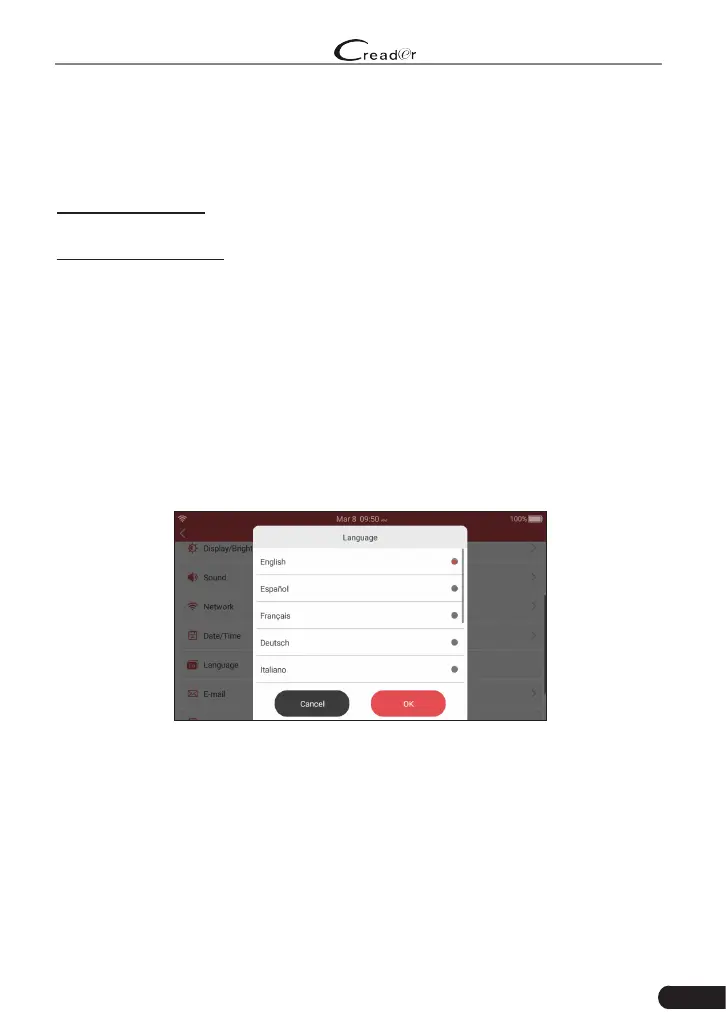
3. Choose the desired system language, and tap “OK” to conrm.
Figure 4-1
4. Choose the desired time zone, and tap “Next” to enter the WLAN setup page.
5. Slide the switch to ON, the system starts searching for all available wireless
LANs. Choose the desired WLAN access point / network,

 Loading...