25
LAUNCH
Professional 909X User Manual
5. Diagnose
5.1 Connection
1. Turn the ignition off.
2. Locate vehicle’s DLC socket: Refer to Chapter 2.4 for DLC location.
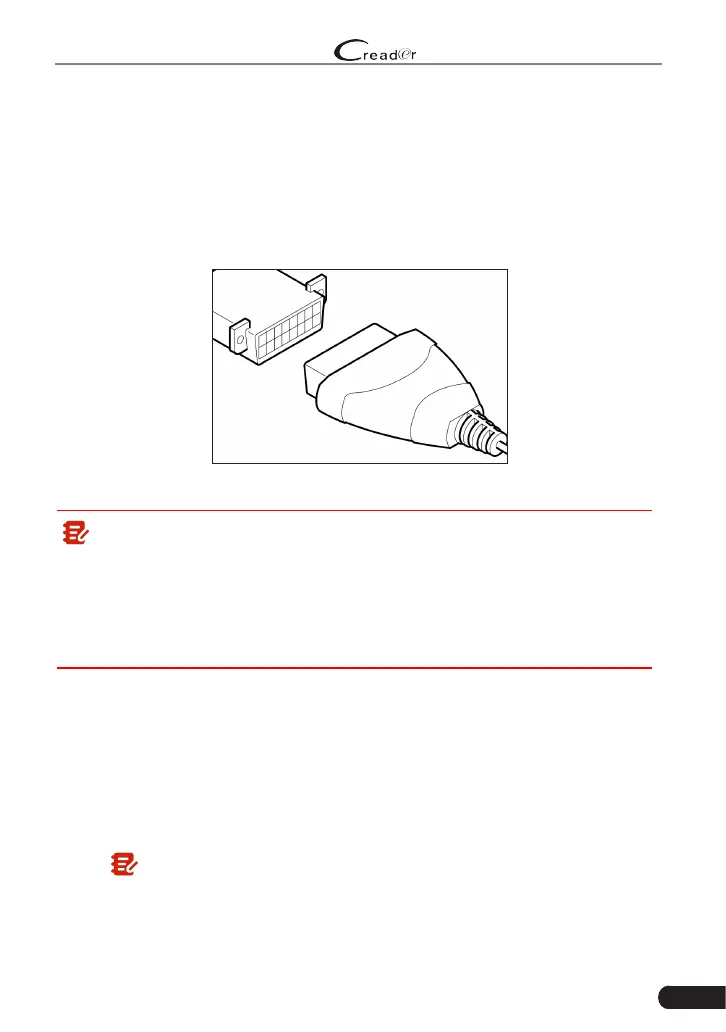
3. Plug one end of the diagnostic cable into the DB-15 connector of the tool, and
tighten the captive screws. Connect the other end to the vehicle’s DLC.
Figure 5-1
Note:
• A plastic DLC cover may be found for some vehicles and you need to
remove it before plugging the diagnostic cable.
• The cable connector is keyed and will only fit one way. If you have
problems connecting the cable connector to the DLC, rotate the connector
180
0
and try again.
4. Turn the ignition on. Engine can be off or running.
5.2 System Diagnosing
This function is specially designed to diagnose electronic control systems of
single vehicle model.
5.2.1 Smart Diagnosis (Auto-Detect)
After connection, turn the ignition key on and the system enters auto-detect
mode (
Note: Please make sure the “Automac detecon on connect” in “Sengs”
is set as ON
).

 Loading...