Page 37
XP17
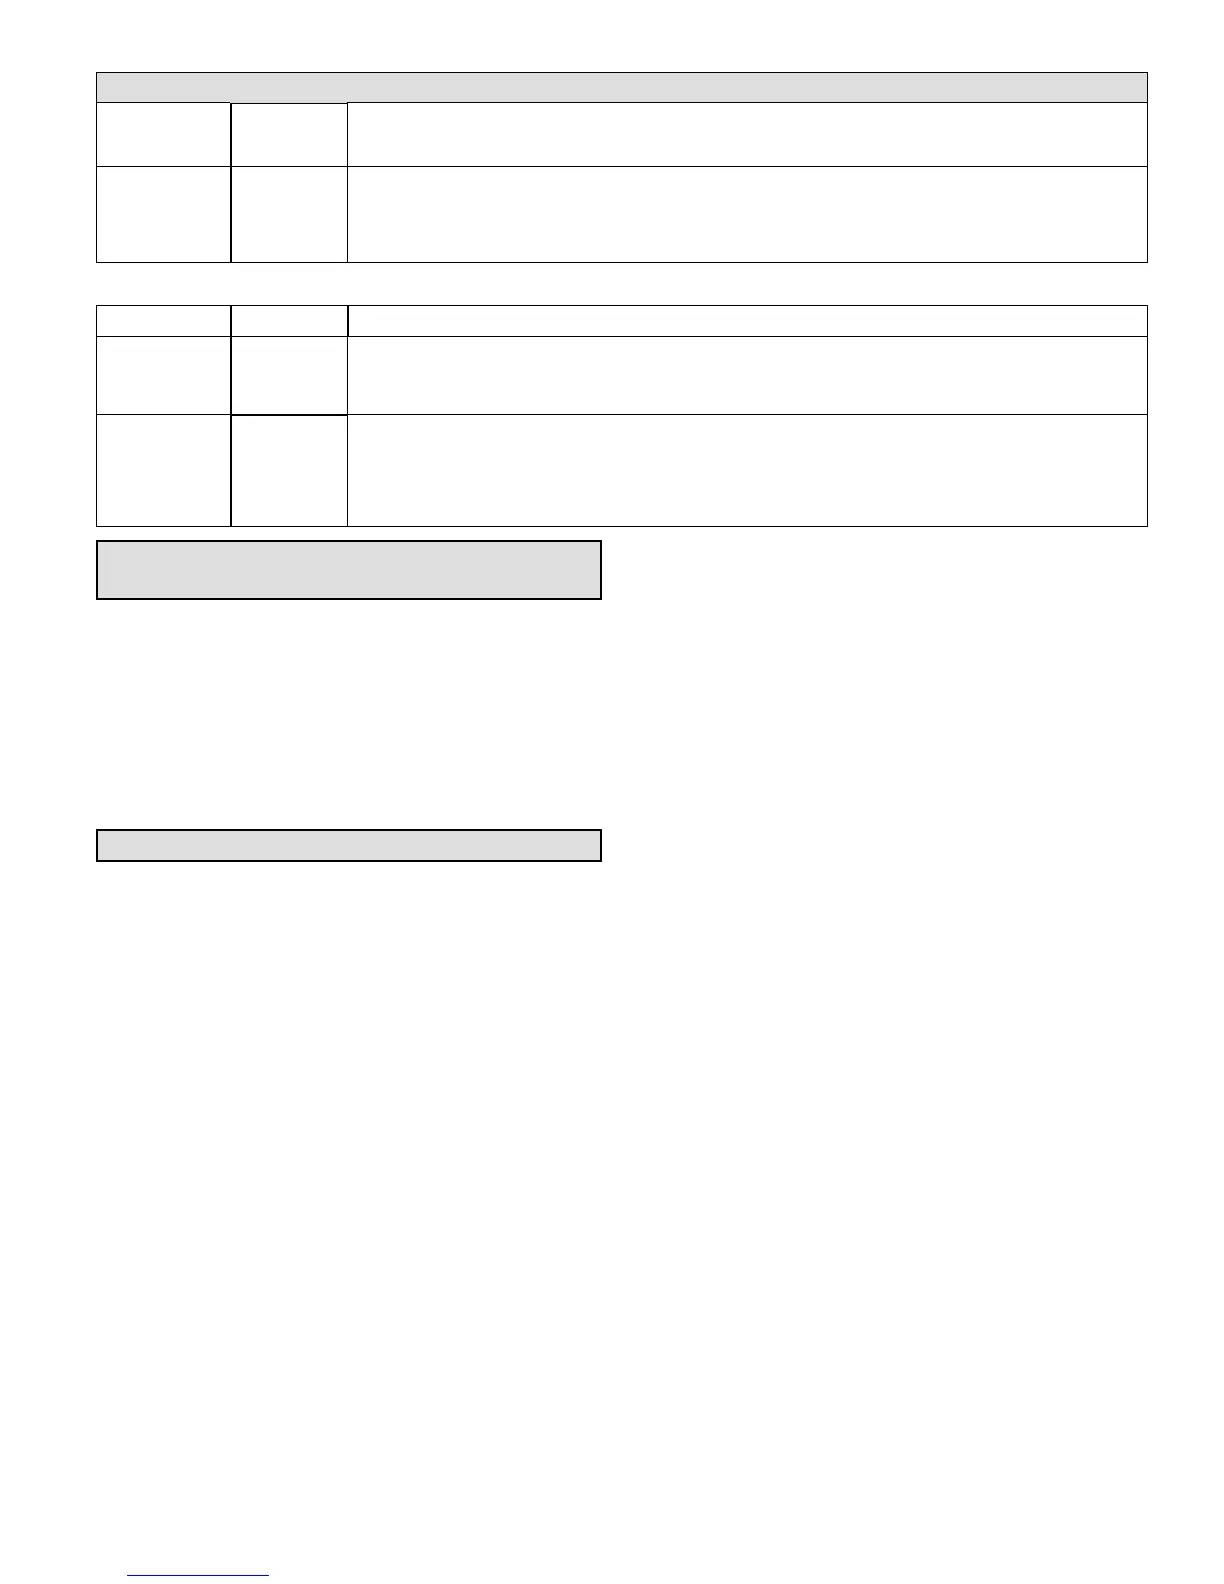
Configuring Unit Capacity (Note - Control must be in Idle Mode)
Solid
Release push button — Allows user to select Unit Capacity. IMPORTANT: Field replacement control may need to be
manually configured to validate outdoor unit capacity. Refer to unit nameplate model number for capacity in 1,000 of
BTUs. (18, 24, 30 ,36,42 48, 60)
Blinking
Push and hold button — Control will display unit capacity number 3 seconds. When the correct unit capacity number
is displayed, release button. Selected code will flash for a 10 second period. During that period, hold push button for
3 seconds to store code. Once code is stored control will automatically exit Field Test Mode. If 10 second period
expires or push button is held less than 3 seconds, control will automatically exit field test mode and go into idle
mode without storing unit capacity Number. If this happens, configuring procedure must be repeated.
Table 10. Field Test and Program Menu Options (continued)
Display Code Procedure
Solid
Release push button — Allows user to select type and number of stages on outdoor unit.. IMPORTANT: Field re
placement control may need to be manually configured to validate outdoor unit fan RPM setting is right for unit ca
pacity. See RPM table on unit wiring diagram for proper RPM settings. Type and number of stages: 1AC, 2AC, 1HP,
2HP – AC – air conditioning and HP – Heat Pump
Blinking
Push and hold button — Control will display type and number of stages 3 seconds. When the correct type and num
ber of stages is displayed, release button. Selected code will flash for a 10 second period. During that period, hold
push button for 3 seconds to store code. Once code is stored control will automatically exit field test mode. If 10
second period expires or push button is held less than 3 seconds, control will automatically exit field test mode and
go into idle mode without storing type and number of stages. If this happens, configuring procedure must be re
peated.
Reconfiguring Outdoor Control using
iComfortt
If any component of the HVAC system has been changed,
e.g. replacing an outdoor sensor, reconfiguring the system
will be required. To begin reconfiguring a system, press the
setup tab. Note: Even though its in a communicating
system, the fan profile will need to be set because the
iComfort-enabled thermostat does not know what the
profile should be.
Refer to the iComfort-enabled Thermostat Installer
Setup Guide for configuration procedures.
Routine Maintenance
DEALER
Outdoor Unit
Maintenance and service must be performed by a qualified
installer or service agency. At the beginning of each cooling
season, the system should be checked as follows:
1. Clean and inspect outdoor coil (may be flushed with a
water hose). Ensure power is off before cleaning.
2. Outdoor unit fan motor is pre-lubricated and sealed. No
further lubrication is needed.
3. Visually inspect all connecting lines, joints and coils for
evidence of oil leaks.
4. Check all wiring for loose connections.
5. Check for correct voltage at unit (unit operating).
6. Check amp draw on outdoor fan motor.
Motor Nameplate:_________ Actual:__________.
7. Inspect drain holes in coil compartment base and clean
if necessary.
NOTE ‐ If insufficient heating or cooling occurs, the unit
should be gauged and refrigerant charge should be
checked.
Outdoor Coil
It may be necessary to flush the outdoor coil more
frequently if it is exposed to substances which are
corrosive or which block airflow across the coil (e.g., pet
urine, cottonwood seeds, fertilizers, fluids that may contain
high levels of corrosive chemicals such as salts)
Outdoor Coil — The outdoor coil may be flushed with
a water hose.
Outdoor Coil (sea coast) — Moist air in ocean locations
can carry salt, which is corrosive to most metal. Units
that are located near the ocean require frequent
inspections and maintenance. These inspections will
determine the necessary need to wash the unit
including the outdoor coil. Consult your installing
contractor for proper intervals/procedures for your
geographic area or service contract.
Indoor Unit
1. Clean or change filters.
2. Lennox blower motors are prelubricated and
permanently sealed. No more lubrication is needed.
3. Adjust blower speed for cooling. Measure the pressure
drop over the coil to determine the correct blower CFM.
Refer to the unit information service manual for pressure
drop tables and procedure.
4. Belt Drive Blowers - Check belt for wear and proper
tension.
5. Check all wiring for loose connections.
6. Check for correct voltage at unit. (blower operating)
7. Check amp draw on blower motor.
Motor Nameplate:_________ Actual:__________.
 Loading...