Replacing the keyboard
Before you replace the keyboard, remove any devices that are directly above the console unit so that you
have access to disconnect the cables. See the documentation that comes with the device for removal
instructions.
You can also remove the console unit from the rack for easier cable access. See the instructions in
“Removing the console unit from the rack” on page 41; then, return to step Step 5 on page 30 in this
procedure.
To replace a keyboard in the console unit, complete the following steps:
Step 1. Close the flat-panel display.
Step 2. Disconnect the keyboard-and-mouse cable from the server or console switch.
Step 3. Carefully unfasten the hook-and-loop fastener strips from the cable-management arm and remove
the keyboard-and-mouse cable.
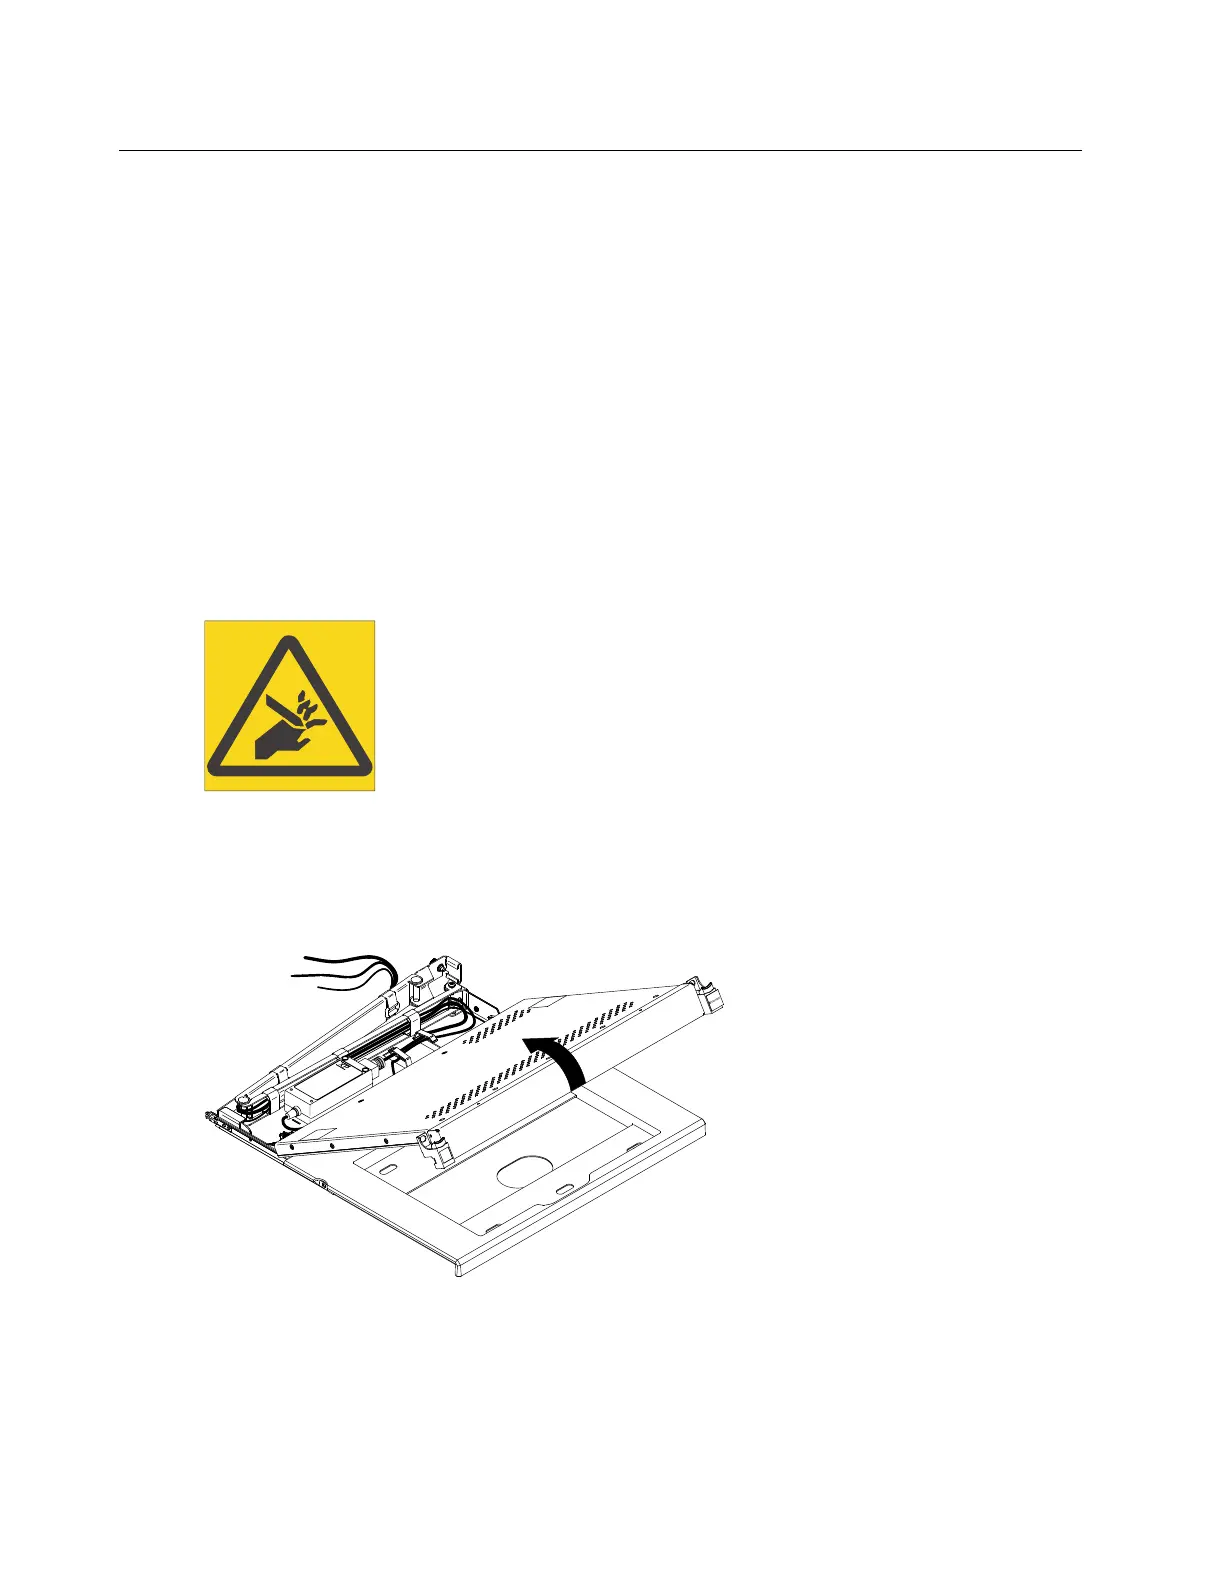
L012
CAUTION:
Pinch hazard. (L012)
Step 4. Fully extend the console unit out of the rack.
Step 5. Lift the front of the flat-panel display and raise the display to the full upright position.
Step 6. Remove the old keyboard from the console unit.
Step 7. Unpack the replacement keyboard.
Attention: Do not extend the keyboard feet. The flat-panel display screen might be damaged if the
feet are extended when the display is closed.
30
1U 18.5-inch Standard Console Installation and Maintenance Guide
 Loading...