Fn Ctrl
Ctr
lAlt Alt
A
Z
S
X
D
C
F
V
G
B
H
N
J
M
K
<
,
L
>
.
:
;
?
/
“
‘
Enter
ShiftShift
Caps Loc
k
Esc
F1 F2 F3 F4 F5 F6 F7 F8 F9 F10 F11
F12
Delete
Inser
t
Pr
tSc
End
Home
ScrLk
PgDn
PgUp
P
ause
1
Q
2
W
3
E
4
R
5
T
6
Y
7
U
8
I
9
O
0
P
{
[
}
]
|
\
Bac
kspace
Tab
~
`
_
-
+
=
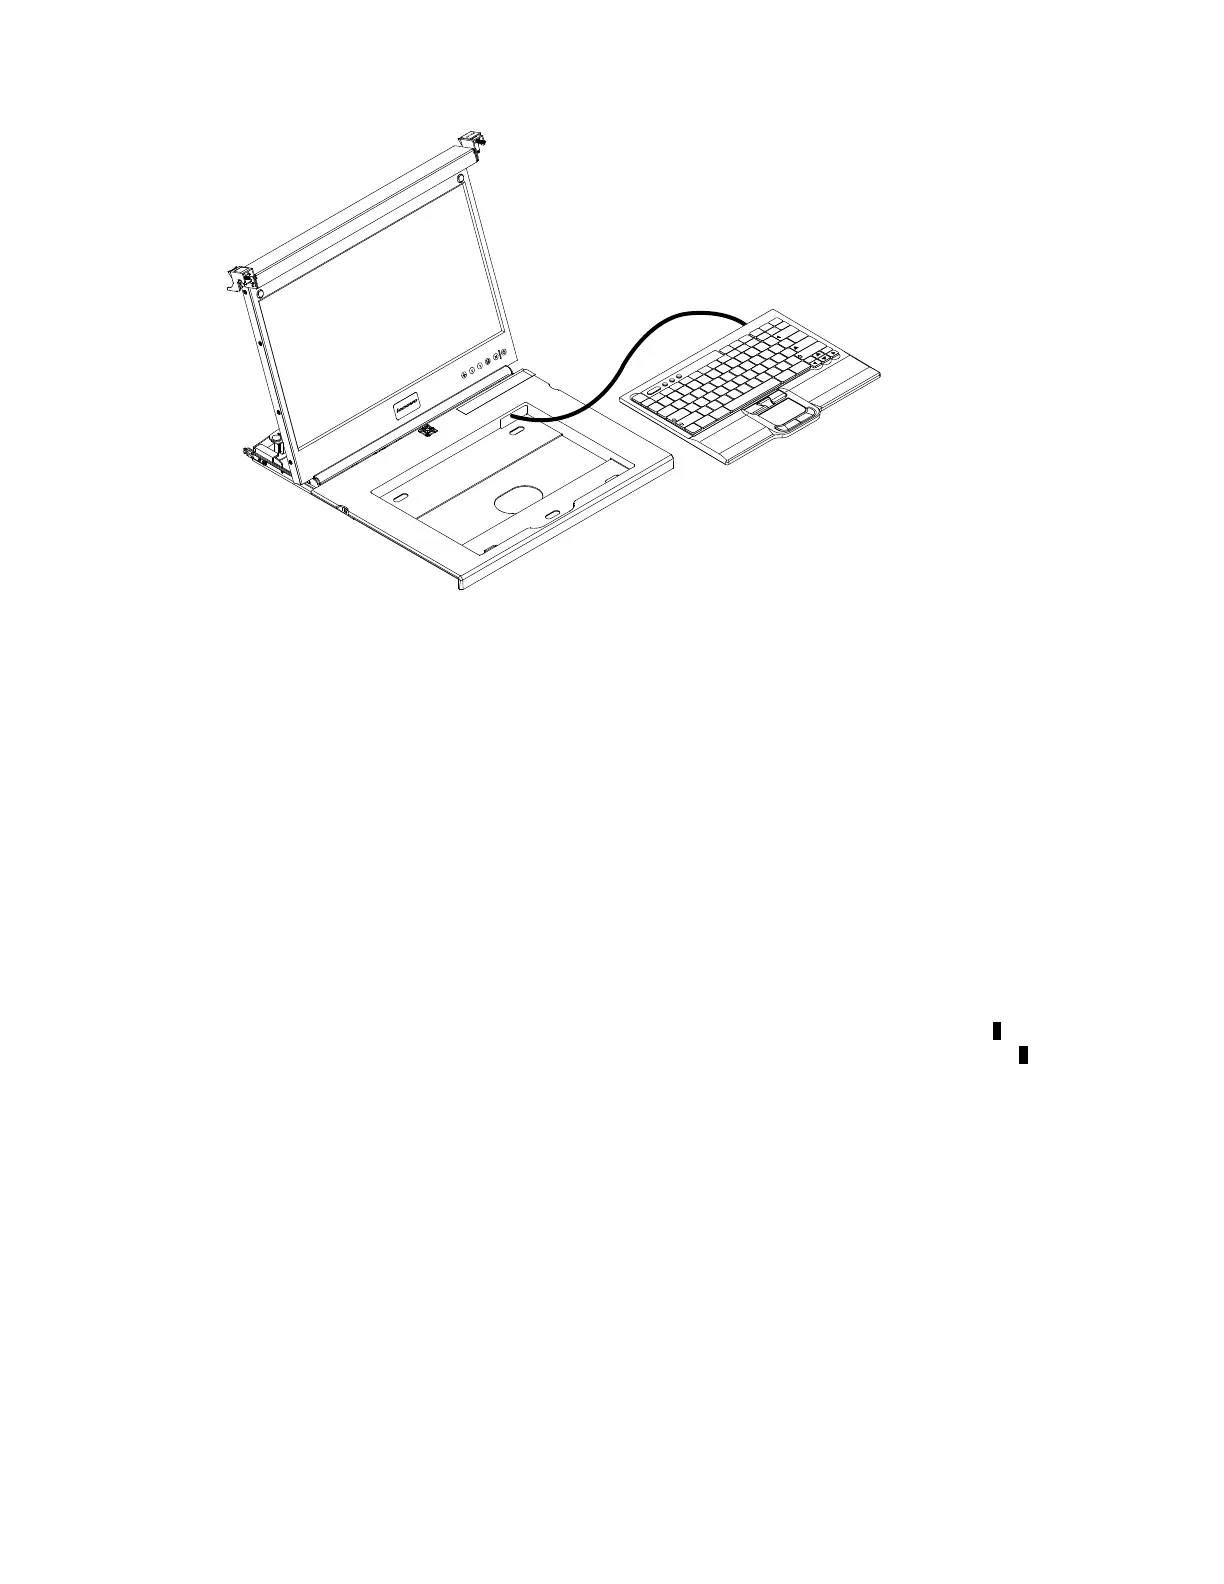
Step 5. Place the keyboard in the tray and exert a small amount of pressure on the keyboard to secure it to
the double-sided tape on the front of the console tray.
Step 6. Close the flat-panel display.
Attention:
• When you route the keyboard-and-mouse cable, make sure that the cable does not hang below
the underside of the keyboard where it might be damaged if it interferes with the devices in the
rack space below the console unit.
• Make sure that you route all cables through the cable-routing features on the console frame
behind the display and along the cable-management arm.
Step 7. Close the flat-panel display.
Removing and replacing the outer slide-rails
To remove and replace the outer slide-rails, complete the following steps:
Step 1. Remove the rear bracket of the outer slide-rail from the rack by pulling the blue tab out
1 while you
move the end of the slide-rail away from the rack flange and toward the center of the rack
2.
Chapter 4. Hardware maintenance information 43
 Loading...