29
To Replace the Grill Injector
The grill injector can be accessed by removing the single screw
on the tip of the burner (as shown). Remove the screw and pull
the grill burner towards the front of the cooker, the injector will
be revealed on the rear surface of the cavity.
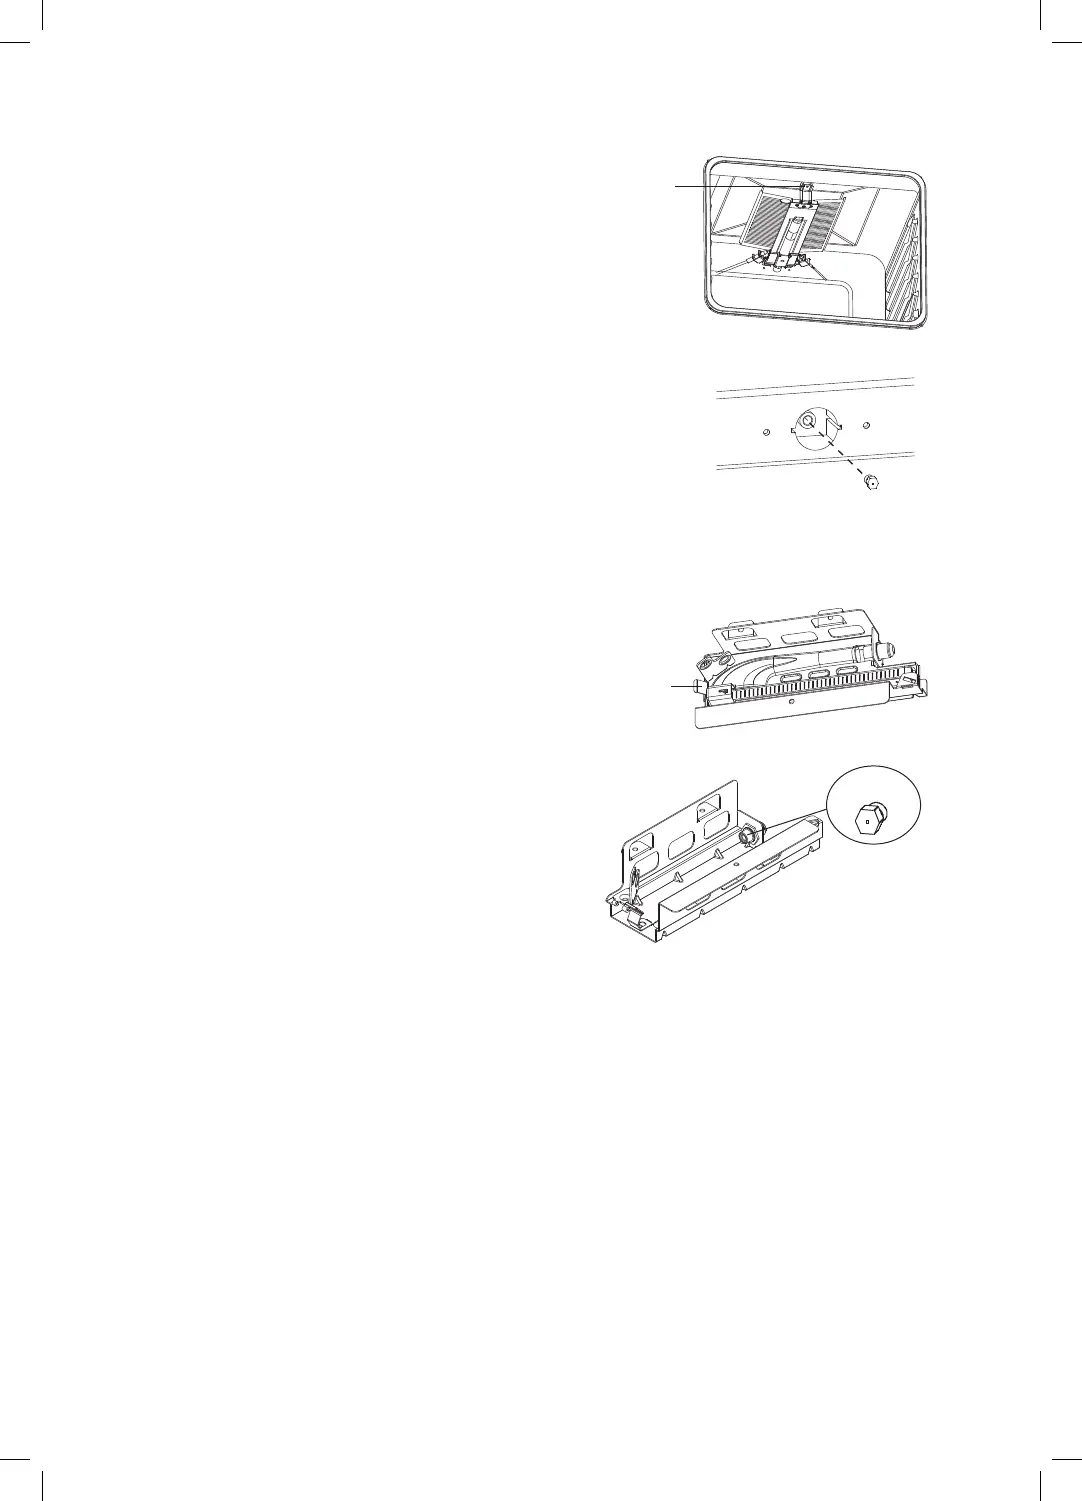
To Replace the Oven Injector
The oven burner is fixed in its cradle by a single clip that is placed
on the left-hand side of the burner. Pull the clip further left,
and with your other hand, lift the burner up holding from the
thermocouple/spark plug holder.
The injector is placed on the right side of the burner cradle.
Remove the injector with a 7mm spanner and replace the
injector with the ones from the spare set, with corresponding
diameters suitable to the type of gas that is going to be used,
according to the information chart (which is also supplied in the
gas conversion kit).
Screw
Remove the injector with a 7mm spanner and replace the
injector with the ones from the spare set, with corresponding
diameters suitable to the type of gas that is going to be used,
according to the information chart (which is also supplied in the
gas conversion kit).
clip
Injector
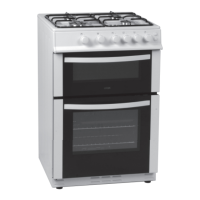
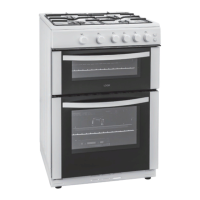
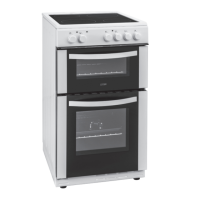
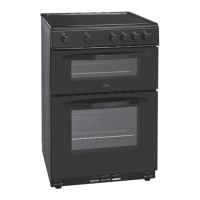
* All images are for indication only; please refer to your individual unit for actual item.
LFTG60W_A12_IB_rollover.indd 29 29/03/2016 17:09
 Loading...