EasyManua.ls Logo

Logitech SST-659 - Harmony Universal Remote Control User Manual

Logitech SST-659 - Harmony Universal Remote Control
20 pages
To Next Page IconTo Next Page
To Previous Page IconTo Previous Page
Page #5 background image
Setting up your Harmony Remote
Step 1: Unpack and set-up
1. Ensure that you have received the following items:
l
1 Harmony Remote SST-659
l
1 USB Cable
l
4 AAA batteries
l
1 Software Installation CD
2. Open the battery compartment on the underside of your Harmony Remote. Insert the four AAA
batteries as indicated on the bottom of the battery compartment. Close the battery compartment.
Step 2: Entertainment Device Worksheet
Fill out the Device Worksheet
the Harmony Remote control as a system. Once you have entered all the information, take your current
remote controls along with this worksheet to your computer.
Step 3a: Install the Harmony Software (Windows)
The minimum recommended Windows system configuration is:
l
IBM compatible PC with USB plug-and-play support
l
Microsoft Windows 98SE/Me/2000/XP operating system
l
10MB free hard drive space
l
Internet connection (dial-up, cable, LAN, etc.)
1. Connect one end of the cable provided to the USB port on your computer and the other end to
your Harmony Remote.
2. The Harmony Remote will be detected automatically and USB Human Interface Device drivers
installed. For some versions of Windows you may be prompted to insert the Windows software
CD. Insert the Windows software CD into the computers CD -ROM drive when asked to do so,
then follow the on-screen instructions.
SST
-
659 User Manual
Thursday, October 16, 2003
Question and Answer IconNeed help?

Do you have a question about the Logitech SST-659 - Harmony Universal Remote Control and is the answer not in the manual?

Logitech SST-659 - Harmony Universal Remote Control Specifications

General IconGeneral
BrandLogitech
ModelSST-659
Product NameHarmony Universal Remote Control
TypeUniversal Remote
ConnectivityInfrared (IR)
Number of Devices ControlledUp to 15
Number of Devices Supported5000+ brands
DisplayLCD screen
Battery TypeAA
Power SourceBattery
Compatible DevicesTV, DVD, Cable Box, Satellite Receiver
Included ComponentsRemote, USB cable, Installation CD
ColorSilver

Summary

Introduction

How is the Harmony Remote SST-659 different?

Key Button Functions

Explains functions of Activity, Custom, OFF, HELP, DEVICE, SOUND, PICTURE, MEDIA buttons.

Smart State Technology

Activities

4 dedicated buttons for selecting activities, unique to user setup.

Modes

Explains Activity, Sound, Picture, and Device modes.

Setting up your Harmony Remote

Unpack and Initial Setup

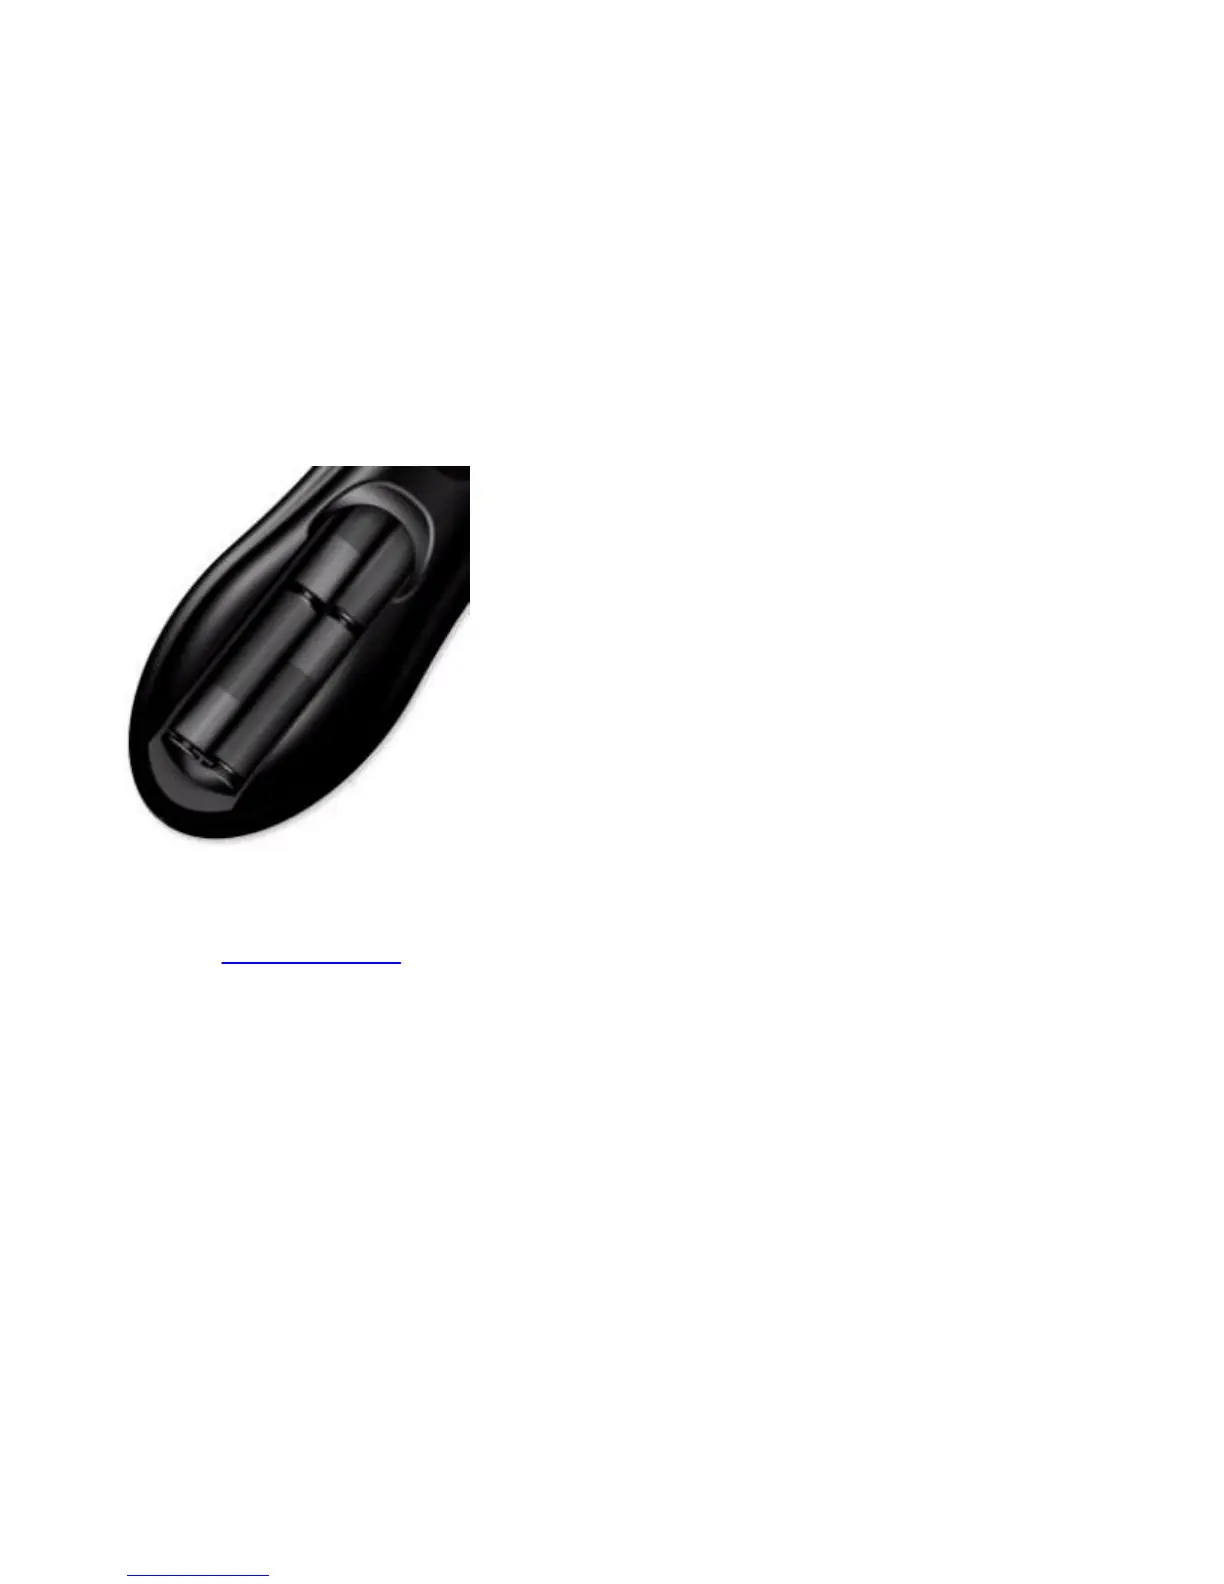
Lists items and battery installation.

Prepare for Setup

Filling out device details worksheet.

Install Harmony Software

System requirements and installation for Windows and Mac.

Create Harmony Account

Creating an account with personal information.

Configure System and Update

Wizard configuration for devices/activities and remote update.

Using your Harmony Remote

Synchronization Steps

Steps to sync remote with devices.

Selecting and Changing Activities

How to choose, start, and switch between activities.

Status Light and Resynchronizing

Status Light

Explains the meaning of the remote's status light.

Resynchronizing

Steps to resolve sync issues with devices.

Button Functions within an Activity

Activity-Specific Button Functions

Play a Videotape Activity

Explains button functions for playing videotapes.

Watch a DVD Activity

Explains button functions for watching DVDs.

Listen to CDs Activity

Explains button functions for listening to CDs.

CD Jukebox Activity

Explains button functions for CD Jukebox.

Using Modes within an Activity

Sound Mode

Emphasizes sound control for selected device.

Picture Mode

Emphasizes picture control for selected device.

Device Mode

Accesses all commands for selected device.

Customizing your Harmony Remote

Setting the Activity Buttons

Customizing the 4 dedicated activity buttons.

Changing the Behaviour of Buttons within an Activity

Adding Custom Labeled Buttons within an Activity

Teaching Infrared Commands

Setup

Physical setup for learning commands.

Uploading infrared commands

Process of uploading learned signals.

Naming an Infrared Command

Guidelines for naming learned commands.

Related product manuals