EasyManuals Logo
Home>Lumens>Document Camera>DC125

Lumens DC125 User Manual

Lumens DC125
57 pages
To Next Page IconTo Next Page
To Previous Page IconTo Previous Page
Page #20 background imageLoading...
Page #20 background image
English - 19
Chapter 5 Start Using
<Note> Ensure that the USB cable is connected and Ladibug™ software is
installed at first. Refer to Chapter 4 Installation and Connections in this user
manual.
1. Double click on
icon to open Ladibug™ Software.
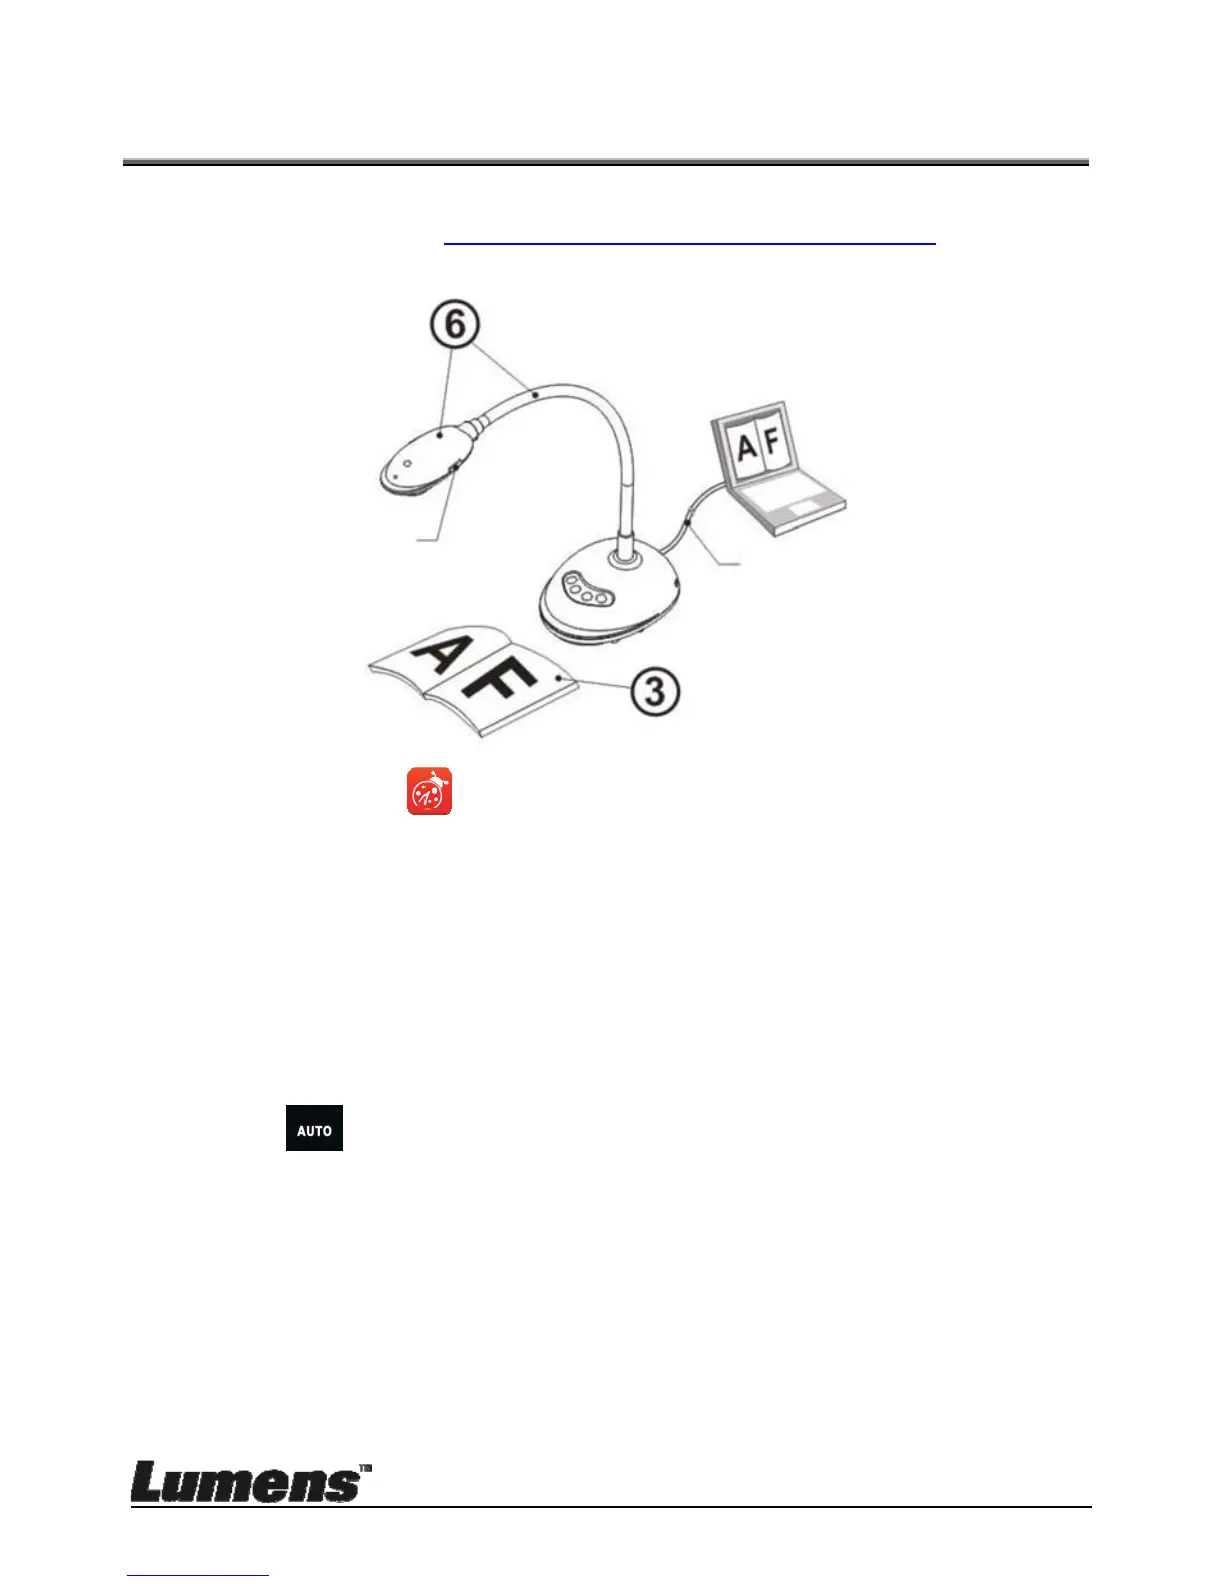
2. Place an object to be displayed under the camera.
3. POWER Frequency setting page, please complete the settings following
the instructions on the screen. A live image is displayed when the setting is
finished. ( This setting is required for the first use only.)
Note: You are advised to confirm the local voltage/frequency before setting
the POWER Frequency. For example, 60Hz is applicable for America,
Taiwan, Japan, etc; 50Hz is applicable for Europe or other regions.
4. Press button to optimize the image. You are ready to teach/present.
USB Cable
FOCUS

Other manuals for Lumens DC125

Questions and Answers:

Question and Answer IconNeed help?

Do you have a question about the Lumens DC125 and is the answer not in the manual?

Lumens DC125 Specifications

General IconGeneral
Sensor type-
Image freezeNo
Maximum frame rate30 fps
Optical sensor size- \
Supported graphics resolutions1024 x 768 (XGA), 1280 x 1024 (SXGA), 1280 x 720 (HD 720), 1600 x 1200 (UXGA), 1920 x 1080 (HD 1080), 2048 x 1536 (QXGA)
Optical zoom8 x
Shooting area (WxD)400 x 300 mm
Lamp typeLED
Photo effectsMirror
Product colorRed
Cable lock slotYes
Cable lock slot typeKensington
Image quality adjustmentSharpness
InterfaceUSB 2.0
Power supply typeUSB
Weight and Dimensions IconWeight and Dimensions
Depth236 mm
Width106 mm
Height280 mm
Weight1200 g
Dimensions folded (WxDxH)236 x 106 x 280 mm

Related product manuals