23 24
1) Clamping two or more leads of circuit to be tested
simultaneously will not give correct readings.
2) To get accurate reading, connect the lead to be tested
at the center of current clamp.
3) In the manual measuring range mode, when LCD only
shows “OL”, which indicates over-range, choose
higher measuring range.
4) In the manual measuring range mode, if you don't
know the size of value to be measured in advance,
choose the highest measuring range, then decrease
gradually until the correct range is displayed..
Note:
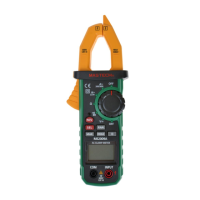
4.18 NCV Measurement
1) Turn the meter to NCV grade.
2) The meter shows “NCV” sign, the main display of
meter shows - - - -; and the alternate display shows
the current NCV detection sensitivity “SE-n”
(number of n is from 0 to 9). The bigger digit is, the
higher sensitivity will be. Press RANGE key to
increase sensitivity, key to reduce sensitivity.
Press HOLD key to save the setting sensitivity.
MAX/MIN
Note:
1: Even there is no indication, voltage may exist still.
Don't use non-contact voltage detector to test
whether there is voltage in the wire. Detection
operation could be affected by socket design,
insulation thickness, type and other factors.
2: When inputting voltage on the meter input terminal,
due to the existence of the induced voltage, voltage
induction indicator also may light.
3: Interference sources of external environment (such
as flashlight, motor, etc.) may trigger non-contact
voltage detection by mistake.
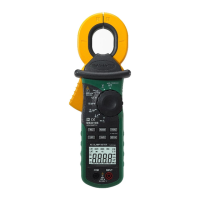
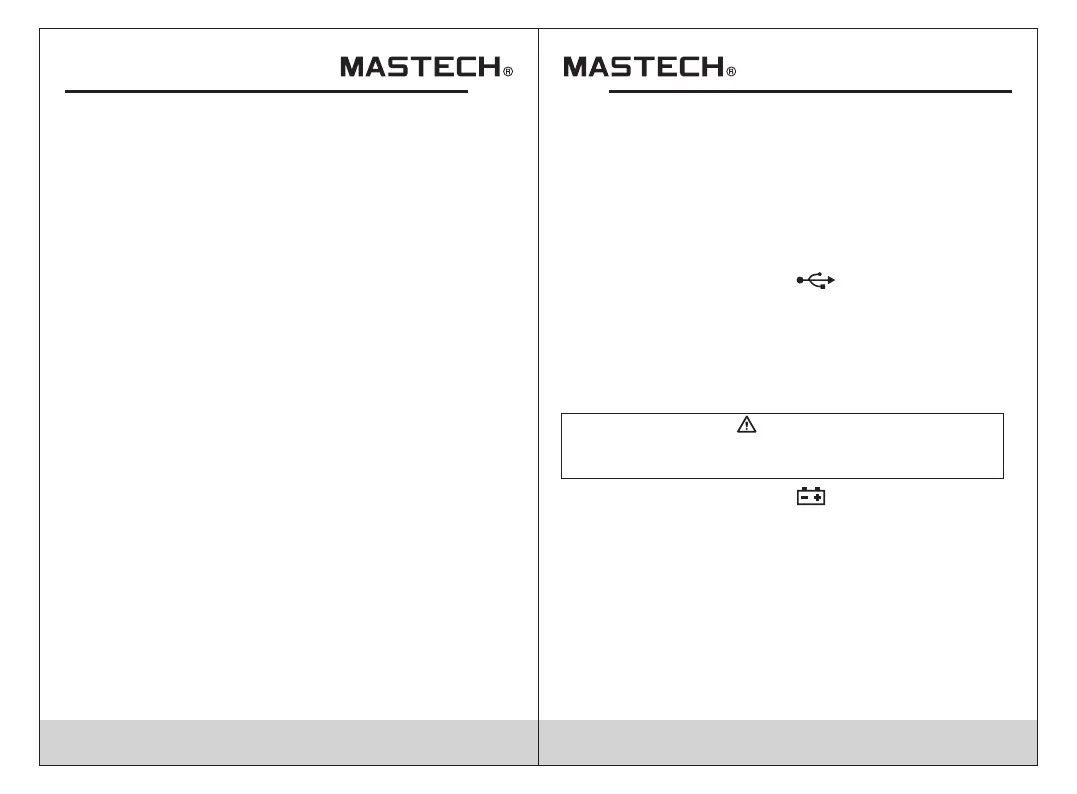
4.19 USB Communication
1) Install MS2115B communication software and USB
driver in the PC (see PC software operation manual
in the attached CD for details).
2) Use USB cable to connect the meter and PC. At this
time, the meter will displays , which means that it
is sending data.
3) Open installed MS2115B communication software in
the PC. Data measured by the meter can be uploaded
to PC for further analysis.
5. Maintenance
5.1 Replace Battery
To avoid electrical shock, remove test leads before
opening battery cover.
1) When the battery indicator “ ” appears, the battery
should be replaced immediately.
2) Unscrew the fastening screw of the meter battery
cover and remove it .
3) Replace battery.
4) Put the battery cover back as before.
Note:
Do not reverse battery polarity.
Warning

 Loading...