38
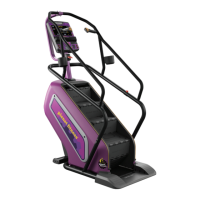
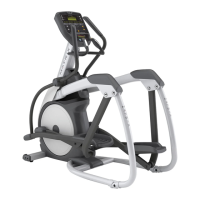
9.1 FRONT DISK REPLACEMENT
CHAPTER 9: PART REPLACEMENT GUIDE
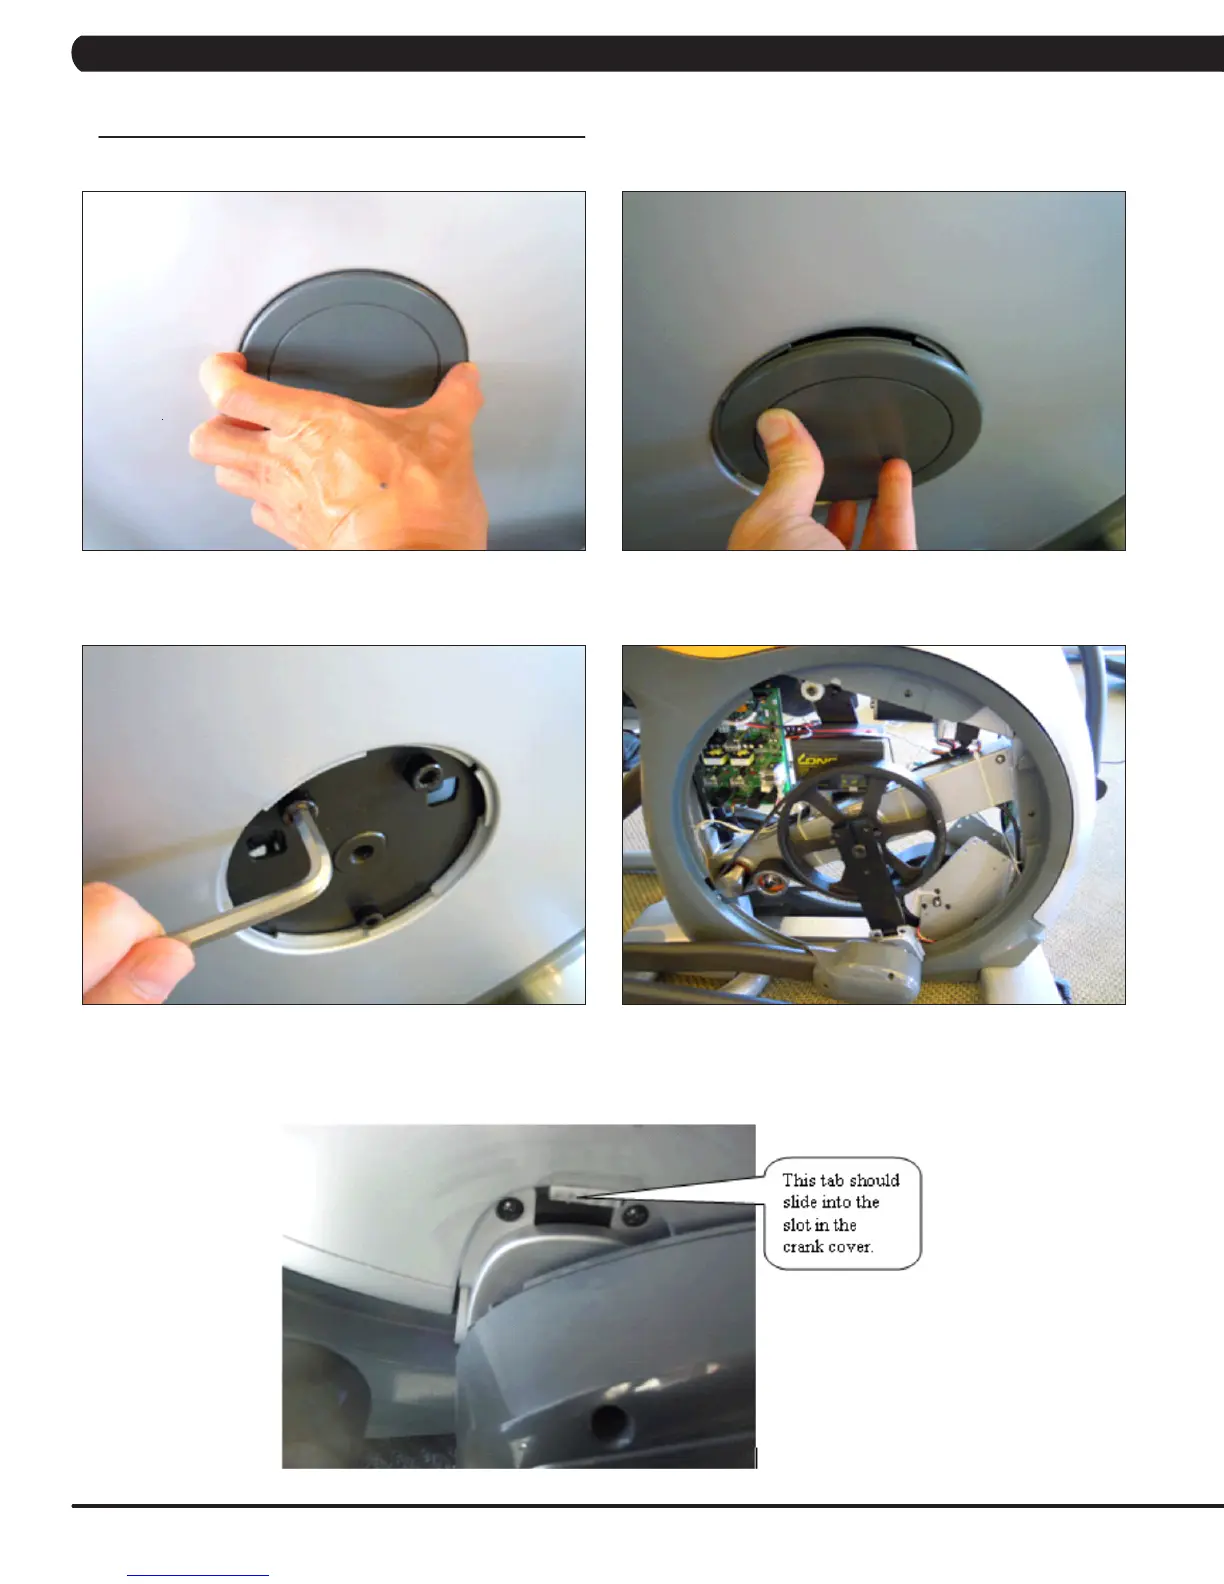
1) Remove the center cover by turning it counter clockwise (Figures A & B).
2) Remove the 3 screws holding the disk to the axle (Figure C).
3) Remove the disk (Figure D).
4) Reverse Steps 1-3 to install a new disk. NOTE: There is a tab on the disk that should be lined up with a slot on the crank cover (Figure E).
The 3 screws removed in Step 2 should be torqued to 25 N-m.
FIGURE A FIGURE B
FIGURE C FIGURE D
FIGURE E
 Loading...