MX 430B
26
3 - WORKING INSTRUCTIONS - CALIBRATION3 - WORKING INSTRUCTIONS - CALIBRATION
3 - WORKING INSTRUCTIONS - CALIBRATION3 - WORKING INSTRUCTIONS - CALIBRATION
3 - WORKING INSTRUCTIONS - CALIBRATION
3.1 BATTERIES3.1 BATTERIES
3.1 BATTERIES3.1 BATTERIES
3.1 BATTERIES
Place the 9 V PP3 and 1.5 V R6 batteries as indicated.
Remove test leads before opening the batteries compartment.
WarningWarning
WarningWarning
Warning : Disconnect the leads before opening the fuses and battery case.
3.2 FUSES3.2 FUSES
3.2 FUSES3.2 FUSES
3.2 FUSES
When replacing fuse, use the right type.
WarningWarning
WarningWarning
Warning : Wrong fuse replacement will endanger meter safety.
5
4
3
2
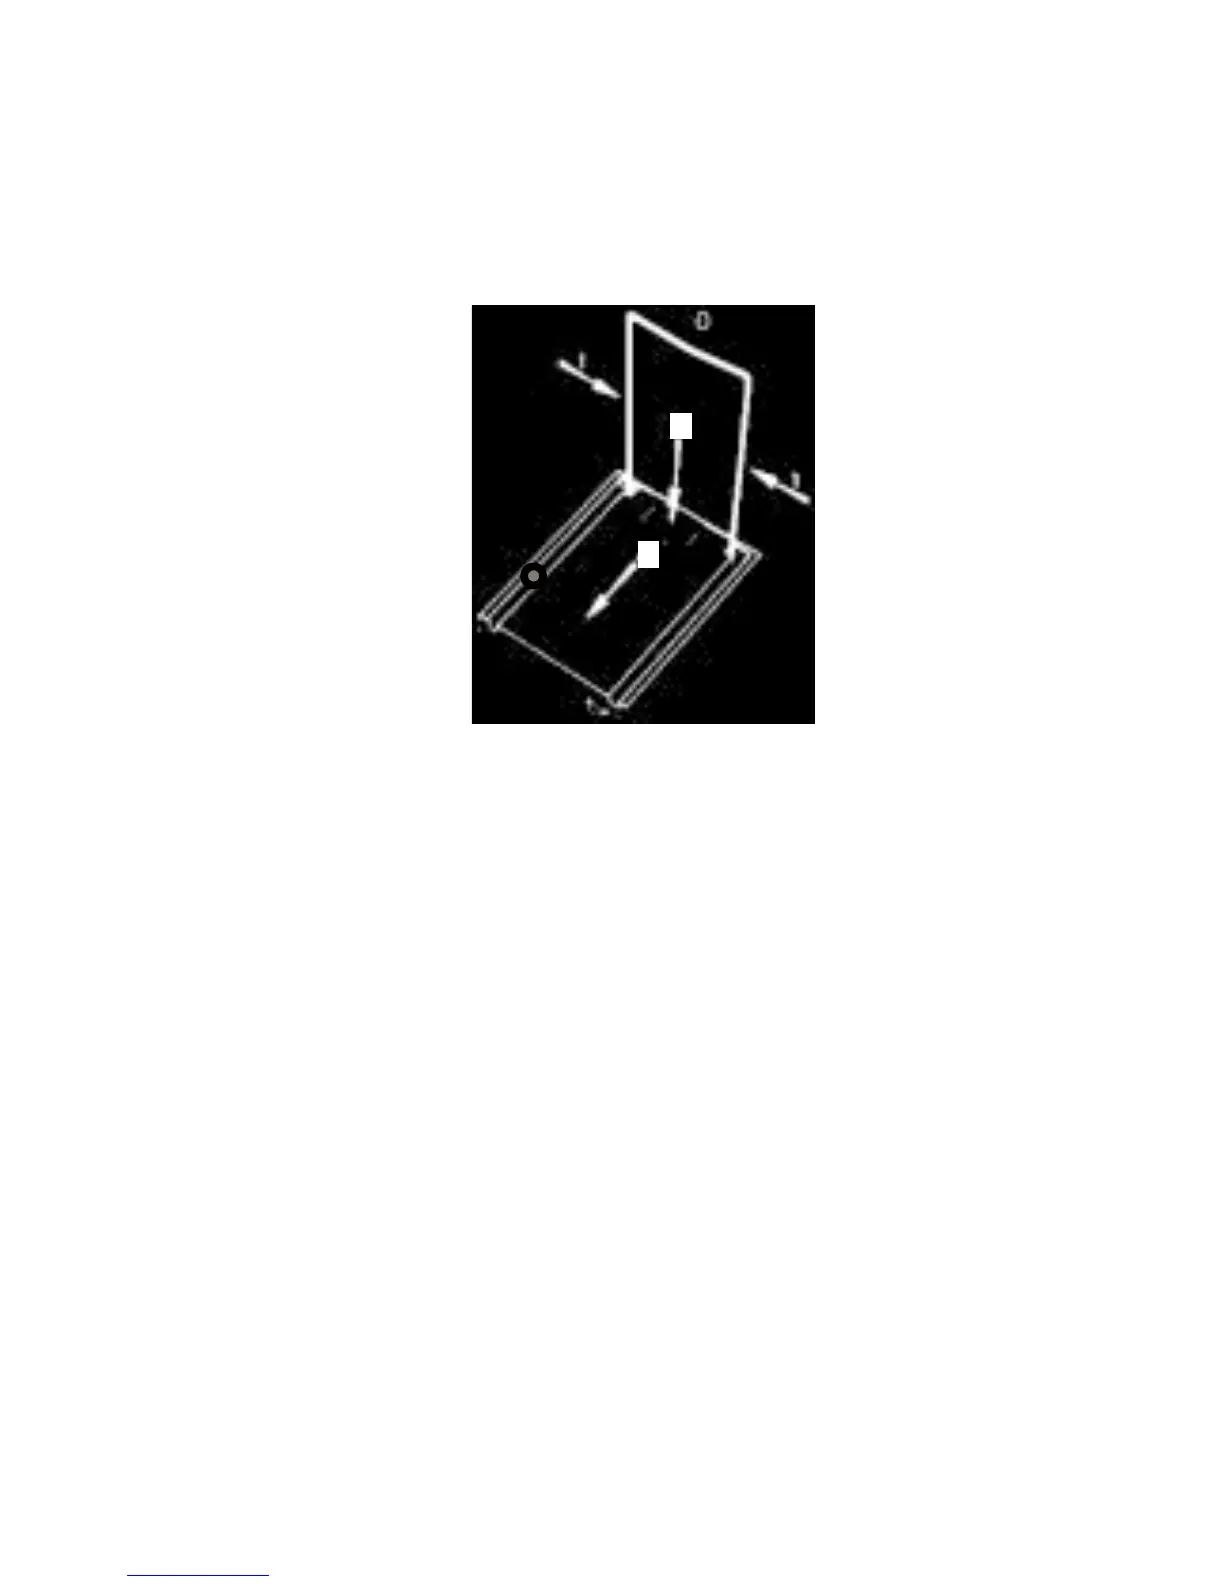
Slide the lid at the back of the meter to open
batteries and fuses compartment:
0 - Pull the stand up.
1 - Press the legs of the stand towards the
center.
2 - Undo the screw.
3 - 4 - Slide towards the arrow as shown,
the stand and the back together, so as to
uncover the batteries compartment.
5 - Galvanometer zero adjustment pointer
 Loading...