R410A 380~415V 3Ph 50Hz TempMaker Series Split AC MCAC-UTSM-2014-03
75
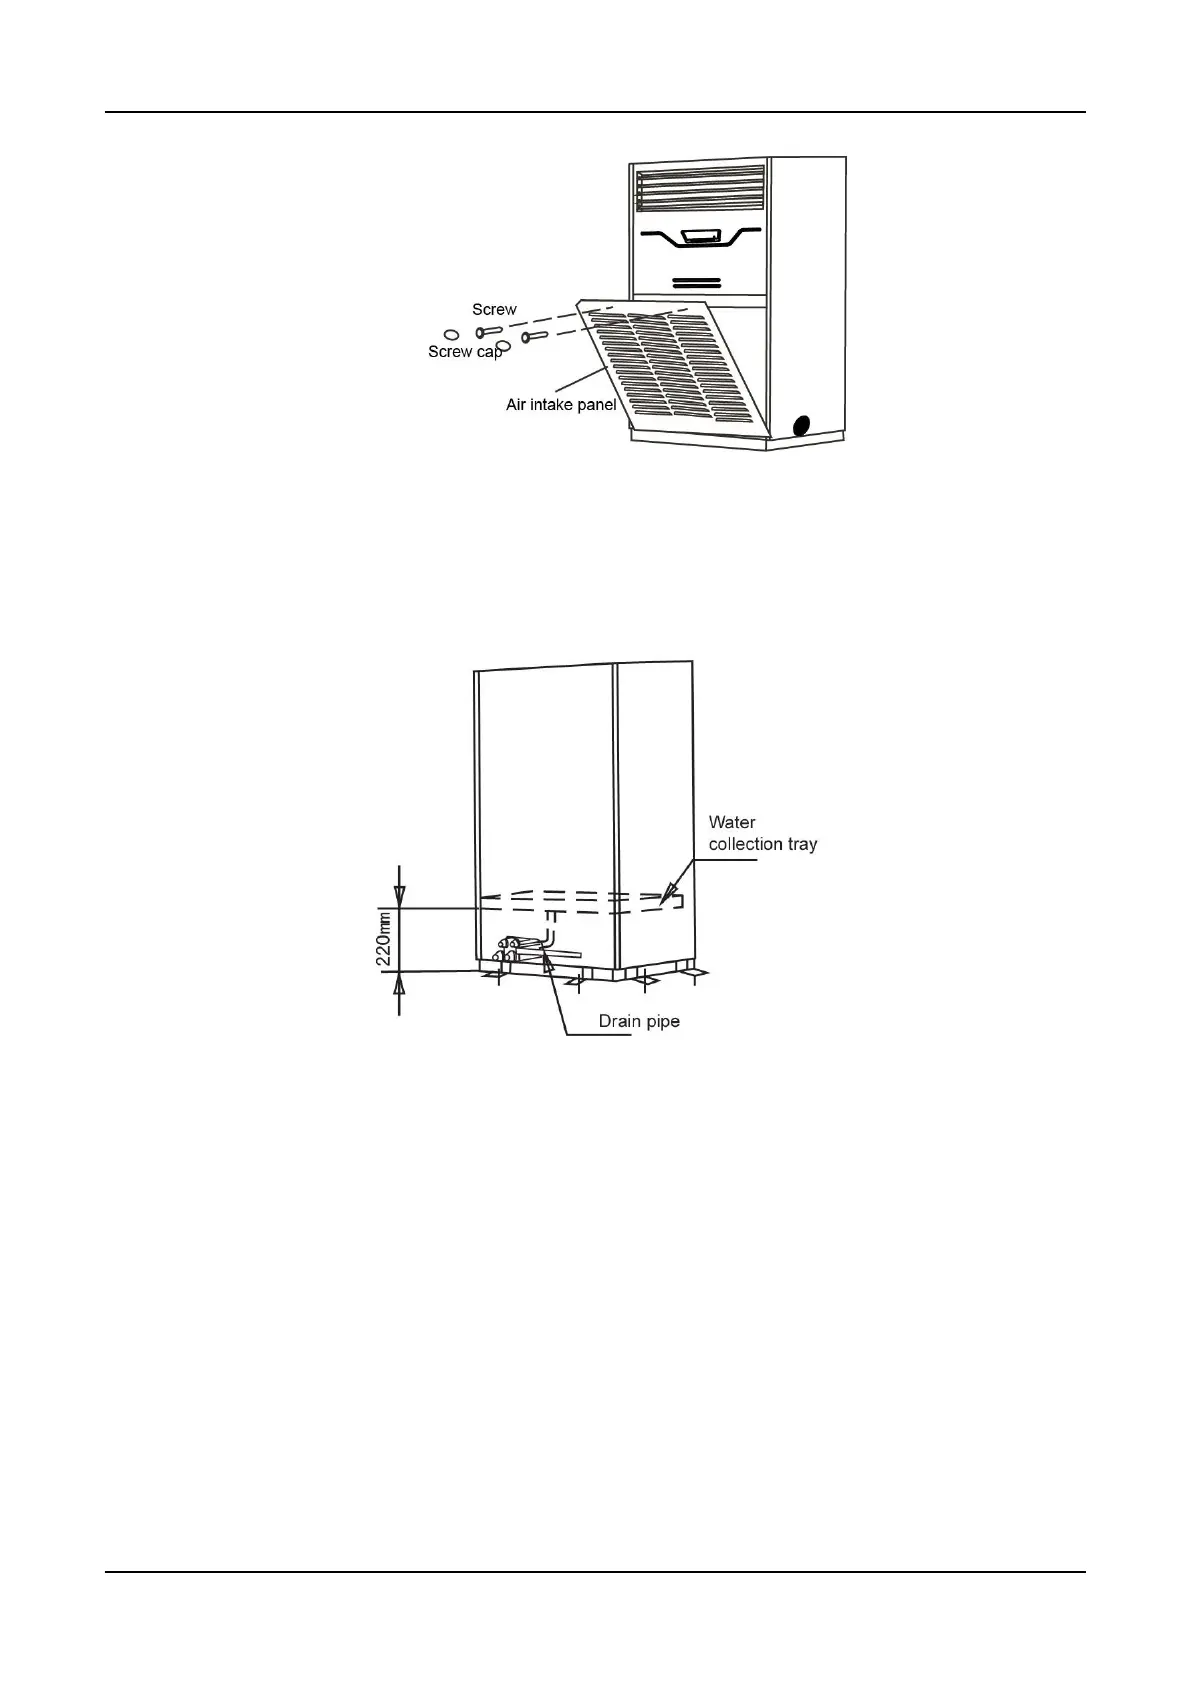
3.2 Install the drainage pipe
There is natural drain, it is should be confirmed that the height of drain pipe is not higher than
water collection tray.
The number of bends and folds of the drain pipe should not exceed 2. Try to avoid bends in
order to prevent trash accumulation.
Charge water into water collection tray, after the drain water pipe is installed, check whether the
water can be drained smoothly and whether the joints are leakage.
After making sure that the water drains smoothly and no water is leaked, use a diabatic wool
bushes to preserve heat of the drain pipe. Ohterwise, condensate will occur.
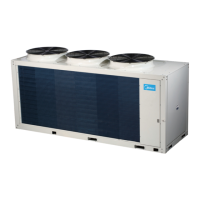
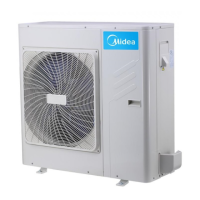
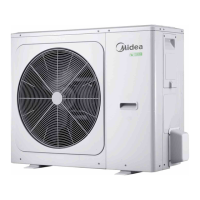
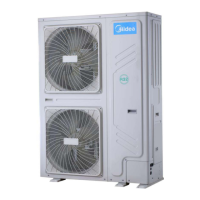
4. Installation of Outdoor Units
When installing the unit, leave a space for maintenance shown in the following figure. Install the
power supply at the side of the outdoor unit.
 Loading...