56
Pellerin Milnor Corporation
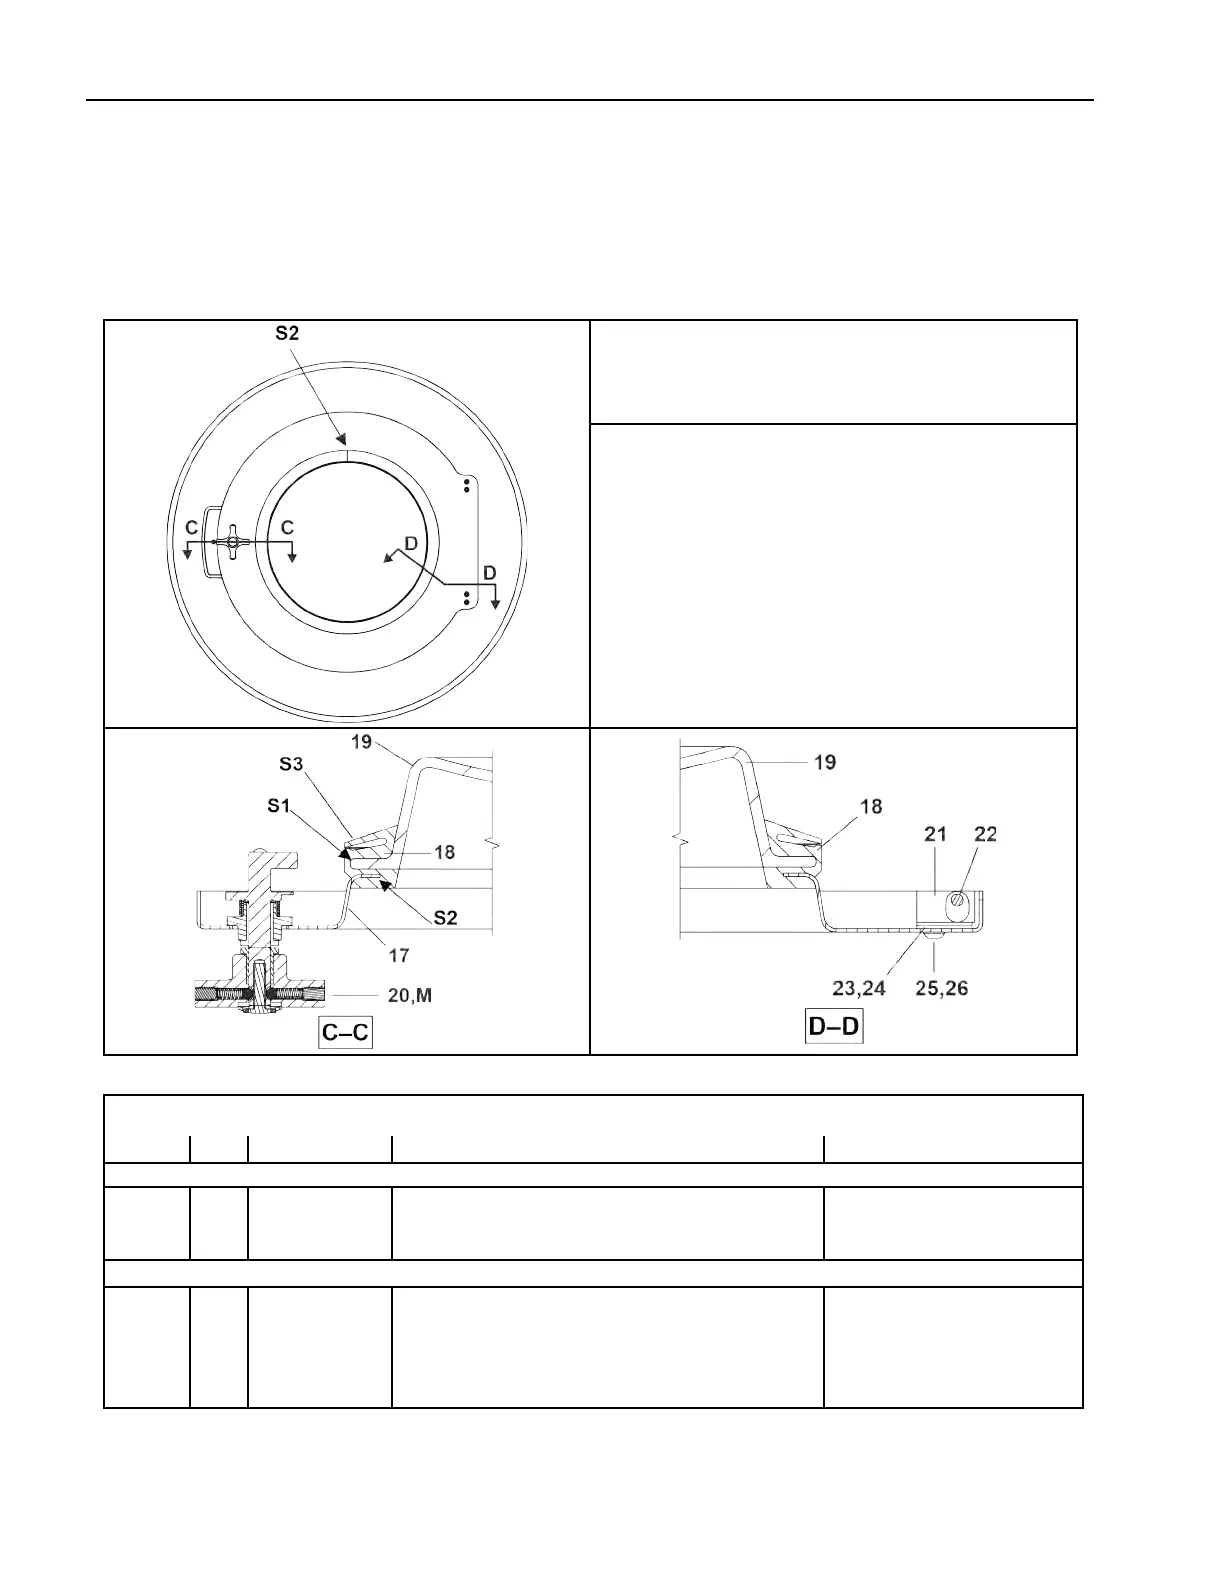
Figure 8. Door Glass Installation Steps
Legend
C–C.Partial section through glass seal, handle side
D–D.Partial section through glass seal, hinge side
M...See BPWOAD01
Steps
S1..Apply a continuous bead of silicone completely
around the rubber seal, in the area where the glass is
to be seated.
S2..Install the gasket into the door before installing the
glass. Observe the location of the rubber seal joint
line. Position the gasket joint is at top-dead-center.
Adjust if necessary.
S3..While installing the glass into the rubber seal, ensure
that no silicone is exposed on outer surface of the
rubber seal.
Table 27. Parts List—Door Assembly and Installation
Find the assembly for your machine and the letter shown in the "Item" column. The components for your machine will show this
letter or the word "all" in the "Used In" column. The numbers shown in the "Item" column are those shown in the illustrations.
Used In Item Part Number
Description/Nomenclature
Comments
Reference Assemblies
A G33 04001 SHELLFRONT + DOOR 3022V8
B A33 10100V FLAT SHELL FRONT/DOOR ASSY 30"
C A33 07100G ASSY=DOOR, 30" FLAT SHELLFRONT
Components
all 1 02 02087C EXTRUSION-SHELL=30"MACHINES
all 2 02 02181 GUARD=SHELL MOUNT RING CLIP
all 3 Y2 02059 *SHELL CLAMP RING=30" MACHINE
all 4 X2 02361G SHELLFRONT,30", FLAT FRONT
all 5 02 03261 30” DOOR FRAME MACHINED
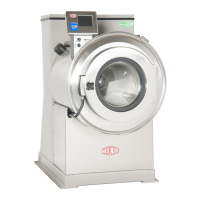
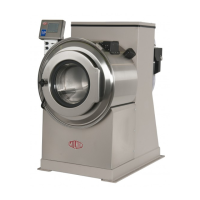
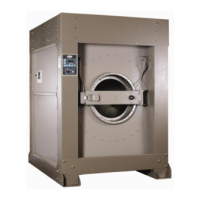
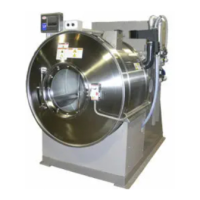
Door Assembly and Installation
4 Sheets
30015T6X,VRJ,V8Z,VZZ and 30022T6X,VRJ,V8Z,VZZ
Door Assemblies
 Loading...