3. Imaging
Patient Information
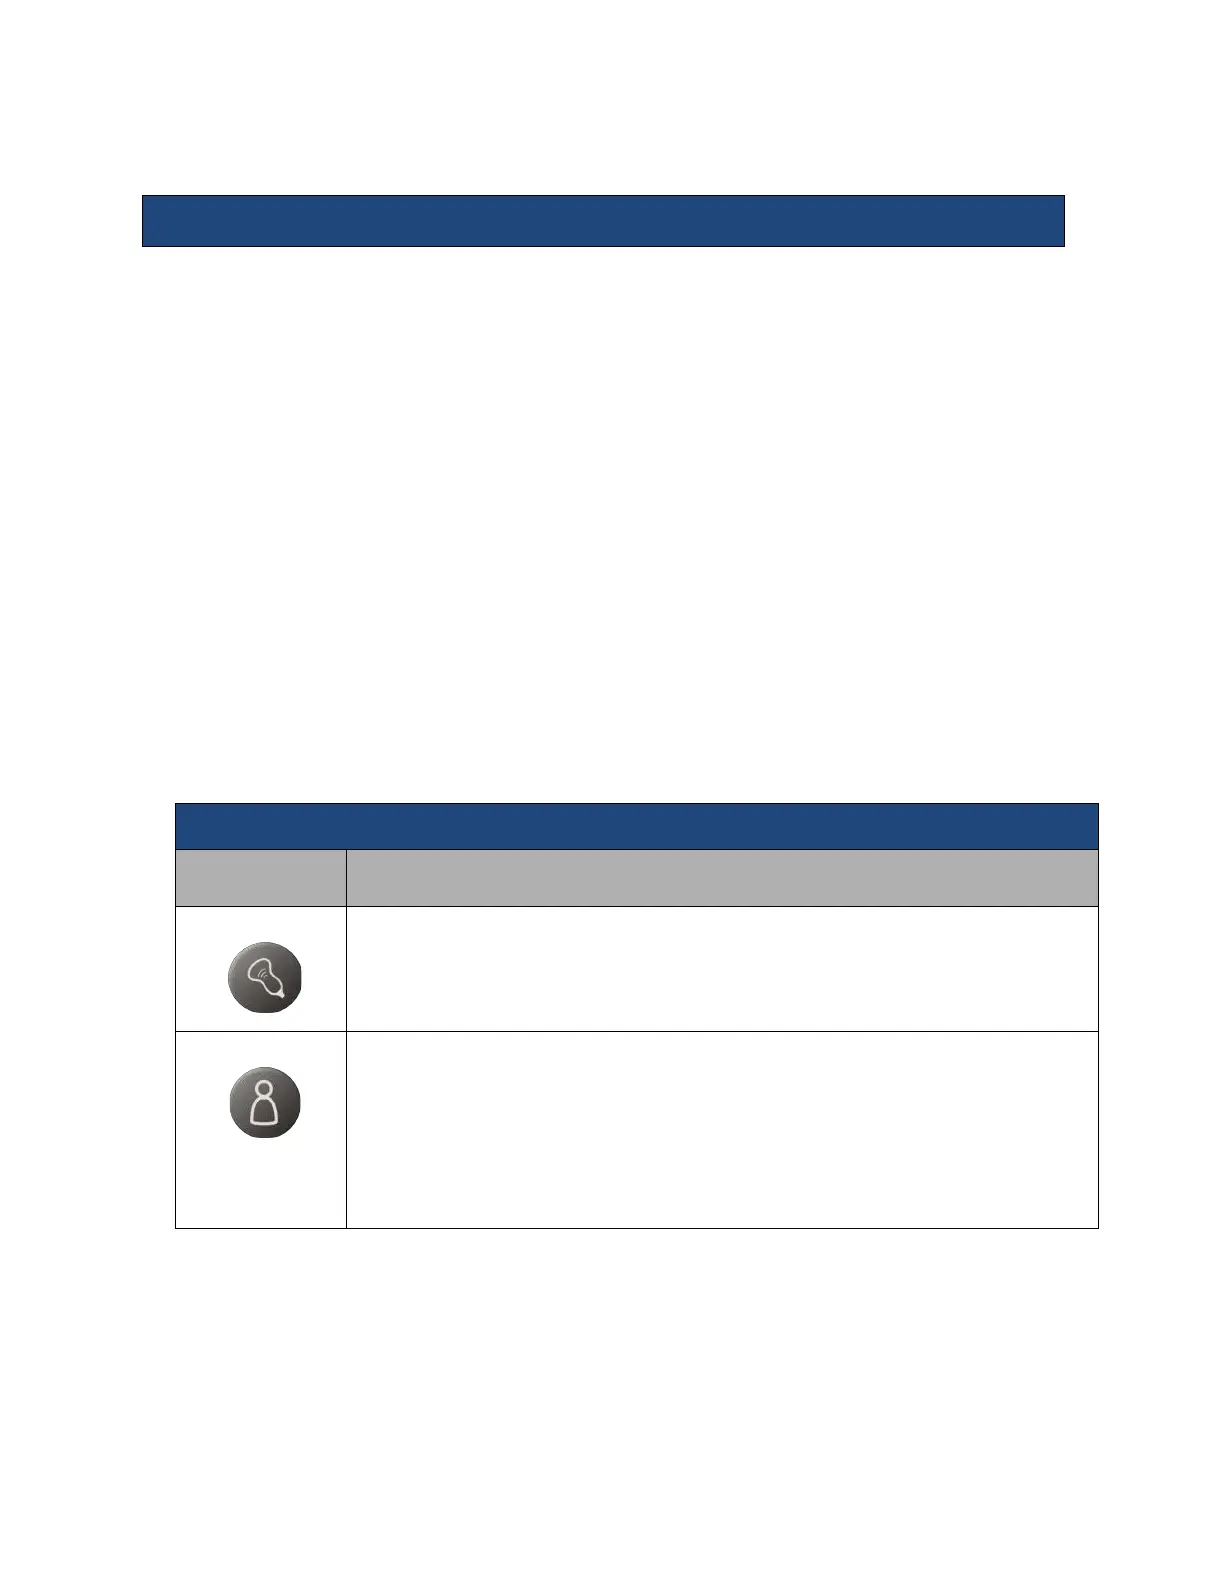
Press the New Patient key on the Alphanumeric Keyboard to enter Patient Information
•
Select Transducer, Exam Type and Preset
•
General Information:
• Patient Name, ID, Gender, DOB, Age
• Access Modality Worklist
•
Diagnosis Information:
• Exam Type Specific Details entry
• Access Modality Worklist
• Access to
• Restart button to restart previously completed exams.
• Pause button to pause the exam.
• Resume button to resume a previously paused exam.
• Cancel Exam button delete data for an exam that has been cancelled
• Archive button which provides an alternate means of accessing the
Archive.
• Exit New Patient Page:
• OK button saves information entered and exits to live scanning
• Cancel button exits page
Control
Description/Use
Transducer Button
Press the Transducer button to select one of three imaging or one non-imaging probes
attached to the system using the softkey OLEDs.
Exam Type Button
Press the Exam Type button to select, create, modify and delete presets.
• 11 presets per probe can be assigned to sofkey OLEDs for easy access, using the
Setup / Preset Mgt tab.
• Presets can quickly be created or modified and saved with the Quick Save
softkey OLED function or by assigning a programmable key to Quick Save
• Presets can be deleted using the Delete Preset softkey OLED function.
• An onscreen Probe/Preset page is launched when Exam Type is pressed.
The Trackball, Set Keys, Select Key, and Priority are involved in many operations of
the system.
Because of the dynamic nature of these controls, an Onscreen Trackball – Priority ICON
is always available onscreen to alert the users of current functions.

 Loading...


