MODEL: HD-6000
Page 13
A. A/V Memory
Each of the external inputs has its own Audio/Video Memory. A change in an A/V setting at a specific input is
stored in memory for that specific input.
B. A/V Reset
1. Press the GUIDE and FORMAT buttons on the front panel to reset all A/V Memories to default.
2. The AV Reset in the user’s menu initializes only the selected input’s A/V Memory.
LED Indicator Diagnostics
The “POWER/TIMER” LED provides an indication of the sets operation, and the possible cause of a malfunction.
1. Initial Control Circuitry Check
Immediately after the TV is connected to an AC power source:
2. Error Code Operational Check
Note: The Set Top Box must be in “Shut Down” and not have been switched Off, to perform the Error Code
Operational Check. When the unit is switched Off, the code automatically resets to “12” No Error.
Pressing the front panel “DEVICE” and “MENU” buttons at the same time, and holding for 5 seconds,
activates the Error Code Mode. The LED flashes denoting a two digit Error Code, or indicating no problem
has occured since the last Initalization.
Note: The front panel buttons must be used, NOT those on the Remote Control.
• The number of flashes indicates the value of the MSD (tens digit) of the Error Code.
• The flashing then pauses for approximately 1/2 second.
• The LED then flashes indicating the value of the LSD (ones digit) of the Error Code.
• The Error Code is repeated a total of 5 times.
Example: If the Error Code is “35”, the LED will flash three times, pause, and then flash five times.
4. Error Codes
The Error Code designations indicating malfunction, or no malfunction, are listed below:
Remote Control Operational Modes
There are two Remote Hand Unit Operational Modes, “Standard” and “NetCommand
TM
”. The Remote is initially
in the “Standard” mode. The “NetCommand
T
” mode is used when controlling Home Theater devices using
NetCommand. To change the Remote Operational Mode:
• Set the Remote to the CABLE/DBS/DTV Layer.
• Point the Remote away from the STB.
• To change to “Netcommand” ... Hold the “Power” button and press “1-9-7” in sequence.
• To change to “Standard” ... Hold the “Power” button and press “0-0-0” in sequence.
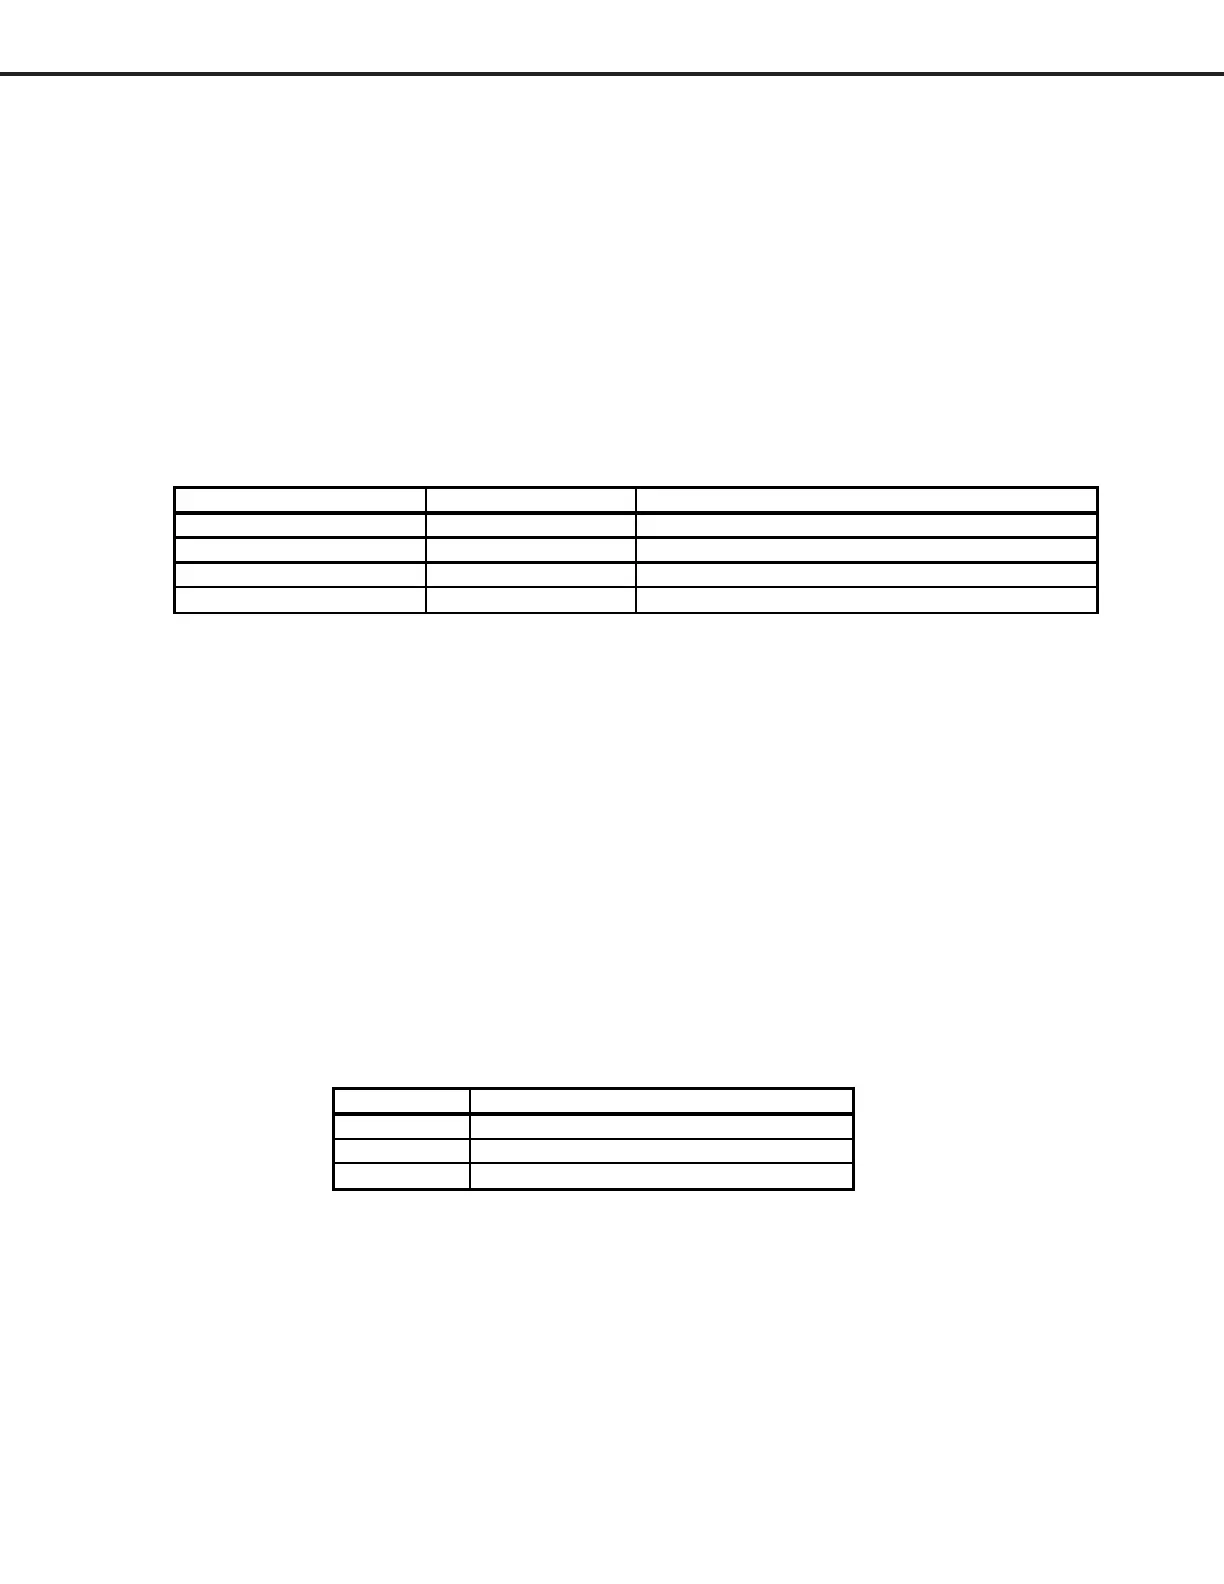
LED Indications Conditions Probable Cause
Off After AC is applied Standby Power Supply or TV µPC not running
Fast Bllink for 70 sec. After AC is applied Normal DM µPC is booting up
Fast Blink (doesn't stop) After AC is applied DM µPC failed to boot up
Slow Blink Set in Off Normal - Timer is set for Automatic Turn ON
Error Code Probable Cause
12 Normal Operation - No Error Detected
35 Fan Stopped
41 Short Detected
 Loading...