4.5 How to Connect a Function Block to an Output
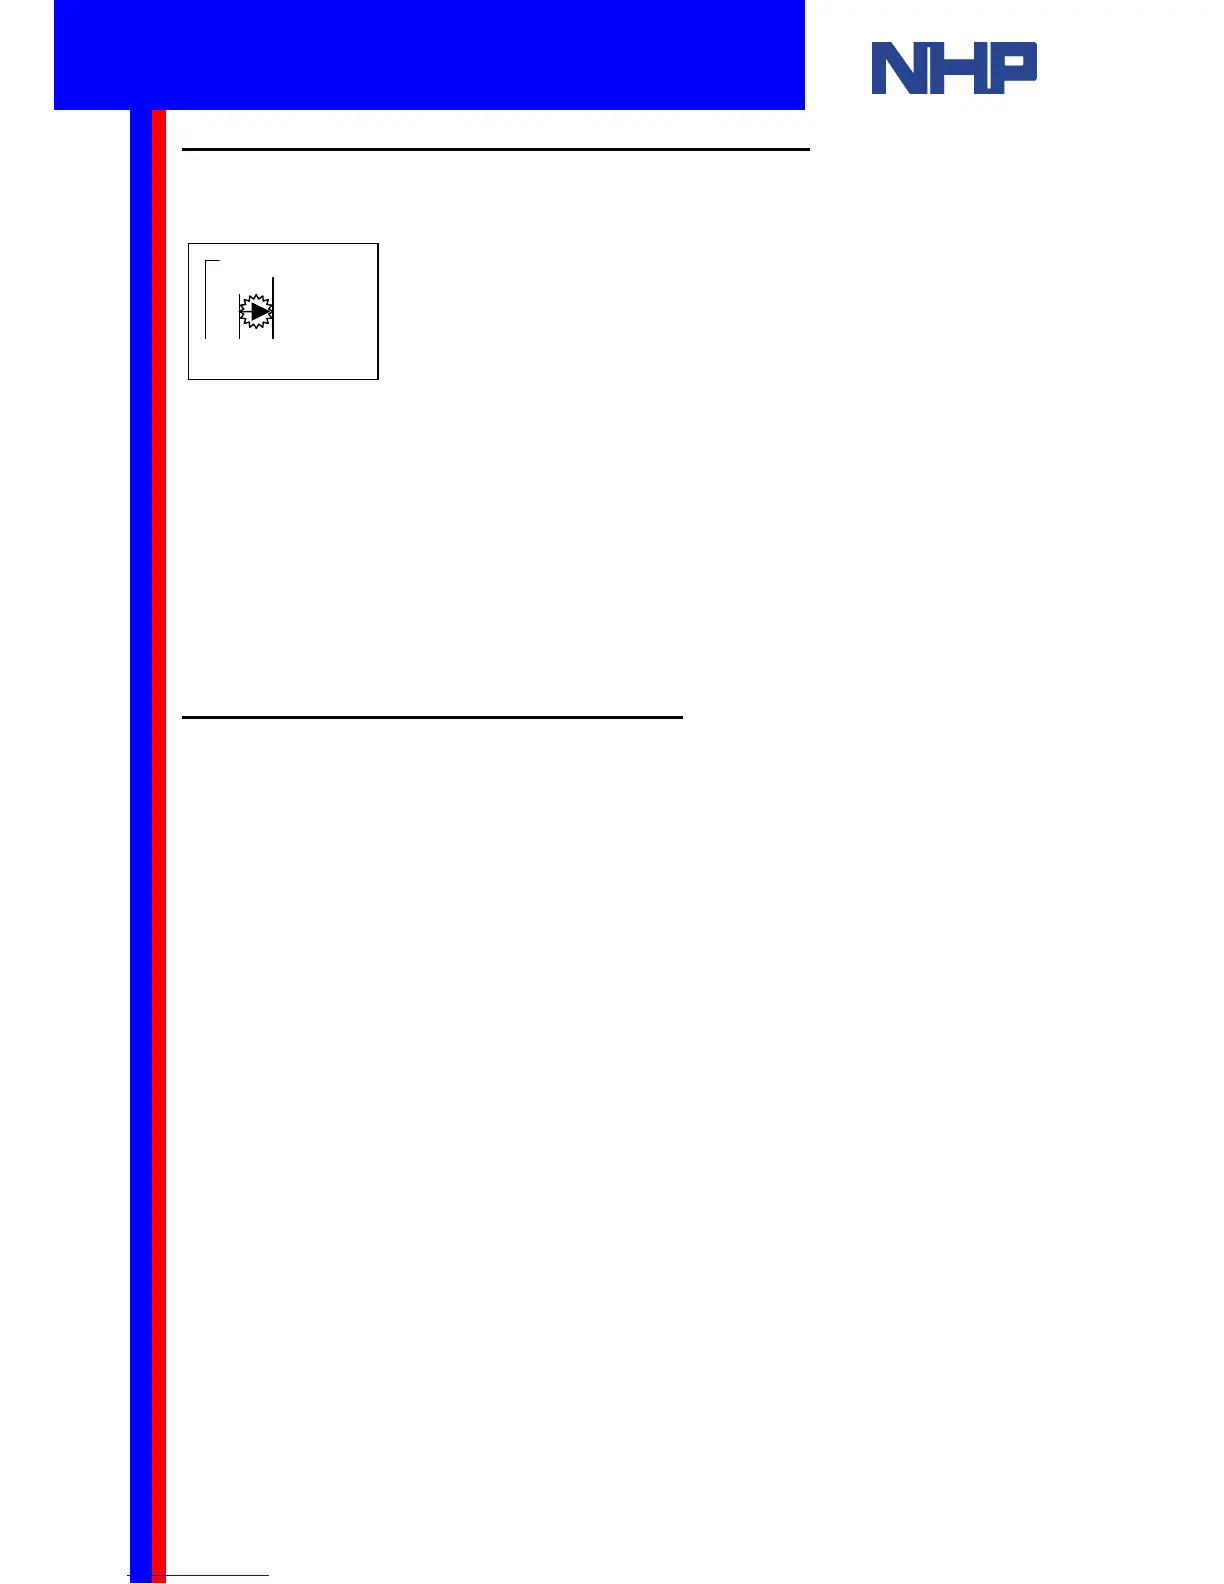
Press RIGHT (►) until your Delay block’s output pin is flashing.
The process here is identical to what you did earlier.
When your delay function block’s output pin is flashing press PLUS (+) to add an output.
A list will become available. From this list choose O01 (Output 1). Press “OK”. The connection
between your delay function block and Output 1 will be flashing. Press “OK” to make the
connection.
Now use the LEFT (◄) and RIGHT (►) buttons to browse through and verify your program.
When you are satisfied with the connections and setup of your program, exit from Program
edit mode by pressing “ESC”. A menu will appear. Press “OK”.
4.6 How to Disconnect a Function Block
If you’ve made a mistake with your connections it is simple to disconnect blocks.
Previously you selected the connection pin with using LEFT (◄), RIGHT (►),UP (▲) or
DOWN (▼) then pressed PLUS (+) to add a connection. Then, “OK” to make the connection.
Disconnecting a block is a similar process.
Select the connection pin using LEFT (◄), RIGHT (►),UP (▲) or DOWN (▼) then press
MINUS (-) to break the connection. Then, “OK” to accept the disconnection.
You may want to delete (remove) the block from your program.
O01
Connect
 Loading...