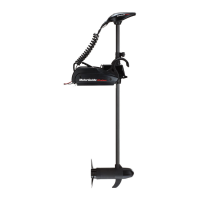
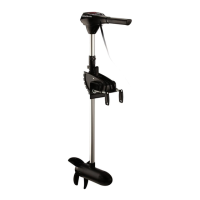
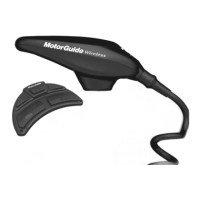
MOTORGUIDE WIRELESS
90-MM5981 For Questions, Contact Consumer Affairs at #1-920-929-5040 10
© 2005, MotorGuide www.motorguide.com
INSTALLATION
Mount Installation
It is recommended that two people install the motor and mount.
Mount Base Plate on Boat Deck
Do not connect the motor to a power source until the motor and mount
are fully installed on the boat.
!
WARNING
The tools required for the installation are:
1) Drill with (8 mm)
5
/
16
inch drill bit
2) #3 Phillips head screw driver
3)
1
/
2
inch open end wrench
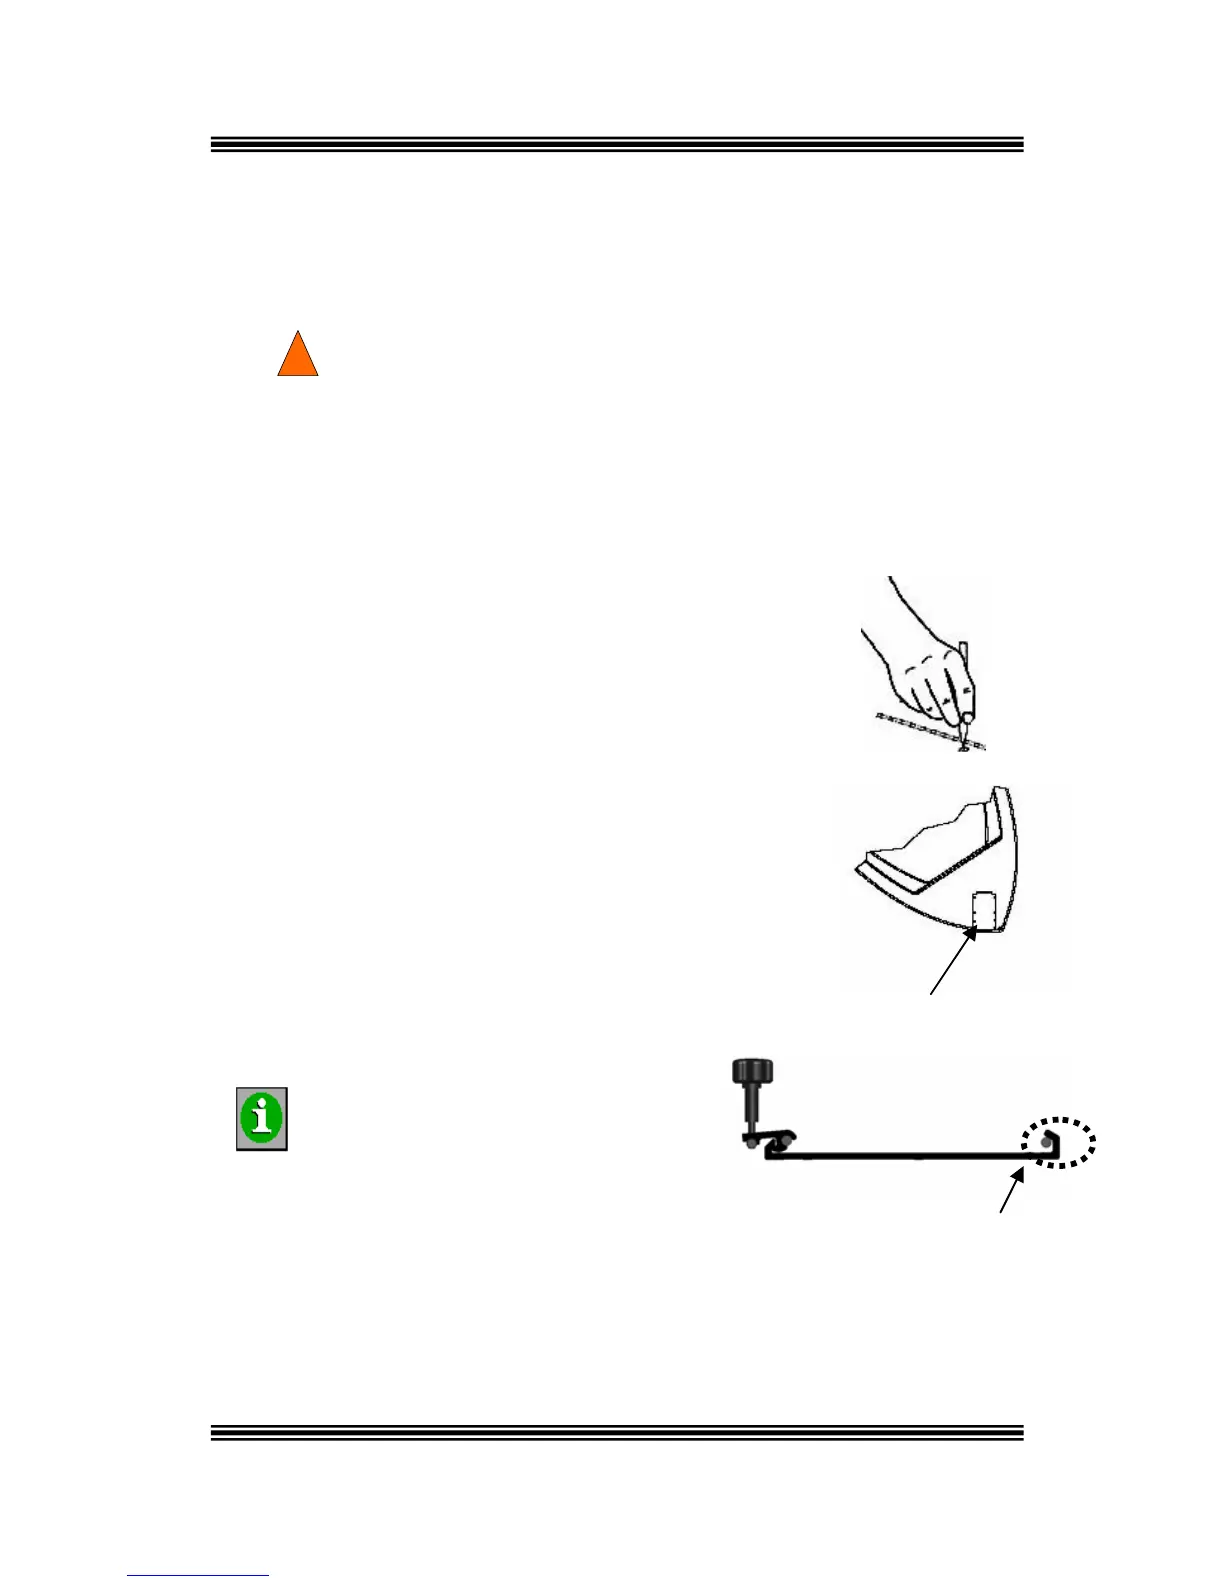
1) Carefully select the area on the deck as close to the
centerline as possible to install the mount. Choose an
area where the mount will provide ample clearance from
the bow of the boat for all of the motor positions
including the run and stow positions. A 1 to 2
1
/
2
inch
clearance is needed between the shaft and the bow of
the boat. Ensure the forward mounting screws are
placed in a location on the deck where there is
enough room to install the screws and washers
without penetrating the hull.
2) Remove the mount base plate from the mount
installation kit and place it on the surface of the boat
deck where it is to be mounted; use the mount plate
as a template to mark the location for drilling
the mount holes.
Side View of Mount Base Plate
The end of the mount base plate
with the large hook flange must be
positioned forward on the bow of
the boat.
INFORMATION
Position Large Flange
Hook Forward on Boat
3) Drill mounting holes with a (8 mm)
5
/
16
inch drill bit and then clear the holes
of any debris. On fiberglass boats, chamfer the holes to help reduce the
possibility of the fiberglass cracking.
 Loading...