Radio Assembly 2-13
8. Take the PA Shield and place it on the PA compartment. Tighten the three screws using
Torque 1.47Nm (13 lb.in). Tighten the middle screw first, then the screw located on the left
side, and lastly the screw located on the right side.
9. Insert the DC cable into the slot. Ensure that it is seated correctly on the chassis hook located
below the DC cable. Attach it to the chassis and PCB by tightening the two screws using
Torque 1.47Nm (13 lb.in) (Torx T10).
10. Take the main shield and place it on the chassis. Check that the corners of the main shield are
seated properly on the corner supports.
11. Take the main seal and place it inside the top cover. Verify that the main seal is seated prop-
erly on its placement ribs and all around the groove.
12. Take the upper cover, place it properly on the chassis, and push it down. Three click sounds
are heard from both sides and back.
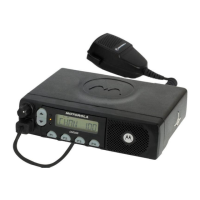
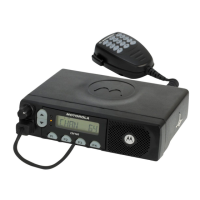
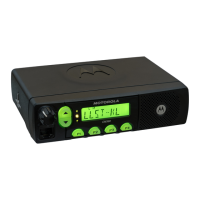
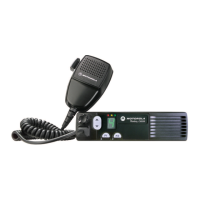
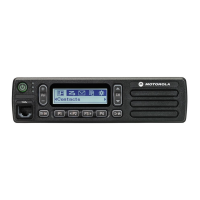
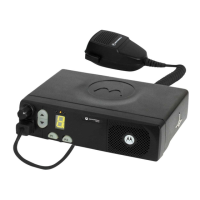
7.2 Control Heads Assembly
1. Assemble the Contol Heads by reversing the procedure for dis-assembly.
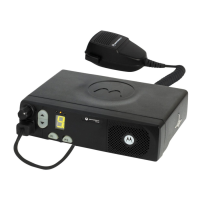
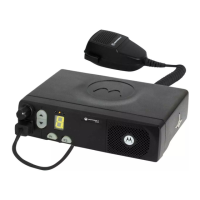
7.3 Control Head Fitting
1. Hold the Control Head in one hand and the chassis assembly in the other hand.
2. Insert the flat cable into the main PCB connector through the slot in the chassis.
3. Place the Control Head Assembly on the chassis assembly in a diagonal manner. Two clicking
sounds are heard.
4. Insert the Volume Knob into its groove and push it in.
5. Place the cap of the accessory connector over the accessory pin.
NOTE
Care should be taken not to touch or contaminate the conductive strip connectors and key-
pad conductors on the underside of the display and the elastomeric connectors (CM160/
CM360 only).
 Loading...