11
12345
12345
12345
12345
12345
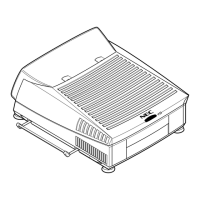
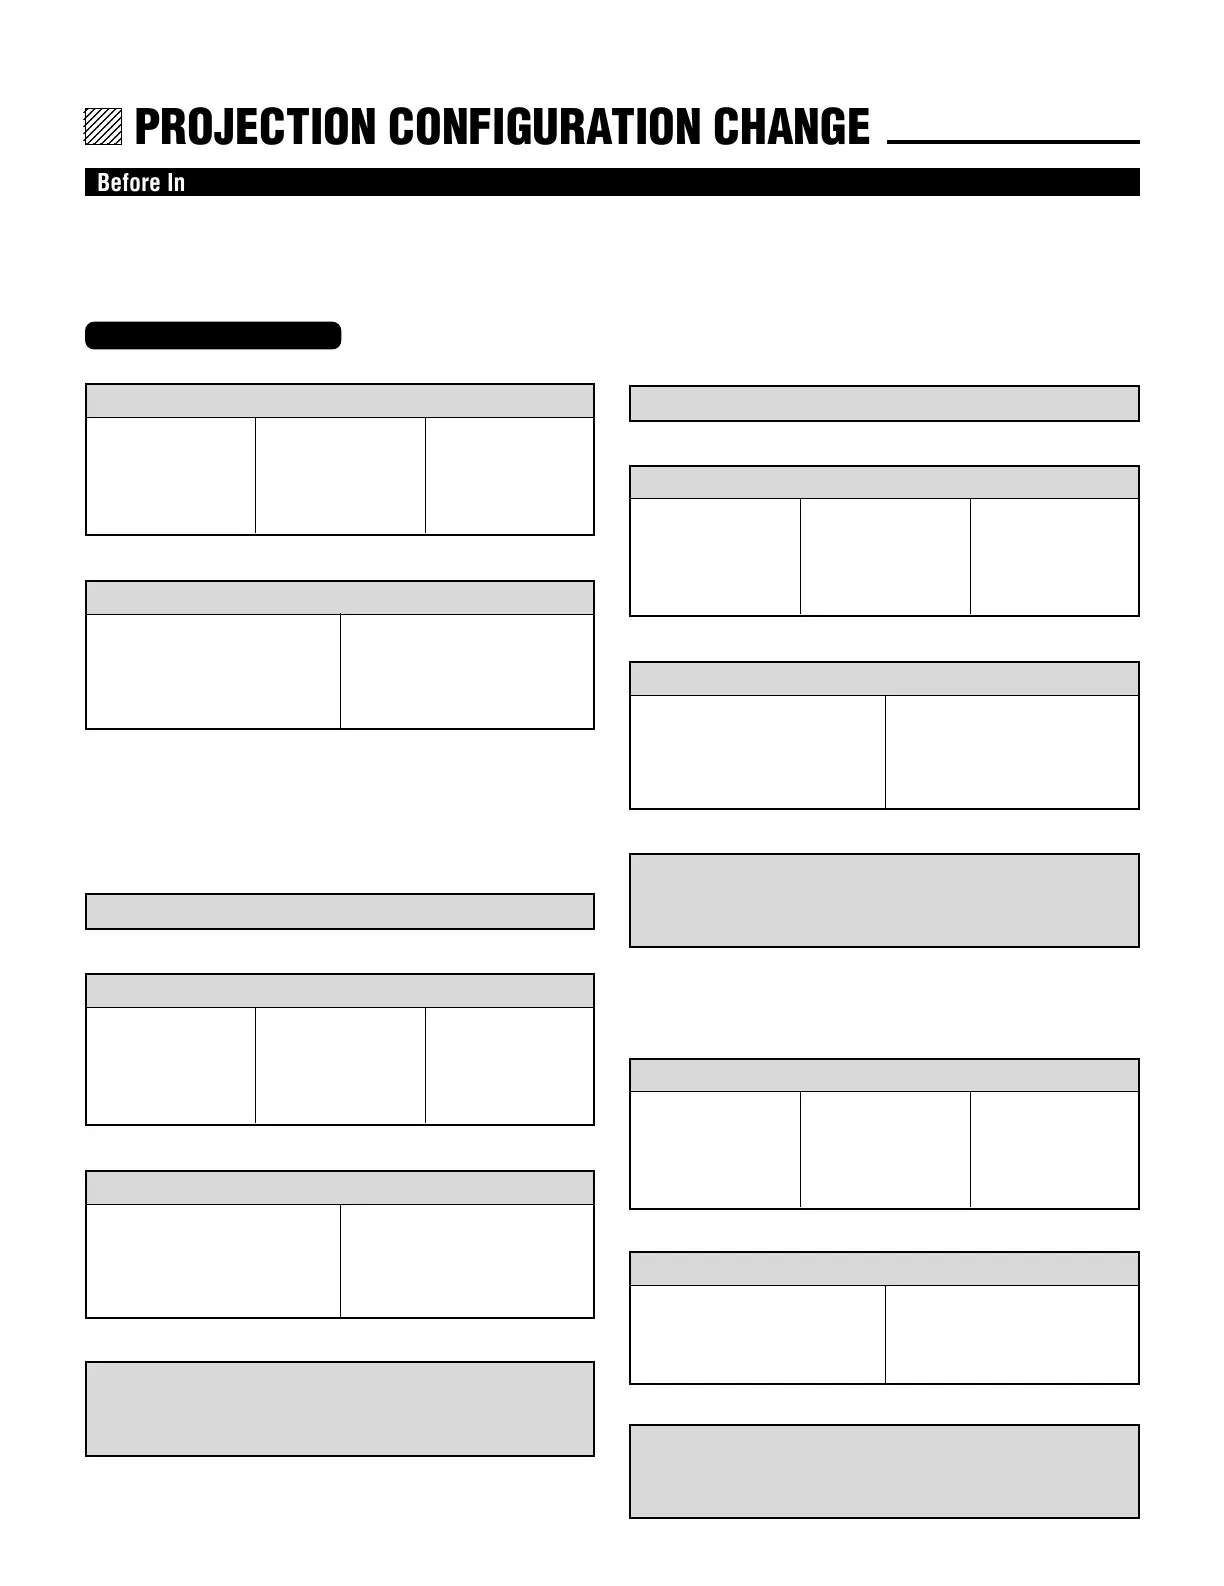
PROJECTION CONFIGURATION CHANGE.
Before Installation Change
The projector is electrically and mechanically set for 100 inch diagonal screen, front throw ceiling mount and a projection angle of
12.4˚ (XG75A)/12.2˚(XG135LC/XG110LC). If your application is different from the factory setting(for example, ceiling to floor
and screen size between 60 and 300 inch), you will have to reconfigure the projector for your application. Follow the change
procedures according to the instructions below.
f
f
f
f
1) Set the focus ring to the proper position. (See pages15 and 16.)
For 100" screen size
R – A-3, B-3
G – A-1, B-3
B – A-3, B-3
2) Adjust the angle of the CRT's. (See page 16.)
For 100" screen size
Move the CRT to the 100 position
To change to the desk top system (front)
1) Reverse the scan. (See page 14.)
3) Adjust the angle of the CRT's. (See page 16.)
For 100" screen size
Move the CRT to the 100 position
4) Select an installation from the PJ ORIENTATION menu in
the SETTING menu. (See “Projection Type Selection” in the
setup manual.)
2) Set the focus ring to the proper position. (See pages 15 and 16.)
For 100" screen size
R – A-3, B-3
G – A-1, B-3
B – A-3, B-3
For 120" screen size
R – A-3, B-3
G – A-1, B-3
B – A-3, B-3
For 180" screen size
R – A-5, B-5
G – A-1, B-5
B – A-5, B-5
For 120–180" screen size and the
other screen sizes
Move the CRT to the 120, 180, or
60–300 position
For 120" screen size
R – A-3, B-3
G – A-1, B-3
B – A-3, B-3
For 180" screen size
R – A-5, B-5
G – A-1, B-5
B – A-5, B-5
For 120–180" screen size and the
other screen sizes
Move the CRT to the 120, 180, or
60–300 position
f
4) Select an installation from the PJ ORIENTATION menu in
the SETTING menu. (See “Projection Type Selection” in the
setup manual.)
f
To change to the ceiling mount system (rear)
f
1) Reverse the scan. (See page 14.)
2) Set the focus ring to the proper position. (See pages 16 and 17.)
For 100" screen size
R – A-3, B-3
G – A-1, B-3
B – A-3, B-3
3) Adjust the angle of the CRT's. (See page 17.)
For 100" screen size
Move the CRT to the 100 position
For 120" screen size
R – A-3, B-3
G – A-1, B-3
B – A-3, B-3
For 180" screen size
R – A-5, B-5
G – A-1, B-5
B – A-5, B-5
For 120–180" screen size and the
other screen sizes
Move the CRT to the 120, 180, or
60–300 position
To change to the desk top system (rear, 0 projection angle)
f
For 100" screen size
Move the CRT to the 100 position
For 120–180" screen size and the
other screen sizes
Move the CRT to the 120, 180, or
60–300 position
f
1) Set the focus ring to the proper position. (See pages 16 and 17.)
For 100" screen size
R – A-3, B-3
G – A-1, B-3
B – A-3, B-3
For 120" screen size
R – A-3, B-3
G – A-1, B-3
B – A-3, B-3
For 180" screen size
R – A-5, B-5
G – A-1, B-5
B – A-5, B-5
2) Adjust the angle of the CRT's (See page 17.)
3) Select an installation from the PJ ORIENTATION menu in
the SETTING menu. (See “Projection Type Selection” in the
setup manual.)
To change screen size only:
For XG75A
 Loading...