67
SETTING
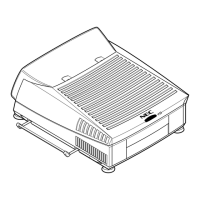
Projection Type Selection
This feature allows you to set the installation type according to the
projection configuration.
NOTE:
• After changing the installation condition, be sure to perform this
setting. Setting this automatically reverses the vertical polarity.
However, you will have to reverse the horizontal polarity connec-
tors. If you select a wrong installation type, the projector gives a
warning message. (See the installation manual for the horizontal
scan reversal.)
1 Press the ADJUST button to display the “ADJUST” menu.
• The projector may ask you to enter your passcode.
See page 59 for the explanation of the PASSCODE.
2 Use the CURSOR or button to highlight the “8/OPTION”
line. Press ENTER to display the “OPTION” menu. You can also
select the “OPTION” menu directly by pressing the INPUT “8”
button.
3 Use the CURSOR or button to highlight the “1/SETTING
MODE” line. Press ENTER to display the “SETTING MODE”
menu. You can also select the “SETTING MODE” menu directly
by pressing the INPUT “1” button.
4 Use the CURSOR or button to select the “PJ ORIENTA-
TION” item, then press ENTER to display the “PJ ORIENTA-
TION” menu.
NOTE: The SETTING MODE has three menus. The “PJ ORIEN-
TATION” item is on the first menu (P01). To access P02 or P03
from P01, press and hold down the CTL button then press
the button; to return to P01 from P02 or P03, press and hold
down the CTL button then press the button.
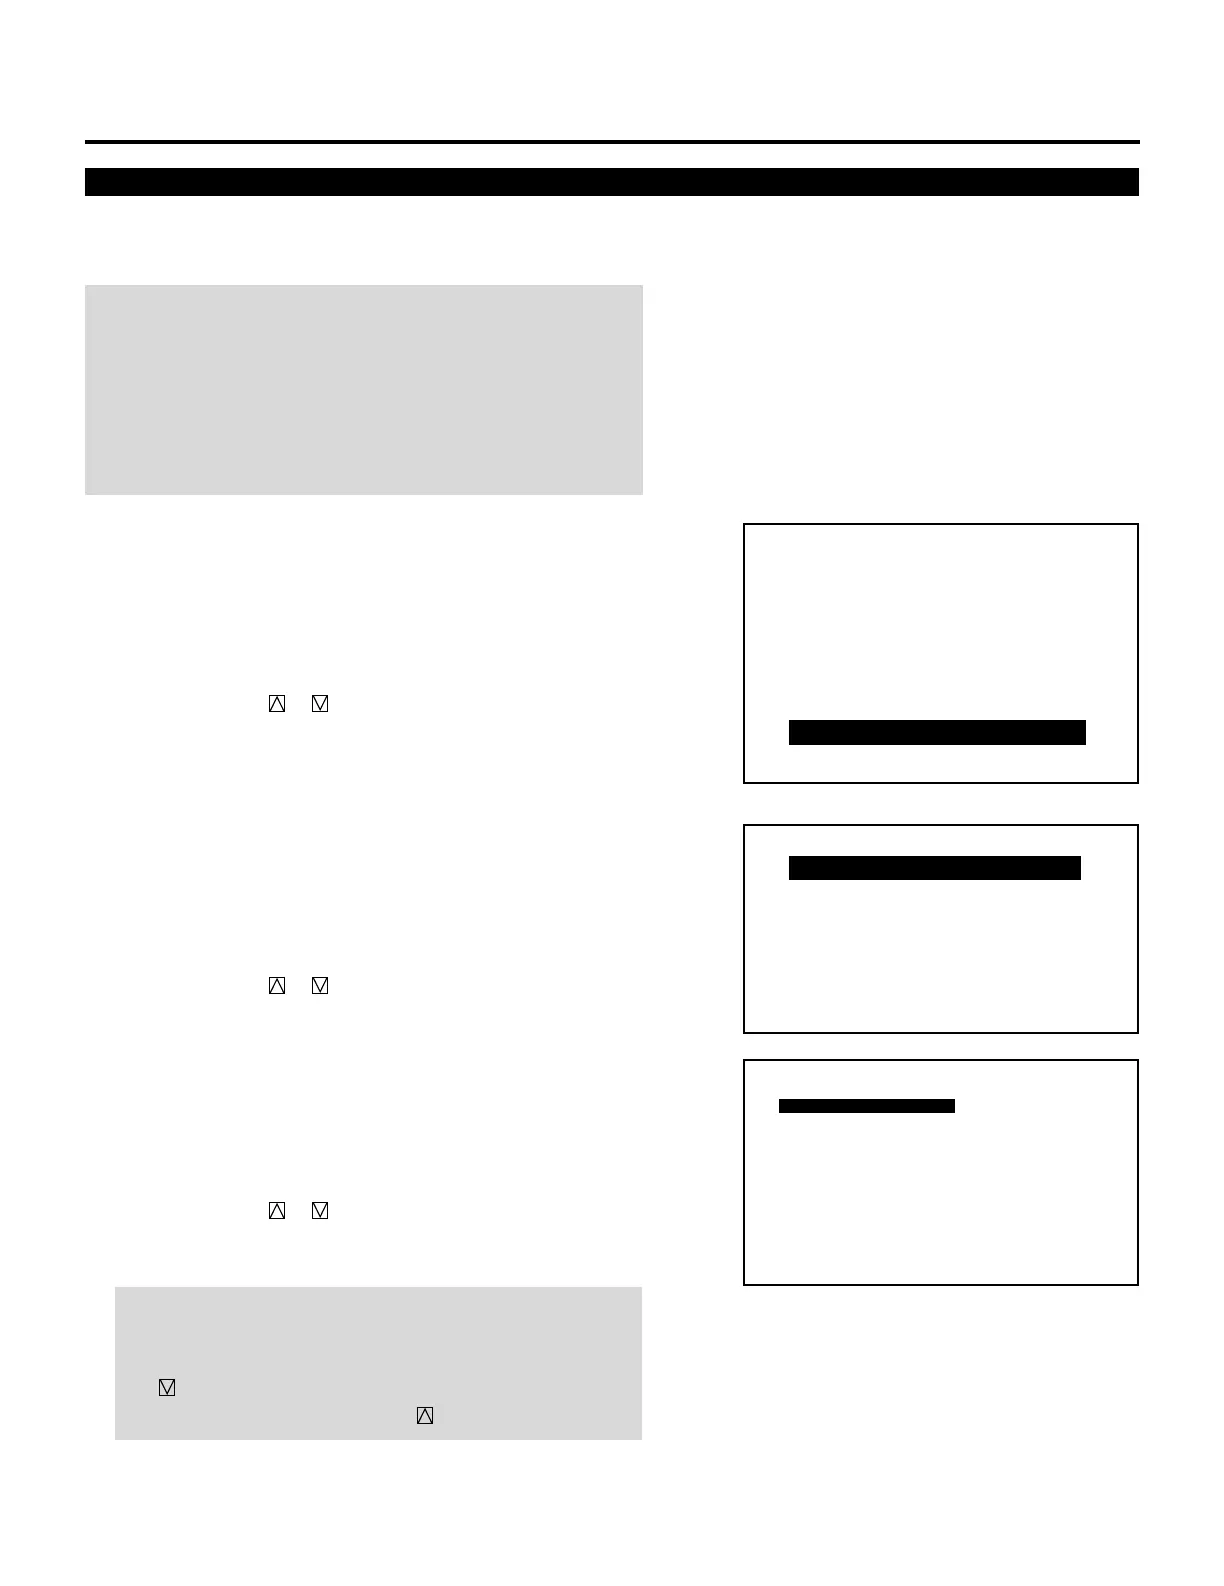
– ADJUST –
1 / SIGNAL ENTRY
2 / FOCUS
3 / ALIGNMENT
4 / CONVERGENCE
5 / KELVIN
6 / R,G,B GAIN
7 / PASSCODE
8 / OPTION
9 / REF.ADJUST
P01/P03
OPTION – SETTING MODE –
CONNECT CONDITION
CEILING
FRONT
DEFAULT INPUT SELECT
FOCUS EDGE MODE ALL
S-VIDEO MODE SELECT S2
AUTO
STANDALONE
LAST
PJ ORIENTATION
VIDEO MODE SELECT
– OPTION –
1 / SETTING MODE
2 / MENU MODE
3 / SEQUENCER
4 / PJ ADDRESS
5 / VERSION
6 / HOUR METER
7 / DEFAULT DATA
 Loading...