4 Nektar Impact LX Mini owner’s manual www.nektartech.com
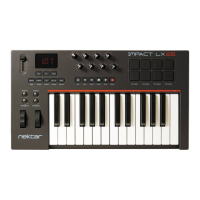
Impact LX Mini Overview
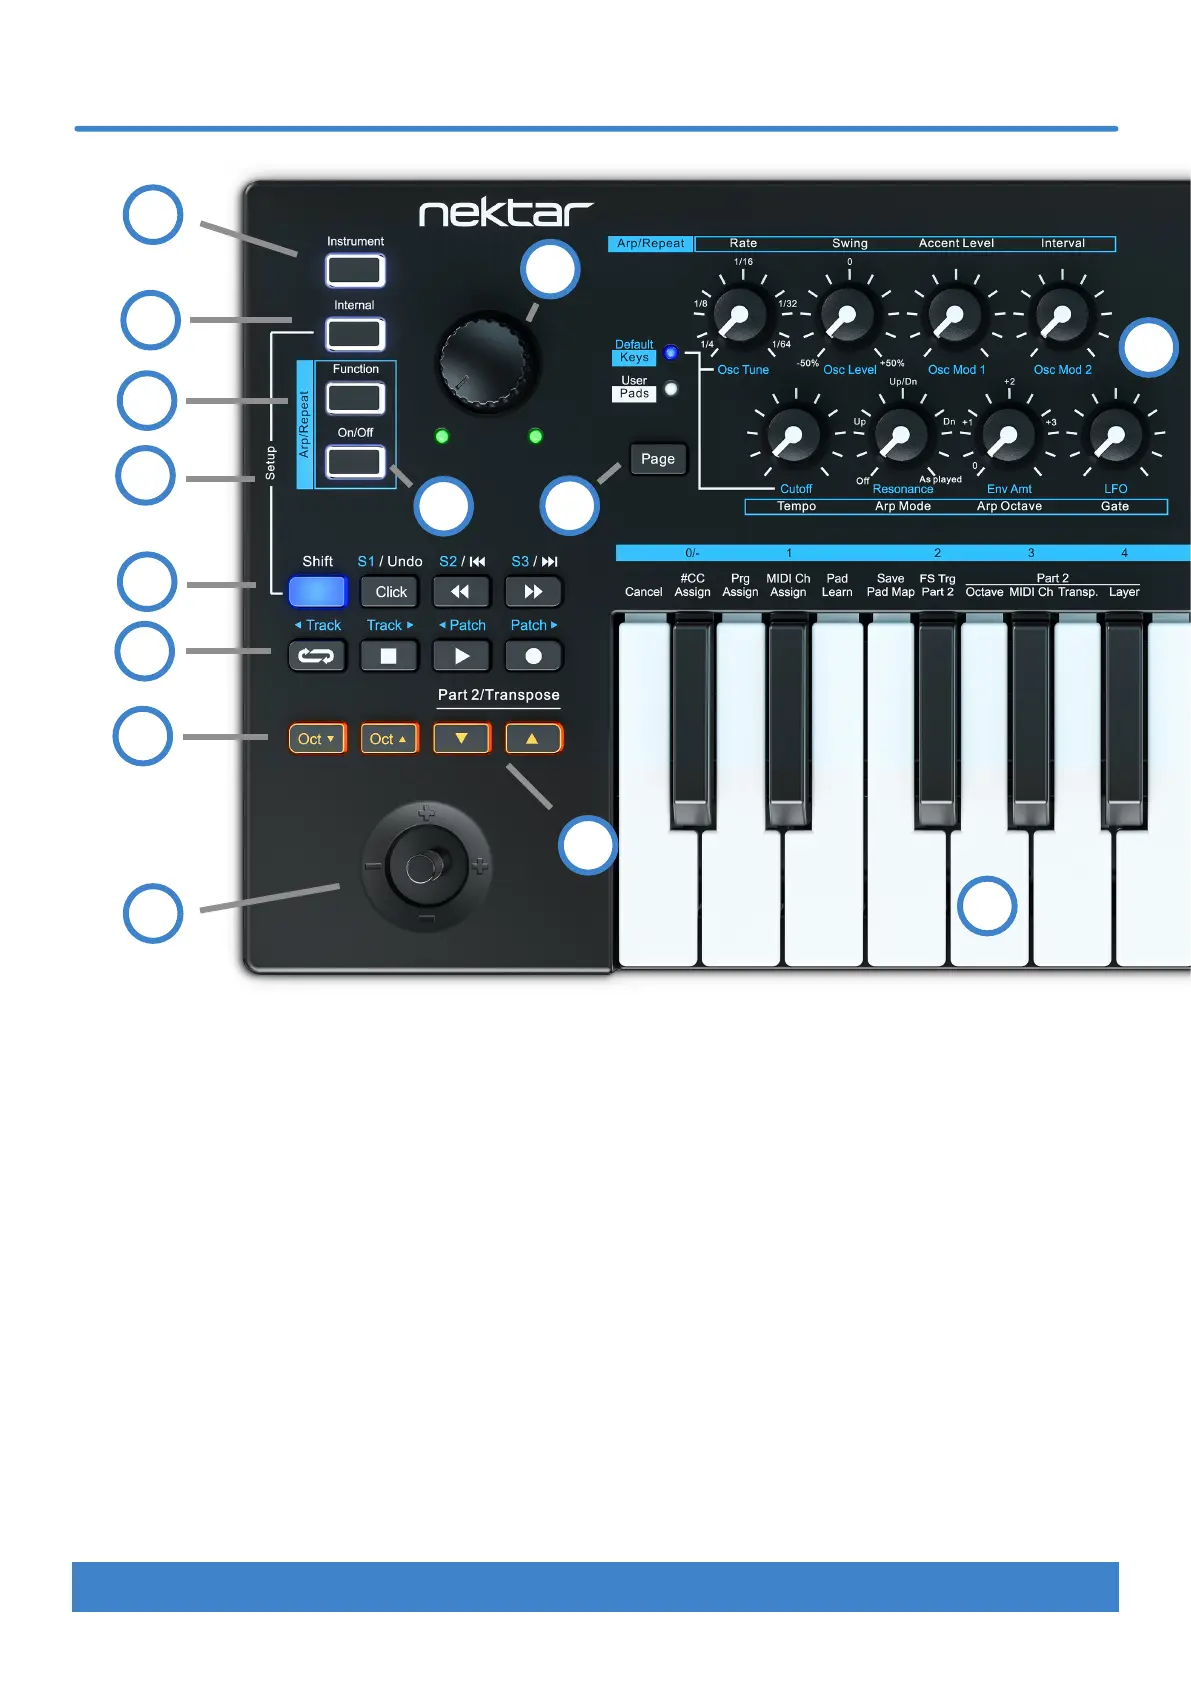
1. Keyboard: The 25 note mini keyboard is velocity sensitive
and doubles as function and value selector, when Setup mode
is active.
2. Joystick: Controls pitch bend (left/right), MIDI cc #1
modulation (up), MIDI cc #4 foot controller (down). Press the
shaft to trigger MIDI cc #1 at max value (127). Up, down
and push options are MIDI assignable.
3. [Octave down/up] buttons: Shift octave down by
4 octaves or up by 5 octaves. Press both buttons at the
same time to change the octave setting to 0.
4. Part 2 / Transpose buttons: Press and hold either
of the two buttons to temporarily change settings for Part 2
functions octave, transpose, MIDI channel for the duration the
button is held. For details, go to page 17.
The buttons can also transpose the keyboard. See page 7.
5. Transport buttons: The 7 buttons are primarily used by
Nektar DAW Integration, delivering comprehensive control over
a supported DAW’s arrangement features. The buttons are also
MIDI assignable (see Setup mode page 16) or can be used for
MIDI learn.
6. [Shift]: The LED illuminated [Shift] button switches the 7
transport buttons between two assignments, which means a
total of 14 MIDI messages can be sent using the 7 buttons.
With Nektar DAW Integration, [Shift] provides access to
secondary DAW functions as indicated by the screen printing.
7. [Shift]+[Internal]: Pressing these two buttons activates
Setup mode which includes the features listed above the keys.
See page 15.
8. Arp/Repeat [On/O]: Enable or disable the
Arpeggiator/Repeat function. The button’s white LED blinks to
indicate the current tempo when Arp/Repeat is active.
9. Arp/Repeat [Function]: The Arp/Repeat Function menu
allows programming of settings for pads and keyboard
independent of each other. To hear changes, make sure the
10. [Internal]: Selects Internal mode which loads MIDI
assignments for the 8 pots. [Internal]+[Pad 1-4] in addition load
Pad Maps 1-4.
11. [Instrument]: If Nektar DAW Integration is installed and
active, select [Instrument] to control plugin instruments in your
DAW using the 8 pots. When Nektar DAW Integration is not ac-
tive, the mode can be selected to use the pots for MIDI learn.
12. Volume pot and LEDs: The large control pot is by default
assigned to send MIDI cc #7 (volume) but can be assigned to
any MIDI cc message. To change the assignment, access Setup
mode as explained on page 16. When Nektar DAW
integration is used, the pot controls the currently selected
track’s volume. The two LEDs below the pot are only used with
Nektar DAW Integration.
2
3
4
5
6
7
8
9
10
11
12
1
14
13
 Loading...