2 – English
EN
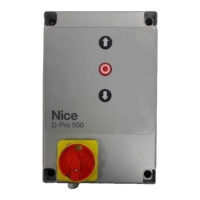
Assembling the D-PRO Automatic control unit
Assembling the D-PRO Automatic control unit
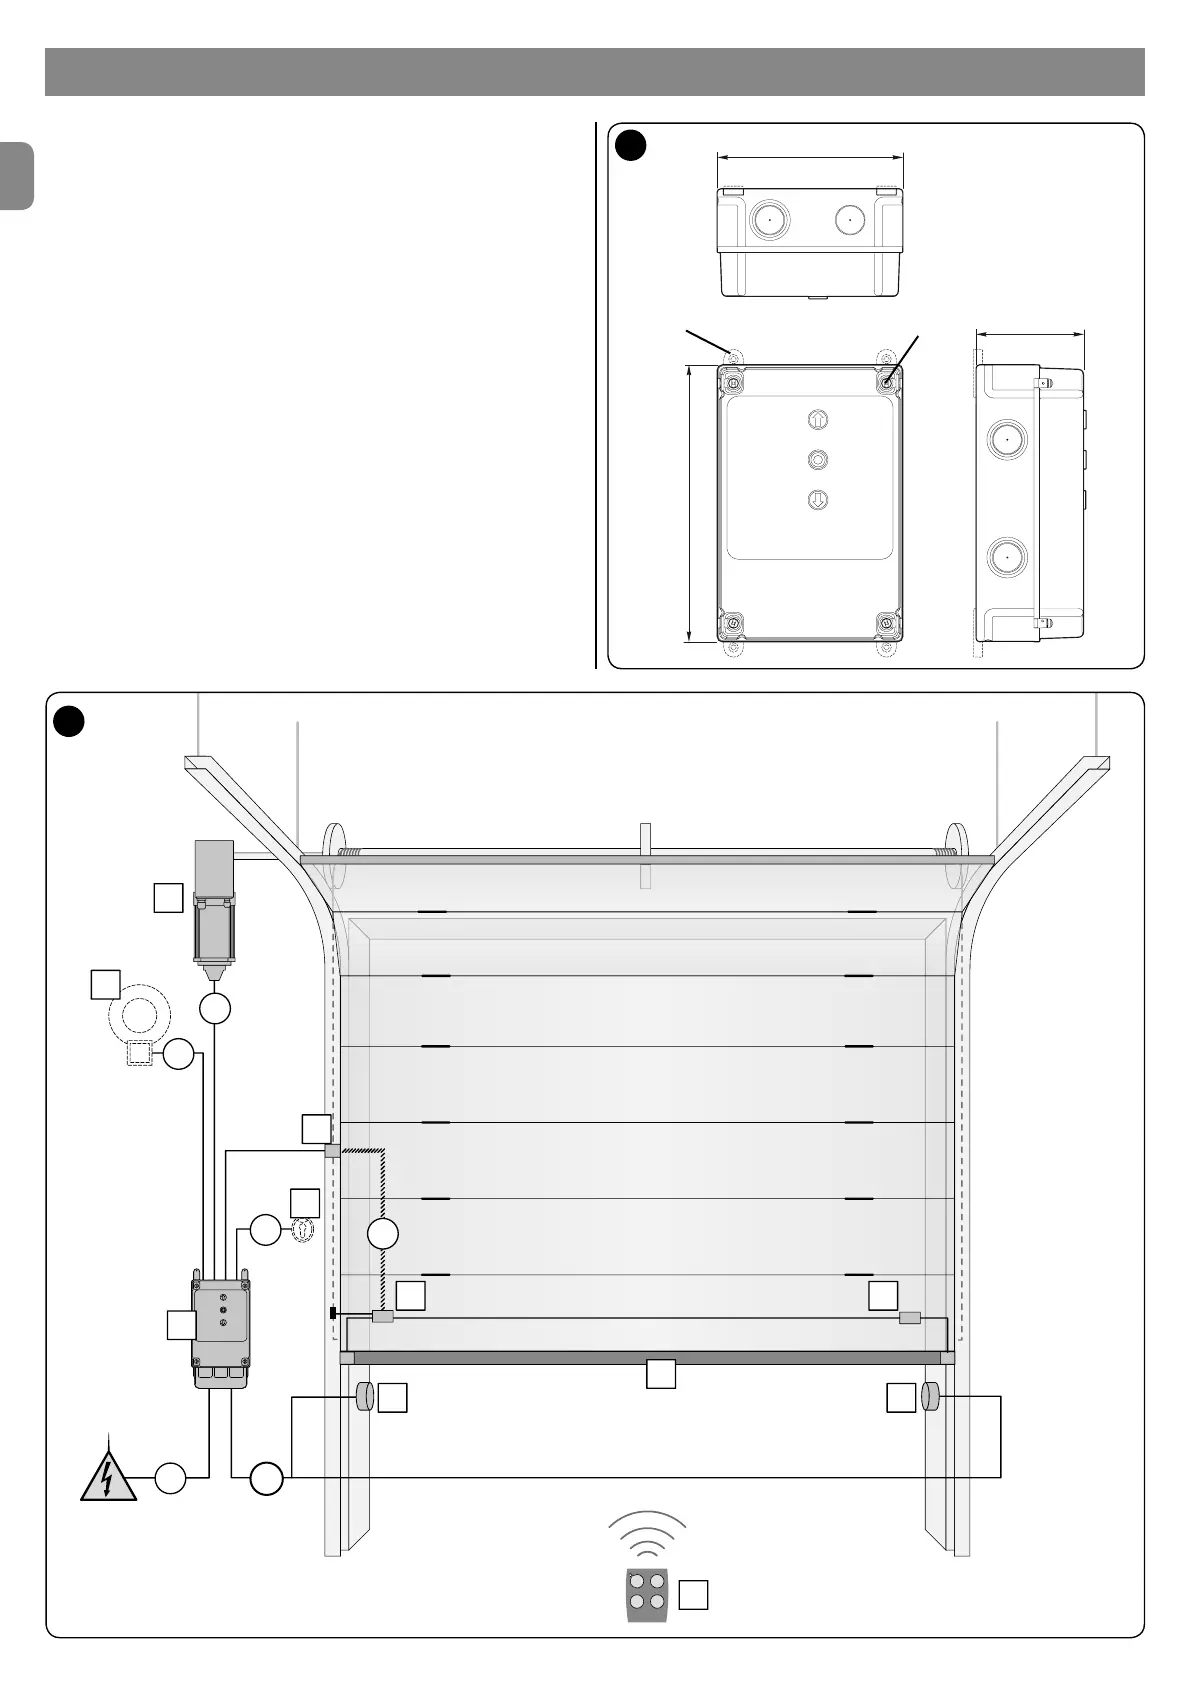
Proceed follows when installing the control unit:
01. open the cover of the control unit's housing: slacken off the mounting bolts;
02. congure the holes for the cable clamp for the hookup and signal cables
on the control unit.
To this end, and especially to maintain the unit's IP rating, you must use a
special tool (crown tip and circular cutter). The cables may only be routed
through the housing's oor.
03. The mounting of the housing will depend on the conditions in the installation
location. It may be installed in one of 3 ways:
a) directly onto the wall, using the bolts on the housing (A);
b) using the provided standard mountings (B);
c) if the cables are connected externally, the housing must be installed 2 cm off
the wall to allow the cables to run between the wall and the housing itself. The
NDA530 accessories kit (optional) contains 4 spacers (20 mm) and a plastic
cover to protect the cable entrance points.
04. You can now do the electrical hookup.
When installing electrical accessory equipment, refer to the appropriate
installation and user instructions.
1
A
B
2
D

 Loading...