EasyManua.ls Logo

Ninja SMART SCREEN CT672A User Manual

Ninja SMART SCREEN CT672A
15 pages
To Next Page IconTo Next Page
To Previous Page IconTo Previous Page
Page #10 background image
18 19ninjakitchen.com
USING THE PRECISION PROCESSOR® BOWL
6 Place the feed chute lid on the bowl and
turn clockwise until you hear a click,
indicating the lid is locked in place.
7 If using a pre-set program, first select
the program that best suits your recipe.
The pre-set feature will automatically
stop the unit at the end of the program.
To pause the unit at any time, touch the
currently active program a second time.
3 Rotate the bowl clockwise until it clicks
into place.
1 Place the unplugged motor base on
a clean, dry, level surface such as a
countertop or table. Touch downward
on the motor base to adhere the suction
cups to the work surface. Plug the
motor base into a wall outlet.
2 Lower the Precision Processor Bowl onto
the motor base. Align the bowl so the
handle is to the right, in a diamond position.
NOTE: Pre-set programs have pauses and
changes in speed throughout the cycle.
NOTE: The unit can detect which container
is on the motor base. Only the functions
available for a particular container will
illuminate on the touchscreen.
NOTE: DO NOT add ingredients before
installing the blade assembly.
NOTE: When using the Dough Blade
Assembly, ensure you are mixing the
ingredients on the Low setting.
TIPS:
If the blade assembly is not fully seated,
you will not be able to install and lock the
lid into position.
To learn more about the programs that
work with your Precision Processor Bowl,
refer to page 13.
4 Handling with care, grasp the Chopping
Blade Assembly by the top of the shaft
and place it onto the spindle inside the
bowl. Note that the Chopping Blade
Assembly will fit loosely on the spindle.
NOTE: Follow the same instructions to
install the Dough Blade Assembly.
5 Add ingredients to the bowl, making
sure not to fill past the MAX FILL line.
8 To remove the bowl from the motor
base, turn the bowl counterclockwise
and then lift it.
9 Remove the lid by pressing the release
button on the front tab, twisting the lid
counterclockwise, and lifting up. Always
remove the Chopping Blade Assembly
before emptying any of the ingredients
in the bowl.
11 Unplug the unit when finished. To
lift the motor base, place your hands
underneath both sides it base and
gently pull the unit up and toward
you. Refer to the Care & Maintenance
section for storing instructions.
10 Handling with care, grasp the Chopping
Blade Assembly by the top of the shaft
and lift out the bowl.
IMPORTANT: Review all warnings on
pages 4–7 before proceeding.
Question and Answer IconNeed help?

Do you have a question about the Ninja SMART SCREEN CT672A and is the answer not in the manual?
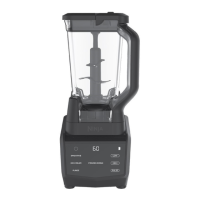
Ninja SMART SCREEN CT672A Specifications

General IconGeneral
ModelCT672A
Power1200 watts
Capacity72 oz
MaterialPlastic
Dishwasher Safe PartsYes
Pulse FunctionYes
Speed Settings5
DisplayTouchscreen
TypeBlender
FeaturesAuto-iQ technology
SpeedsVariable speed control
Smart SettingsAuto-iQ

Summary

Important Safety Guidelines

General Electrical and Handling Safety

Essential safety instructions for appliance setup, operation, and handling of electrical components.

Blade and Container Safety Precautions

Precautions for safely handling sharp blades, assemblies, and containers to prevent injury.

User Capabilities and Environment Safety

Guidelines concerning user supervision, capabilities, and maintaining a safe operating environment.

Advanced Safety Instructions

Safe Usage and Component Interaction

Safe practices for using utensils, adding ingredients, and securing containers and lids.

Appliance Overheating and Maintenance Prep

Procedures for addressing appliance overheating and preparing for cleaning.

Operational Limits and Specific Use Cases

Warnings on temperature changes, dough mixing, and processing dry ingredients.

Getting to Know Your Ninja Smart Screen System

Product Component Identification Guide

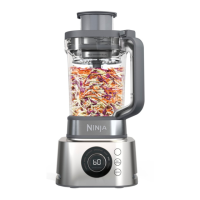
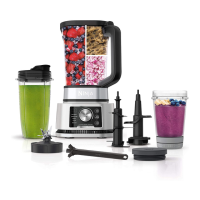
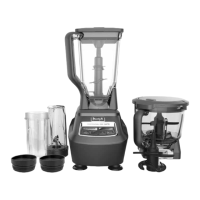
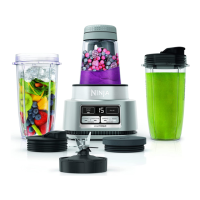
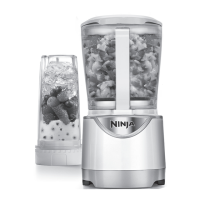
A detailed list and visual identification of all parts included with the kitchen system.

Before First Use and Initial Setup

Preparation and Cleaning Procedures

Instructions for unpacking, cleaning, and preparing the appliance before its first use.

Control Panel Functions Overview

Pitcher Auto-iQ Programs and Manual Settings

Explanation of pitcher-specific Auto-iQ programs and manual blending controls.

Control Panel Settings Explained

Single-Serve Cup Auto-iQ Programs

Details on Auto-iQ programs for smoothies, extract, and frozen drinks using the single-serve cup.

Precision Processor Bowl Auto-iQ Programs

Explanation of Auto-iQ programs for puree and chop functions with the processor bowl.

Using the Total Crushing Pitcher

Pitcher Assembly and Blending Operation

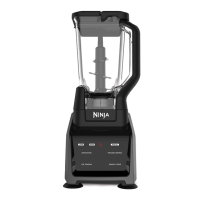
Steps for correctly assembling and operating the blender with the Total Crushing Pitcher.

Blending Completion and Pitcher Removal

Instructions for stopping the blending process and safely removing the pitcher.

Using the Single-Serve Cup

Single-Serve Cup Preparation and Blending

Steps for adding ingredients and blending them using the Single-Serve Cup.

On-the-Go Use and Content Storage

Guidance on using the spout lid for portability and storing contents in the cup.

Using the Precision Processor Bowl

Processor Bowl and Blade Assembly Setup

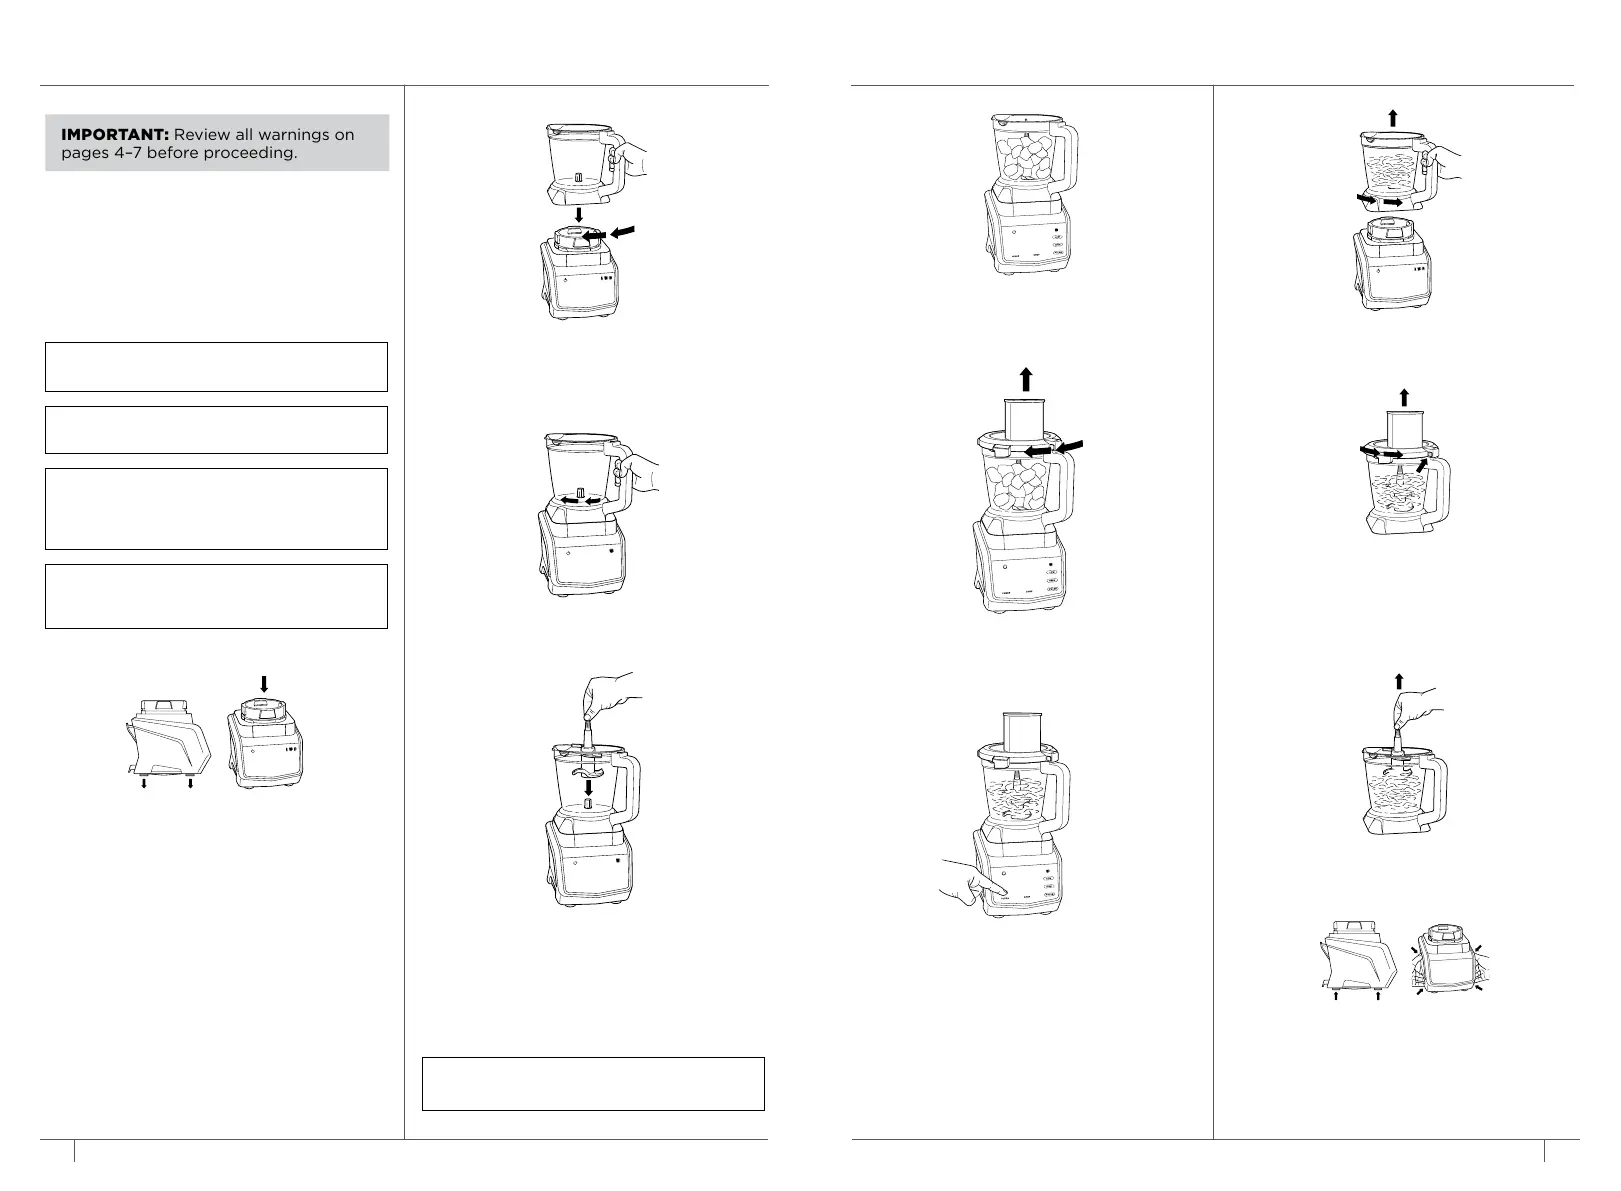
Steps for installing the bowl and the Chopping or Dough Blade Assembly.

Processor Operation and Ingredient Handling

Instructions for adding ingredients and operating the processor with pre-set programs.

Processor Bowl Disassembly and Emptying

Steps for safely removing the bowl and blade assembly before emptying contents.

Using the Slicing and Shredding Disc

Slicing/Shredding Disc Setup and Usage

Instructions for installing and operating the reversible Slicing/Shredding Disc.

Disc and Bowl Removal Procedures

Steps for stopping the unit, removing the disc, and disassembling the processor bowl.

Care, Maintenance, and Troubleshooting

Cleaning and Storage Instructions

Guidelines for cleaning all parts, dishwasher use, and proper storage of the appliance.

Troubleshooting Unit Issues

Solutions for common problems like unit not powering on, not turning off, or uneven chopping.

Troubleshooting Performance and Errors

Tips for mixing problems, surface adhesion, and understanding error messages.

Replacement Parts and Warranty Information

Ordering Parts and Obtaining Service

Information on how to order replacement parts and contact customer support.

Limited Warranty Coverage and Claims

Details on what the one-year limited warranty covers, exclusions, and how to file a claim.

Related product manuals